Step-By-Step: Winterizing Your Car to Prevent Worn Seals Due to UV Exposure
To winterize and protect your seals from UV and cold, start by inspecting door and window gaskets for cracks, brittleness, and misalignment, replacing any worn seals. Clean rubber surfaces, then apply a non-silicone seal conditioner to keep them pliable. Use UV-stable lubricants and reapply after cleaning. Check fluids and battery, and store your car with breathable covers. Avoid over-application that traps moisture. A simple routine now paves the way for lasting seal performance; more tips await.
Shielding Your Seals From UV and Cold
Exposing rubber seals to UV light and freezing temperatures can degrade them over time, so start by inspecting weather-stripping, door seals, and window molding for cracks, stiffness, or brittleness. You’ll protect against wear with a focused approach: confirm seals seat evenly, replace torn gaskets, and clean surfaces to remove grime that accelerates deterioration. For seal protection, apply a UV-compatible conditioner to exterior seals, avoiding petroleum-based products that can soften rubber. In winter preparations, keep seals dry and free of ice buildup; wipe away moisture after car washes and remove snow from door edges to reduce freeze-thaw damage. Use a soft brush or microfiber cloth to prevent micro-scratches. Confirm that door alignment hasn’t shifted, which would cause uneven pressure. Document any changes and schedule replacements proactively. This concise routine supports durable seals, enhances energy efficiency, and reinforces your freedom to rely on dependable winter preparations.
Inspecting Seal Integrity Before Winter
As winter approaches, you’ll want to verify that every door seal is performing as it should, building on your prior checks of UV and cold exposure. Before temps drop, perform a focused seal integrity check using seal inspection techniques that matter. Look for hardening, cracking, or brittleness in the flexible lip, and listen for air leaks when you close doors firmly. Run a simple water test to confirm if moisture seeps past the gasket, but avoid overdoing it—spot checks are sufficient. Examine corners and seams for delamination or separation, and inspect mounting brackets or clips for looseness that could let wind bypass the seal. Note any irregular compression when doors are shut; uneven contact may signal distortion from age or prior UV exposure. Document findings and address common seal issues promptly to preserve door alignment, reduce drafts, and maintain performance. Maintain a concise, evidence-based approach for reliable winter readiness.
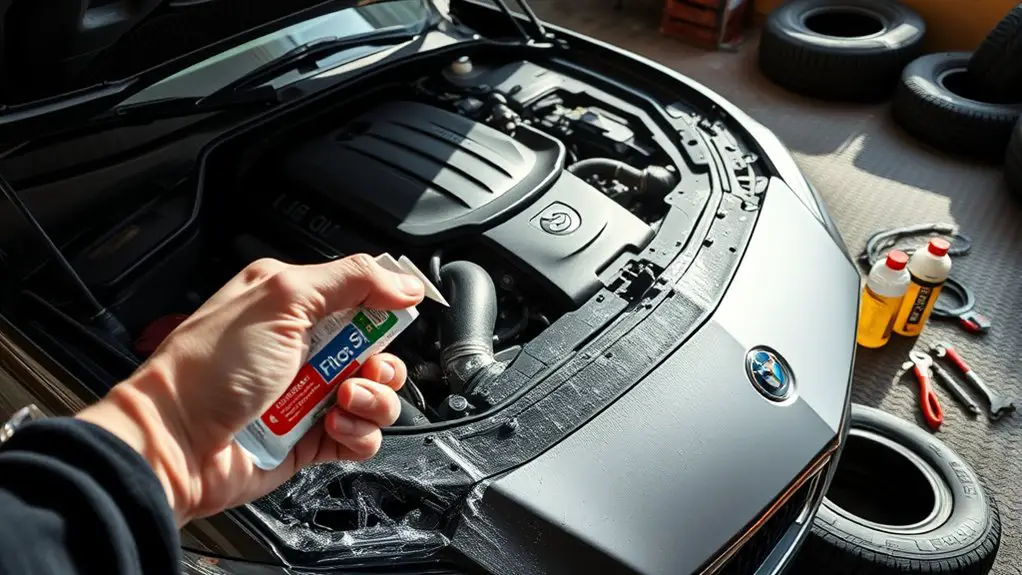
Cleaning and Conditioning Rubber Seals
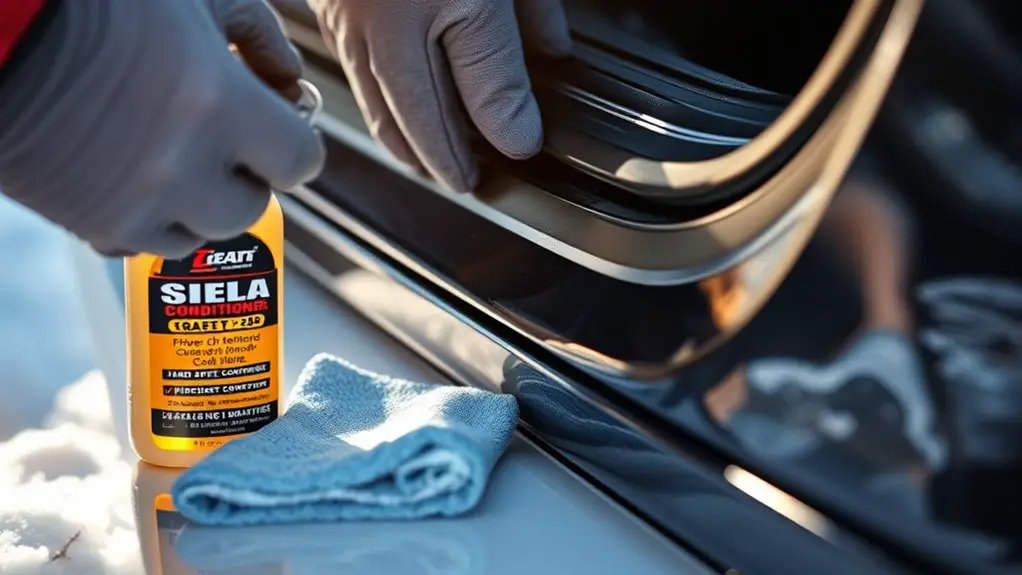
Cleaning and conditioning rubber seals is a quick, repeatable step that helps preserve flexibility and prevent drafts. You’ll benefit from clearer windows, fewer wind leaks, and longer seal life when you treat the rubber with purpose and minimal effort. Use simple, evidence-based steps to guide you.
- Inspect and wipe: remove debris with a damp cloth, then dry thoroughly before conditioning.
- Choose a product: pick a non-silicone seal conditioner compatible with automotive rubber.
- Apply evenly: coat a thin layer across door and window seals, avoiding excess buildup.
- Let it sit: allow brief absorption, then wipe away any residue for a smooth finish.
Focus on seal cleaning and seal conditioning as separate, complementary actions. Regular care maintains elasticity, reduces friction, and prevents UV-induced cracking. If seals feel sticky or dry after treatment, reapply sparingly after a full cycle of use. Your car stays quieter, more energy-efficient, and ready for the season.
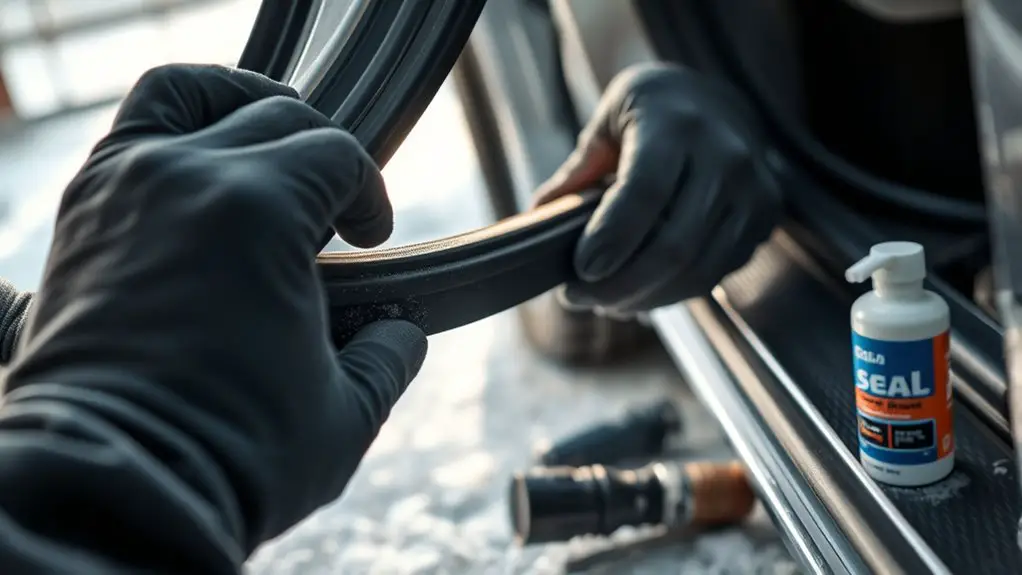
Replacing Worn Seals or Gaskets
Replacing worn seals or gaskets is essential to restore door and window integrity, reduce drafts, and prevent leaks. You’ll want a methodical approach: identify gaps, choose appropriate seal replacement options, and verify fit before reassembly. Start with bulkhead and door seals, then address window gaskets that show cracking or hardening. For effective results, document gasket maintenance techniques like cleaning flange surfaces, using compatible adhesives, and testing with a simple water spray test. This keeps UV-related brittleness from escalating in winter.
| Option | Benefit |
|---|---|
| Pre-made door/window seal kits | Quick, cost-effective fit for common gaps |
| Tubular or bulb seals | Superior compression and leak resistance |
| Adhesive-backed gaskets | Easy retrofit on older components |
| Universal rubber seal strips | Flexible fix for irregular gaps |
Lubricants and Protectants for Longevity
Lubricants and protectants keep moving parts functioning smoothly and resist wear when cold weather hits. You’ll want products that reduce friction, guard against UV-induced drying, and extend seal life without buildup. Choose seal lubricants engineered for high elasticity and low viscosity change in cold temps, then apply per manufacturer guidance. Protectant products should form a breathable barrier on exterior surfaces to resist cracking and UV fatigue while preserving flexibility.
- Seal lubricants that stay pliable in low temperatures and resist wash-off
- Protectant products for door seals, hinges, and trim to prevent cracking
- UV-stable formulas that resist sun-induced aging on exterior plastics
- Easy reapplication and compatible with your existing cleaners and waxes
Evidence points to regular reapplication every season, especially after cleaning or detailing. You’ll enjoy quieter operation, fewer leaks, and longer seal life when you pair the right seal lubricants with protective coatings.
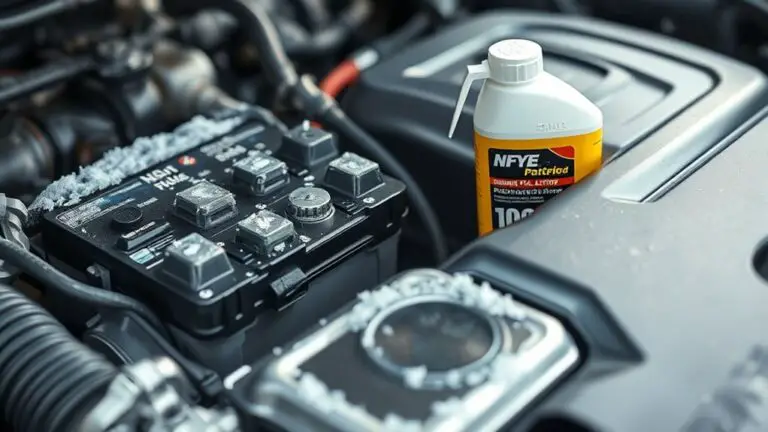
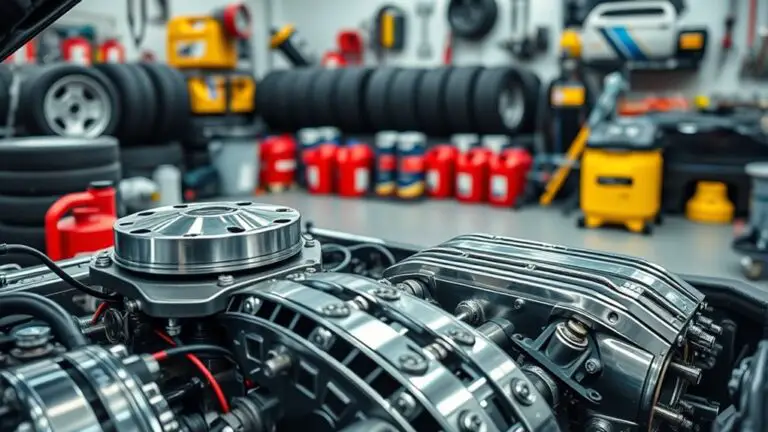
Fluid Check: Antifreeze, Oil, and Windshield Fluid
With your winter prep in mind, it’s time to assess the fluids that keep the engine and climate control running smoothly: antifreeze, engine oil, and windshield washer fluid. You’ll want to verify antifreeze levels are within the marked range and mixed to the correct ratio for your climate, preventing freezing and overheating. Check the reservoir cap for color and concentration, and top up with the same spec as the existing coolant if needed. For oil, focus on viscosity and level: verify the dipstick shows within the marked area, and ascertain the oil type matches the manufacturer’s spec for winter performance. If you’re due for a change, schedule it before extreme cold sets in; thinner oil can ease cold starts, but incorrect viscosity hurts protection. Windshield fluid deserves a winter-grade formula that resists freezing and cleans effectively. Keep a spare pint in the trunk. Regular checks support reliability and personal freedom on frosty mornings.
Window and Door Seal Maintenance Tips
To protect against leaks and frost, start with seal conditioning techniques like cleaning the rubbers and applying a compatible conditioner to maintain flexibility. Pair this with UV shielding methods, such as parking away from direct sun and using UV-blocking treatments on glass and seals to slow drying and cracking. Regular checks for gaps or stiffness help you spot wear early and keep doors quiet and drains clear in winter.
Seal Conditioning Techniques
Seal conditioning helps keep window and door seals pliable and effective in cold weather. You’ll focus on preserving elasticity and preventing cracks that invite moisture and air leaks. Evidence supports regular conditioning to reduce friction and seal wear, supporting longer seal life and moisture protection. Apply products sparingly, and test with gentle pressure to verify no sticking or residue buildup.
- Inspect for stiffness, gaps, or hard spots, and note areas needing attention
- Clean surfaces with a mild cleaner, then wipe dry to avoid trapped moisture
- Apply a thin, even layer of conditioner, avoiding over-application
- Allow time to set, then flex windows and doors to confirm smooth operation
Seal restoration and moisture protection benefits become evident as seals remain pliable, sealing out drafts.
UV Shielding Methods
UV exposure can degrade window and door seals over time, so you should prioritize shielding them from sun, heat, and ozone. To start, apply UV protective films on interior glass surfaces when possible; these films reduce heat gain and block up to 99% of UV rays without altering visibility. Next, inspect seals for cracks or stiffness; address small gaps with prompt conditioning to prevent accelerated wear. Use sealant sprays sparingly on exterior joints only if manufacturer-approved and compatible with your seals, avoiding over-application that can trap moisture. Regular cleaning with a gentle, non-abrasive wipe helps remove corrosive residues and ozone-induced grime. Finally, park in shade when feasible, and rotate exposure between sides to minimize uneven aging and preserve function.
Seasonal Storage and Protective Covers
When storing your car for the season, start with a clean, dry exterior and a fresh battery—this minimizes corrosion and moisture buildup that can cause damage over time. Seasonal storage demands thoughtful setup to protect seals and finish without restricting your freedom to enjoy your ride later. Use protective covers that fit snugly and breathe to reduce moisture buildup; avoid covers that trap heat or dust. Choose a breathable, weatherproof option for outdoor or garage use, and guarantee the undercarriage remains dry after washing.
- Clean, dry exterior and fully charged battery before cover application
- Breathable protective cover tailored to your model and parking environment
- Indoor storage where possible, or a moisture-absorbing setup in an unheated garage
- Periodic checks for mold, pests, or fabric wear, re-tightening straps as needed
These steps support seasonal storage with minimal risk to seals or finish, while preserving your sense of freedom and readiness.
Quick Weekend Routine to Maintain Seals
This weekend, you’ll start with quick seal checks to spot cracks or gaps before they worsen. Then apply UV-Guard conditioning to protect rubber and seams from sun damage, extending life between seasons. Pair this with simple weekend routine tips, like setting reminders and keeping a toolkit handy, to keep seals pliable and water-tight.
Quick Seal Checks
Quick seal checks are a fast, practical way to prevent leaks while winterizing your car; simply inspect door and hatch gaps, window seals, and the trunk edge for cracks or gaps. You’ll improve seal inspection outcomes and weather resistance with a light touch and a careful eye.
- Inspect door gaps for even alignment and minor cracks
- Check window seals for stiffness or tearing
- Feel the trunk edge for moisture or gaps
- Note unusual creases that hint at aging seals
This quick routine supports a freer driving experience by catching early wear, guiding timely maintenance. Use a clean finger or soft cloth, avoid solvents, and recheck after a test ride. Consistency beats intensity, keeping seals reliable through cold, wet days.
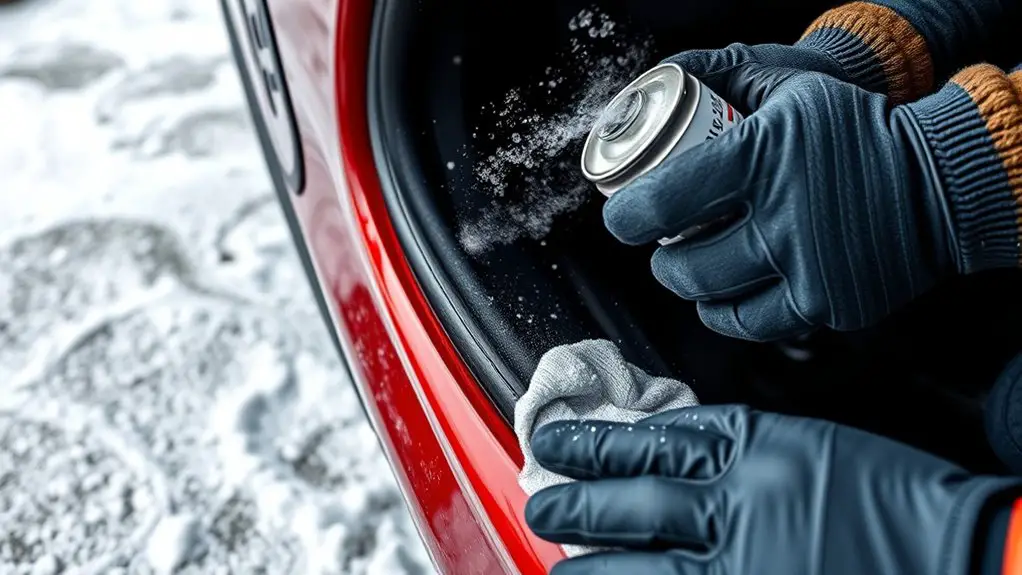
UV-Guard Conditioning
UV-Guard Conditioning offers a practical follow-up after quick seal checks, focusing on protecting rubber and plastics from sun and heat exposure during winter. You perform a short routine on a weekend, keeping it simple and repeatable. Begin with a clean surface, then apply a thin, even layer of conditioner designed for automotive seals. Work it into edges and crevices with a microfiber towel, letting it penetrate without buildup. This step supports uv protection by restoring flexibility and reducing cracking risk, while preventing material drying from interior heat. For seal care, wipe away excess product and inspect for uniform coverage. Evidence-informed results show maintained elasticity and fewer sun-induced defects. Stay consistent: weekly application during harsh seasons sustains performance and preserves your vehicle’s protective seal integrity.
Weekend Routine Tips
To keep seals in top shape, a quick weekend routine can be your best ally. You’ll perform a focused, DIY maintenance session that fits your schedule and boosts long-term durability.
- Inspect door and trunk seals for cracks or stiffness, noting any changes in pliability
- Wipe seals with a mild, UV-protective cleaner and a soft cloth, then apply a light conditioner
- Check windshield and sunroof seals for leaks or wear, reseal if needed
- Park in shade when possible and document improvements in your weekend checklist
This approach minimizes surprise costs and supports evidence-based care. By carving out time, you gain freedom from sudden repairs and keep edges flexible for seasonal shifts. Use DIY maintenance to stay confident and protected year-round.
Frequently Asked Questions
How Often Should UV Protectants Be Reapplied to Seals?
UV protection for seals isn’t a one-off spell—reapply every 3–6 months, more often if you park outside daily. You’ll want to track wear and reapply when you notice diminished sheen or slight cracking. Use seal maintenance products that are compatible with your seal material, and consider multiple protectant types for broad UV coverage. Stick to evidence-based guidance and rotate products to avoid buildup. This keeps your window rubbers flexible and your ride feeling free.
Can UV Exposure Cause Seals to Crack in Winter Sooner?
Yes, UV exposure can accelerate cracks in seals during winter, especially if you’ve got aging materials. UV degradation loosens elastics, making seals more brittle when cold. You improve resistance by regular Seal maintenance and reapplying UV protectants now and then. Keep surfaces clean, apply a thin, even coat, and don’t skip shaded or indoor sessions. You’ll preserve flexibility, reduce leaks, and maintain freedom to drive without worry, even in harsh weather.
Do Temperature Swings Affect Seal Elasticity After UV Aging?
“An ounce of prevention is worth a pound of cure.” Yes, temperature swings do affect seal elasticity after UV aging. You’ll see reduced seal durability as cycles heat and cool, causing stiffness or softening that compromises fit. Evidence shows material aging accelerates with repeated thermal stress, so monitor temperature effects and inspect seals regularly. To minimize risk, keep interior temps moderate, use UV-protective treatments, and replace aging seals before leaks become obvious.
Are There Non-Oil-Based Conditioners for Rubber Seals?
Yes, there are non-oil-based conditioners for rubber seals. Look for synthetic conditioners designed for rubber that don’t leave greasy residues—these support seal maintenance without oiling finish. They typically form a UV-stable, protective film, helping maintain elasticity after aging. For best results, apply to clean, dry surfaces and follow the product’s directions. Evidence suggests these formulations can reduce cracking, brittleness, and leakage over time, while preserving flexibility and resisting dust.
What Signs Indicate Imminent Seal Failure From UV Damage?
UV exposure can cause seal deterioration before you notice leaks. Look for hardening, cracking, brittleness, or a chalky residue along door and window seals. Pitting or discoloration signals UV damage, and you might hear creaking or feel tight resistance when opening. If you detect these signs, inspect promptly and replace seals as needed. Regular conditioning and sun shading help, but don’t ignore sudden changes—early action preserves flexibility and prevents leaks.