Cleaning and Care to Stop Interior Plastic Cracking From Returning
To stop interior plastic cracking from returning, start with gentle, pH-balanced cleaners and soft cloths to minimize wear. Inspect vulnerable zones like seams, corners, and high-stress ribs for early signs such as whitening or micro-fissures, then address them with compatible conditioning products in thin layers. Limit sun exposure, control temperature swings, and avoid harsh solvents that degrade polymers. Conduct spot tests first, apply protective coatings only when advised, and maintain a disciplined maintenance routine for lasting resilience. More details await.
Understanding Why Interior Plastic Cracks Happen
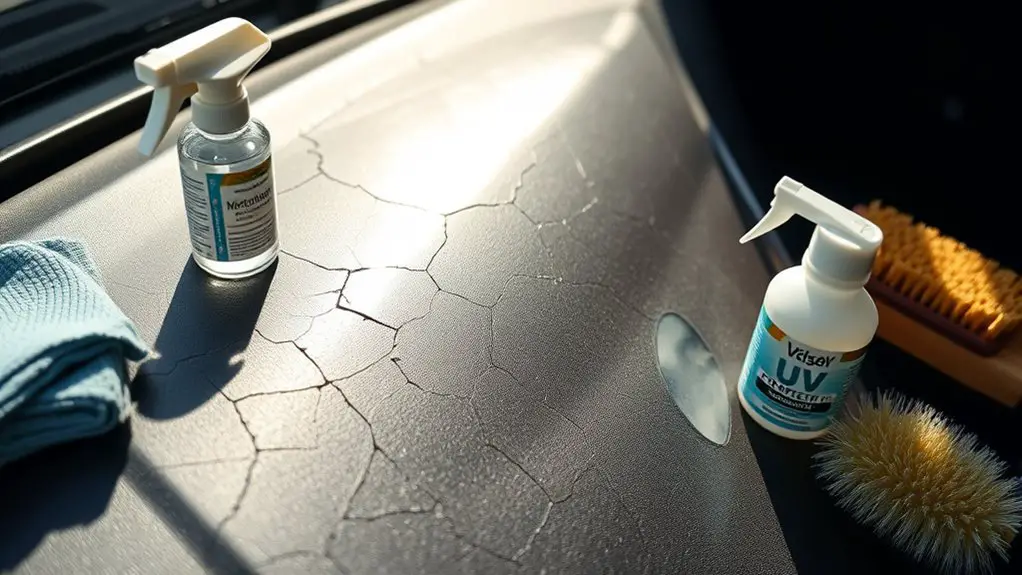
Cracking in interior plastics arises from a combination of material properties, manufacturing processes, and situational stress. You’ll see cracks emerge when resin rigidity, filler content, and glass phase change temperatures misalign with operating temperatures and loading cycles. Material properties dictate how a polymer responds to strain, heat, and moisture, while processing decisions—molding pressure, cooling rates, and additives—set the baseline performance. Environmental factors play a critical role: ultraviolet exposure, humidity, and chemical contacts accelerate aging and embrittlement in some formulations. You should recognize that plastic degradation isn’t a single-cause event; it’s a sequence where microstructural changes accumulate until a flaw grows under cyclic stress. Observing early signs—fuzzing, whitening, or tiny fissures—signals a shift in durability, not merely surface wear. By understanding these drivers, you can anticipate vulnerability, select appropriate materials or protective coatings, and adjust maintenance to mitigate crack propagation. This evidence-based view supports informed choices without overspeculation.
Spotting Vulnerable Areas Before Damage Starts
Spotting vulnerable areas before damage starts requires a proactive, evidence-based assessment of geometry, material zones, and exposure conditions. You map seams, corners, and high-stress ribs to identify hotspots where stresses accumulate. Focus on thickness variation, junctions between differing plastics, and areas with repeated flexing or UV exposure. Record material grades, colorants, and aging histories to spot incompatibilities that create microcracks. You evaluate service conditions: temperature cycles, humidity, and chemical contact that accelerate embrittlement. Early detection hinges on baseline measurements—dimensional changes, surface roughness, and small cracking signals—compared to established norms for your part. Use nondestructive tools, like dye penetrants or prisma-based inspection, to validate suspected zones without disassembly. Prioritize areas near fasteners, joints, and overmold shifts where tooling artifacts and residual stresses concentrate. Your disciplined, evidence-led approach enables targeted monitoring, enabling timely interventions before cracks propagate and reliability erodes.
Gentle Cleaning Practices That Protect Surfaces
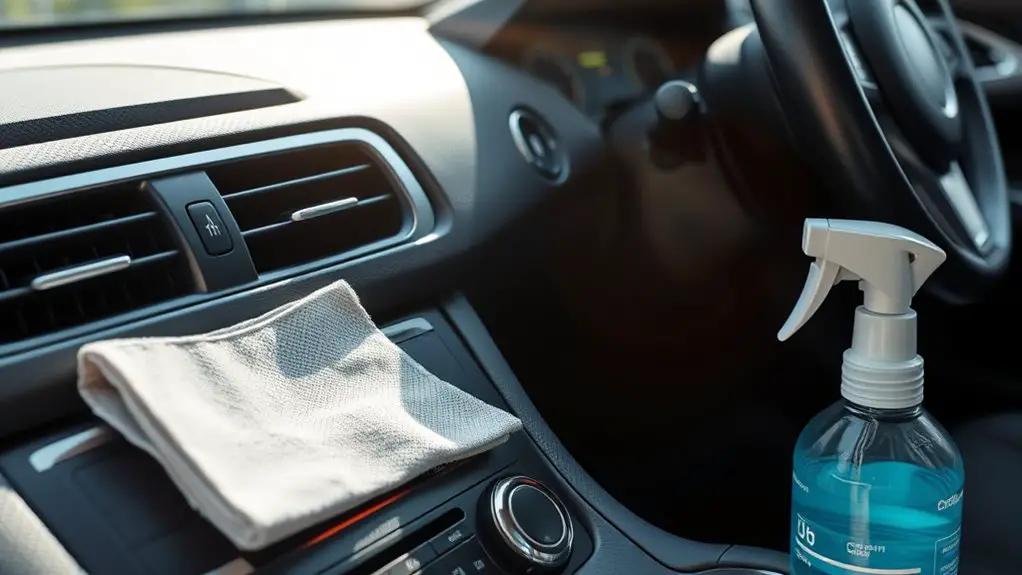
Gentle cleaning practices matter for preserving interior plastics after identifying vulnerable zones. You’ll want methods that minimize abrasion and chemical exposure while preserving color and texture. Use evidence-based routines that prioritize surface protection and long-term integrity, not quick fixes.
- Safe cleaning: opt for pH-balanced formulations and soft cloths to reduce micro-scratches and resin degradation.
- Gentle mechanics: avoid vigorous rubbing; apply light pressure and let cleaners dwell briefly for efficacy.
- Tool selection: choose microfiber, non-abrasive sponges, and avoid metal or stiff plastics near vulnerable areas.
- Post-cleaning care: rinse with distilled water, dry with a lint-free cloth, and apply protective coatings only when recommended by manufacturers.
These practices support durable aesthetics, reduce cracking risk, and align with a freedom-forward approach that respects material behavior while enabling confident self-management. Remember to verify compatibility with your specific surface materials before use, ensuring ongoing surface protection.
Conditioning and Maintenance for Long-Lasting Rubber and Plastic
Conditioning and maintenance for long-lasting rubber and plastic require a precise, evidence-based approach: select products proven compatible with the specific material you’re treating, apply them in thin, uniform layers, and avoid over-saturation that can soften or swell polymers.
Effective care combines rubber conditioners and protective coatings that form stable barriers against moisture, oils, and abrasion. Choose products with documented compatibility and perform a spot test before full application. After applying, allow adequate curing time and wipe excess to prevent buildup that can attract dust.
| Material | Recommended approach |
|---|---|
| Rubber | Use light, even coats; reapply sparingly to maintain flexibility |
| Plastic | Favor breathable protective coatings; avoid solvent-heavy formulas |
| General finish | Monitor for tackiness; re-coat only when necessary |
This approach supports freedom through informed choice, reducing cracking risk while maintaining tactile and visual integrity.
Preventive Habits to Minimize Heat, Sun, and Chemical Stress
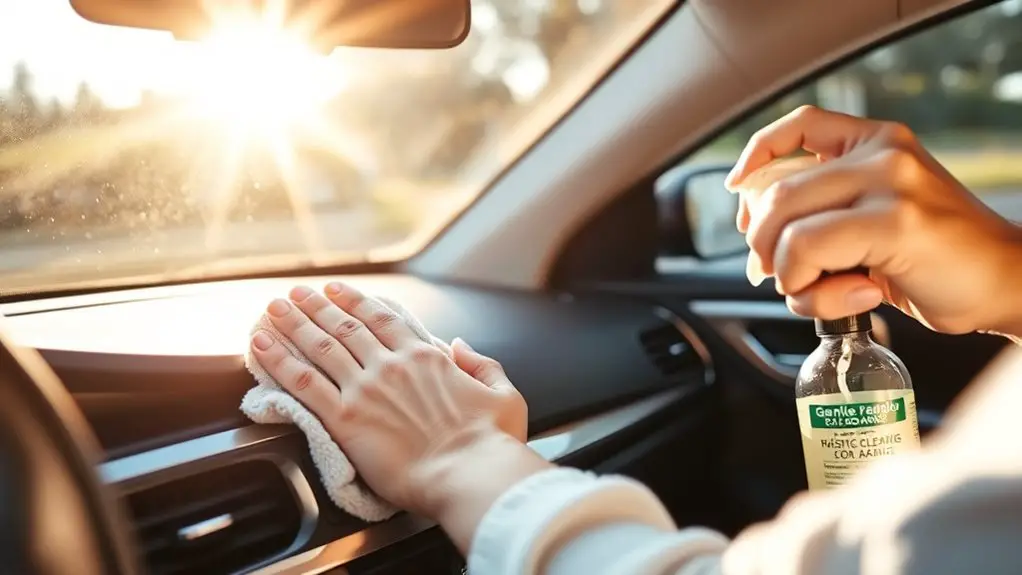
Exposure to heat, sunlight, and chemicals accelerates material aging, so preventive habits build on careful product selection and gradual, measurable care from the previous topic. You minimize stress by limiting sun exposure and avoiding abrupt temperature fluctuations, then reinforce durability with evidence-based routines. Consistent choices and monitoring yield tangible benefit, reducing crack initiation and propagation.
- Inspect materials for UV stability ratings and smoothness before placement
- Maintain stable interior temperatures to avoid sudden heat or cold shocks
- Use pH-neutral cleaners and avoid solvents that degrade polymers
- Schedule regular micro-inspections to catch early signs of sun exposure or temperature fluctuations
A disciplined approach combines material data with real-world use, aligning with an freedom-oriented mindset. You prioritize documentation, compare outcomes, and adjust care intervals accordingly. By treating preventive habits as ongoing experiments, you reduce stressors while preserving aesthetic and function. The result is measurable, repeatable durability against heat, sun exposure, and chemical challenges.
Frequently Asked Questions
Can I Use Household Cleaners on Interior Plastic Without Damage?
If you want to know, yes—some household cleaners are safe for interior plastic, but you must choose wisely. Avoid ammonia, acetone, and bleach; opt for mild, non-abrasive products. Test on an inconspicuous area first, then wipe gently and dry. Use safe cleaners and follow label directions to minimize stress and cracking. Regular, careful plastic care reduces damage over time. You’ll preserve clarity and flexibility while maintaining a freer, evidence-based routine.
Do All Plastics Crack at the Same Rate?
Not all plastics crack at the same rate. You’ll see variation due to plastic durability factors like polymer type, filler content, and exposure history. Some degrade faster under UV, heat, or humidity, while others resist cracking better. Consider environmental impact and material selection when evaluating longevity. You can’t assume uniform behavior; test conditions matter. An evidence-based approach helps you choose plastics with higher durability factors, reducing long-term cracking and minimizing environmental impact while maintaining freedom in use.
How Often Should I Reapply Conditioners to Plastic?
You should reapply conditioners every 3 to 6 months, depending on exposure and product type. For high-heat or sun-exposed interiors, lean toward every 3 months; in milder environments, 6 months may suffice. This aligns with plastic maintenance frequency and interior care tips that emphasize regular conditioning to prevent micro-cracking. You’ll benefit from documenting each session, using UV-protective formulas, and noting changes in texture. Regular, evidence-based checks keep aging plastics flexible and visually consistent.
Are There Difference Between UV Protectants for Plastics and Rubber?
Yes, there are UV protectant type differences between plastics and rubber. You’ll see UV protectant types tailored for plastics focus on pigment stabilization and resin compatibility, while rubber formulations emphasize elastomeric durability and aging resistance. You should assess material compatibility, exposure, and additive stability. In practice, choose products labeled for the specific substrate, and prefer broad-spectrum blockers with antioxidants. This evidence-based approach helps you minimize cracking, color fading, and surface brittleness over time.
Can Heat Exposure Permanently Reverse Existing Cracks?
Heat exposure cannot permanently reverse existing cracks; it may soften or deform plastics temporarily, but cracks are structural damage. For crack repair, investigate suitable materials and controlled conditions, then assess edges for stabilization rather than relying on heat alone. You should seek evidence-based methods, test small areas, and document outcomes. If heat damage worsens or recurs, replace the affected component. Consistency in UV protection and temperature control remains essential to prevent further crack development.