Cost/Time: DIY Vs Professional for Interior Cup Holder Broken
DIY can save you money if the cup holder issue is minor—think small obstructions, simple reassembly, or light cleaning. Expect parts in the $5–$45 range, quick fixes under a few hours, and no downtime if you’re comfortable with basic tools. Professional repair costs rise with parts, labor, and calibration, but offer guaranteed torque, reliable mounting, and warranty protection. If you want predictable results and minimized risk, consider professional service; more details await.
Assessing the Damage: When to DIY Vs When to Hire
Evaluating the damage is a critical first step to decide between DIY or professional repair. You’ll perform a structured damage assessment to determine scope, severity, and safety implications. Begin with exterior inspection for cracks, loose fittings, and mounting failure, documenting each symptom with clear notes. Move inward to the cup holder cavity, checking for warped plastics, bent tabs, or missing springs that affect deployment and retention. Assess internal components, such as actuators, linkages, and electrical connectors, for corrosion, wear, or disconnection. Establish whether the issue is mechanical binding versus electronic fault, and classify urgency: benign, moderate, or critical. Use objective criteria to guide repair evaluation, comparing estimated labor, material costs, and downtime. Consider safety risk to users and ongoing vehicle systems. If the damage impairs latching, alignment, or electrical safety, escalate to professional repair. Your decision should balance reliability, cost, and personal capability.
Common Causes of Interior Cup Holder Failures
Wear and tear patterns reveal how the cup holder’s enclosure and slides degrade over time, which can lead to looseness or binding. Improper use stress, such as forcing inserts or loading oversized cups, accelerates wear and can bend or stress mount points. Misalignment issues disrupt grip, trigger binding, and increase failure risk; identify these factors to determine if a DIY repair is sufficient or if professional intervention is required.
Material Wear Patterns
Cup holders experience material wear primarily through abrasion, deformation, and thermal cycling that degrade lining surfaces and spring mechanisms. You’ll perform a focused wear analysis to identify early indicators—scrapes, micro-tears, and spring lag—that signal durability decline. Material durability hinges on polymer resilience, contact geometry, and load frequency, so document bearing surfaces, edge relief, and latch hardness with precision. Pattern recognition guides maintenance decisions and helps distinguish inevitable fatigue from improper use. Follow standardized checks, record chamber resistance, and compare against baseline specs to avoid false conclusions. Prioritize safety: de-energize systems before inspection, handle assemblies with gloves, and secure loose parts. Align findings with serviceable lifecycles and cost/benefit targets for repairs or replacements, and maintain clear traceability for future wear analysis.
- Abrasion and edge wear indicators
- Deformation morphology under cyclic load
- Thermal cycling effects on polymers
- Spring mechanism lag and restoration limits
Improper Use Stress
Improper use stress is a leading, often overlooked, cause of interior cup holder failures, arising when users apply forces outside the design envelope or sequence operations improperly. You assess stress factors by mapping load paths, recognizing that leverage, twist, or rapid retractions introduce unexpected moments. Adhere to manufacturer tolerances, avoid prying or slamming inserts, and never exceed recommended insertion angles. Your usage habits matter: steady, directional forces over time reduce fatigue, while impulsive actions amplify microcrack growth. Document routine checks for binding, debris, and wear, and halt use if resistance increases. Apply consistent seating and release procedures to minimize transient shocks. Training, clear operating steps, and safety reminders empower you to preserve function, reliability, and safety, even during quick, adaptive fixes.
Misalignment Issues
Misalignment issues top the list of interior cup holder failures because even slight angular offsets disrupt seating, latch engagement, and drawer-like guidance. You’ll diagnose with precise measurements, then apply targeted fixes that restore smooth travel, proper locking, and stable tolerance. Focus on repeatable alignment adjustments and verified fit before final installation techniques. Prioritize safety by securing components and testing under load.
- Confirm reference planes and seating depth to identify deviation
- Implement alignment adjustments with calibrated shims and micro-adjusters
- Validate latch engagement through full-cycle tests and smooth retract extend motions
- Document steps, torque specs, and recheck after final installation techniques
Remember: disciplined procedure reduces risk, improves longevity, and preserves the sense of freedom in vehicle customization.
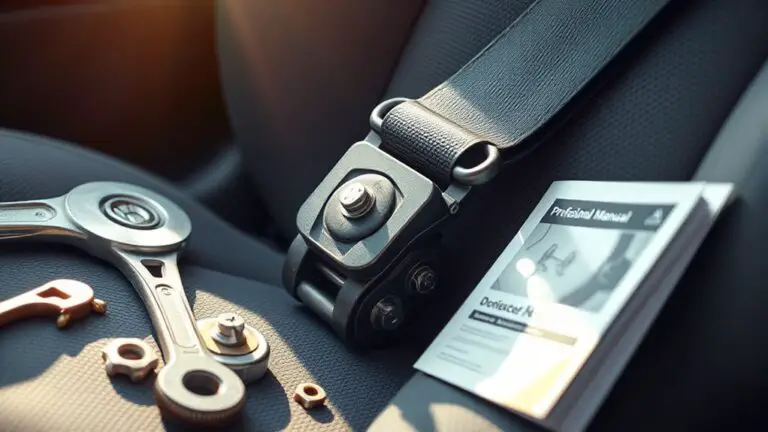
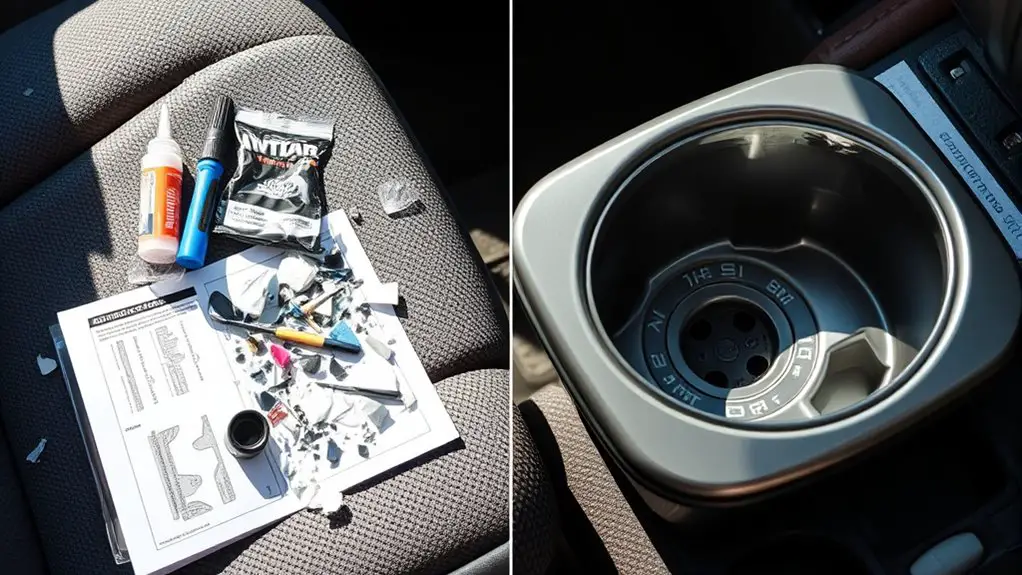
Tools and Materials You’ll Need for DIY Fixes
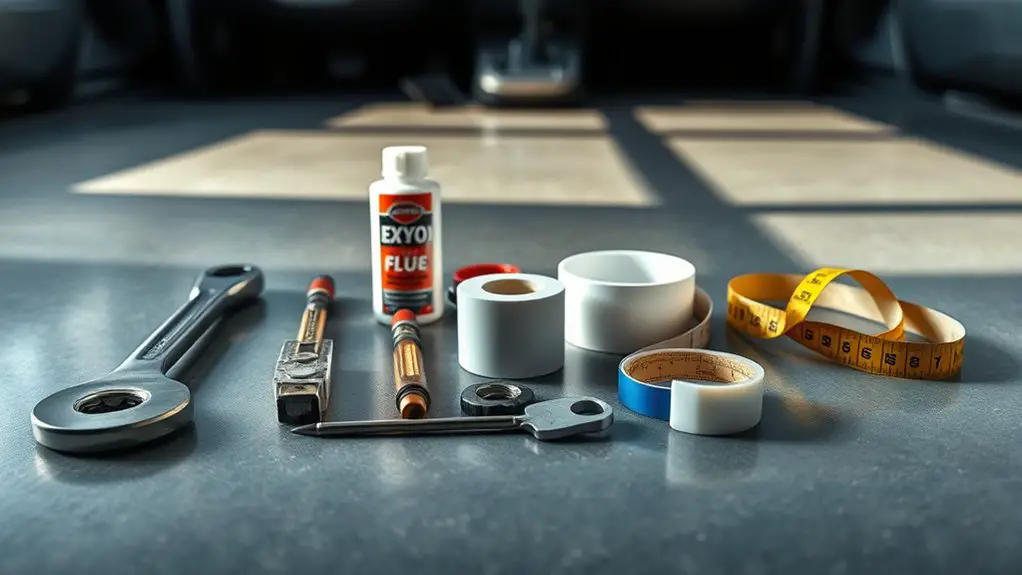
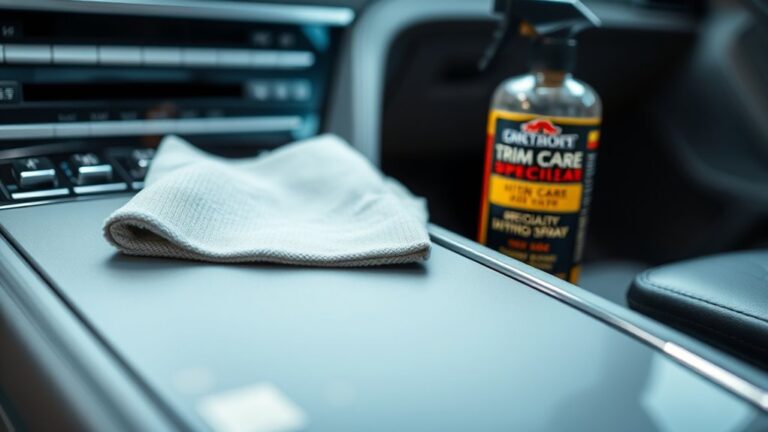
To tackle DIY interior cup holder fixes, assemble a focused set of tools and materials that guarantee precise alignment, clean joins, and safe handling. You’ll want a baseline of hand tools: precision screwdrivers, foam brushes, scalpel-style blades, and calipers for exact measurements. Gather repair materials such as epoxy resin, two-part plastic weld, and a compatible filler compound to close gaps without cracking. Include adhesive types chosen for automotive plastics and rubber, like structural epoxy and cyanoacrylate variants, ensuring compatibility with your cup holder substrate. Replacement parts should be limited to OEM or precisely shaped aftermarket inserts that fit your model. Stock safety gear: nitrile gloves, eye protection, and a dust mask for debris control. Cleaning supplies must cover degreaser, isopropyl alcohol, lint-free wipes, and a tack cloth for final surfaces. Plan for test fitting, curing time, and post-cleanup wipe-down to prevent stickiness or residue.
Quick DIY Fixes: Salvaging a Stuck Cup Holder
If a cup holder won’t release, start with a deliberate, low-risk approach: confirm there’s no obstruction, apply gentle external pressure, and proceed to a controlled disassembly only after powering off the vehicle and disconnecting any power sources. You’ll prioritize safety, document steps, and minimize force to avoid internal damage. Use deliberate, incremental tests to locate the binding point, then segment the path to free movement without forcing components. Maintain clean hands and dry contacts; reseal when reassembling to prevent debris ingress. For quick fixes, your aim is to restore function with minimal disassembly while preserving future reliability. Monitor fit after each action and verify cup holder alignment before reactivating power.
- Confirm obstruction absence; avoid prying with sharp tools.
- Apply measured pressure; halt if resistance increases.
- Isolate power; disconnect battery or fuse if applicable.
- Reassemble with alignment checks and test glow-free operation.
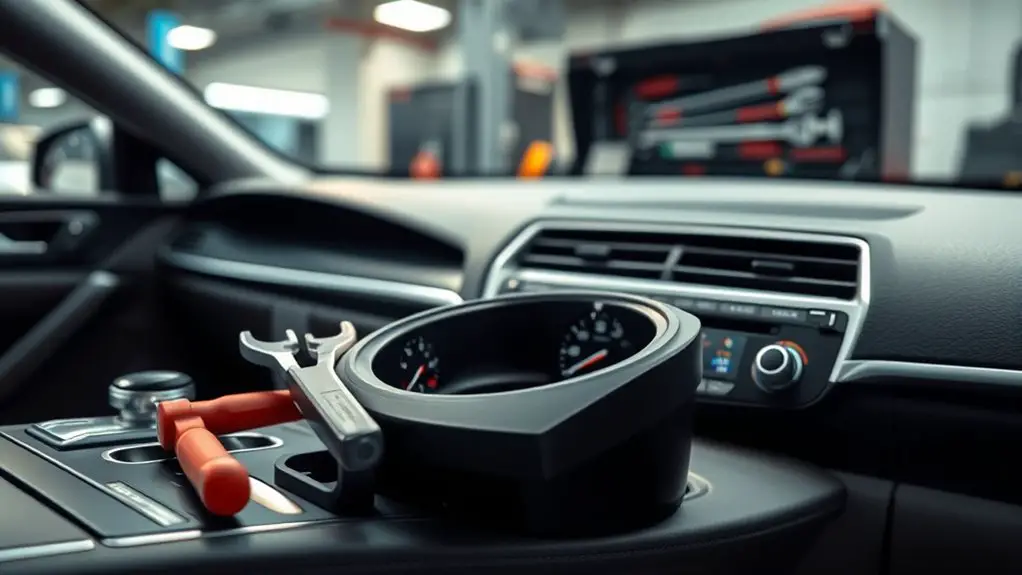
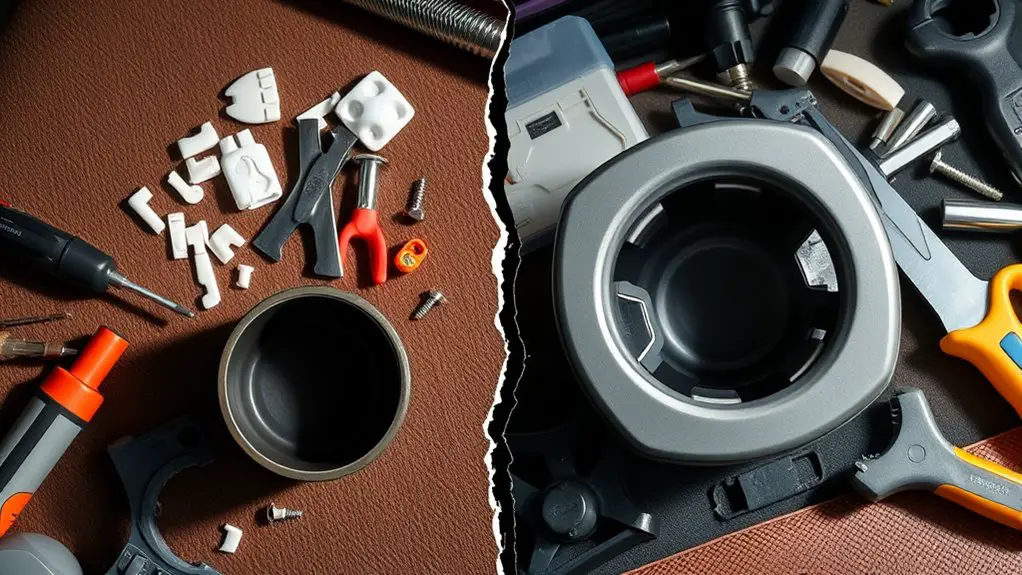
More Involved DIY Solutions: Refurbishing or Replacing Components
Next, you’ll move beyond quick fixes to more involved DIY options that center on refurbishing or replacing components. You approach the task with a disciplined plan: identify the specific subassemblies in the cup holder housing, trim away corrosion, and verify fit tolerance before reassembly. Refurbishing techniques begin with non-destructive cleaning, material conditioning, and protective coatings to restore grip, spring tension, and latch alignment. For components that are damaged beyond repair, you’ll source compatible parts through reputable suppliers, confirming compatibility by part numbers, dimensions, and electrical or mechanical interfaces where applicable. Document every measurement and torque specification to maintain consistent performance. Safety emphasis remains central: disconnect power, wear eye protection, and avoid solvents that can degrade plastics. During reassembly, test the mechanism under load, verify smooth travel, and re-check for interference with adjacent console features. Efficient component sourcing reduces downtime and supports repeatable results, turning a DIY project into a reliable, long-lasting repair.
When Professional Repair Is the Smart Choice
You should weigh cost versus benefit, recognizing that professional repair may offer longer-term financial and functional value when reliability is critical. Your decision should consider skill requirements and safety implications, as improper repair can worsen damage or create hazards. In the long run, professional service can enhance reliability and reduce the risk of recurring issues.
Cost Vs Benefit
When the interior cup holder fails to function as intended, weighing cost against benefit becomes critical, because a professional repair can secure reliability, safety, and long-term performance that DIY work may not guarantee. You’ll evaluate cost effectiveness and value assessment by comparing parts, labor, and expected lifespan, not just upfront price. Professional fixes typically minimize recurring failures, reducing hidden costs from misalignment or compatible-fit issues. Consider warranty protection, diagnostic accuracy, and post-repair performance guarantees as quantifiable benefits. If reliability and safety are non-negotiable, professional service often proves the smarter economic choice, despite higher initial outlay. You gain predictability, steadier use, and preserved vehicle value over time.
- Transparent pricing and scope of work
- Verified parts compatibility and warranty terms
- Measured risk reduction and safety compliance
- Long-term performance and maintenance trajectory
Skill and Safety
Even though DIY fixes can save money, professional repair is the safer choice when it comes to skill and safety. You’ll follow a formal risk assessment: evaluate tool quality, component access, and potential electrical or latch failures. Begin with explicit safety precautions: disconnect power, isolate the vehicle battery, and wear eye protection and gloves. Then perform a skill assessment: your hands-on competence, the need for specialty tools, and whether your method preserves alignment and mounting integrity. If uncertainty exists, opt for a trained technician to prevent secondary damage or fire risk. Documentation of steps, torque specs, and test cycles guarantees repeatable results. Prioritize containment of debris and proper reassembly. In short, professional repair minimizes harm, preserves function, and aligns with disciplined safety standards.
Long-Term Reliability
Long-term reliability hinges on calibration, proper torque, and durable mounting when a professional repair is chosen. You’ll focus on repeatable, documented procedures to guarantee longevity, rather than quick fixes. A durability assessment guides material choice, fixture integrity, and load distribution, reducing creep and fatigue over time. Emphasize long term maintenance as a proactive discipline: schedule checks, verify fastener retention, and confirm alignment after every service. Precision execution today prevents cascading failures tomorrow, preserving in‑vehicle usability and safety. When in doubt, defer to the manufacturer’s torque specs and calibration references to maintain guaranteed performance. You’ll gain confidence through consistent quality, predictable wear, and traceable results that support continued freedom of usage.
- Calibration consistency
- Torque verification
- Load-path integrity
- Documentation and audits
Typical Costs: Parts, Tools, and Labor Averages
Typical costs for an interior cup holder replacement or upgrade hinge on three core elements: parts, tools, and labor. You’ll weigh parts pricing (OEM vs aftermarket) against reliability and fit, then assess tool needs and rental options to optimize both cost and safety. Labor averages reflect complexity, access, and potential need for trim removal or wiring checks, so anticipate your time as a component of overall expense. This section keeps to precise figures, avoiding fluff while guiding you toward smart choices that preserve freedom of use.
| Part Type | Typical Cost Range | Notes |
|---|---|---|
| Cup holder unit | $5–$45 | OEM vs aftermarket varies |
| Hinges/brackets | $3–$25 | Stainless or plastic, strength matters |
| Fasteners and seals | $1–$10 | Include weathering and grip quality |
| Tooling/Access | Typical Cost | Rental/Reuse Tips |
| Basic screwdrivers/wits | $0–$15 | Use what you own; avoid stripped screws |
| Pry tools/trim removal | $5–$20 | Consider tool rental for non-regular tasks |
| Safety gear | $2–$8 | Gloves, eye protection, avoid shortcuts |
Time Estimates for Popular Repair Methods
Short, practical timelines help you plan repairs efficiently. Expect quick fixes to take under an hour, while more involved methods may require 1–3 hours plus cure or set times, depending on materials used. I’ll outline labor estimates and typical durations next, with safety checks at each stage.
Quick Fix Timelines
Estimating repair timelines for common DIY fixes on an interior cup holder helps you plan buildup and usage without unnecessary downtime. You’ll follow precise steps, choose fast‑set materials, and measure cure windows to maintain function and safety. For quick fix strategies, expect minimal disassembly and direct replacement or coating where feasible, with defined cure and handling times. Each method aligns with repair timeframes that preserve vehicle usability while reducing risk.
- Quick fix strategies emphasize minimal tools, controlled environment, and defined cure windows
- Repair timeframes account for material handling, cure, and final testing
- Stepwise execution minimizes downtime and preserves adjacent components
- Safety checks and torque specs guarantee reliable performance after reassembly
Labor Cost Estimates
When planning interior cup holder repairs, you’ll need clear labor cost estimates tied to time estimates for popular methods. A labor cost breakdown starts with method selection, then maps technician hours to shop rates. For a simple removal and clean, expect 0.5–1.0 hour at $75–$120 per hour, yielding $37–$120. A replacement insert or module swap runs 1.0–2.0 hours, at $90–$150, totaling $90–$300. A dye or trim repair varies by material, 1.0–2.5 hours, $100–$180 hourly, giving $100–$450. If adhesive or minor plastics repair is chosen, anticipate 0.5–1.5 hours, $80–$140 hourly, $40–$210. Always compute the labor cost breakdown against average repair expenses to gauge total project risk and budget. Prioritize safe, repeatable procedures for consistent results.
Hidden Costs and Considerations: Warranty, Safety, and Downtime
Hidden costs and considerations around warranty, safety, and downtime must be evaluated before deciding between DIY or professional interior cup holder work, because hidden defects or coverage limits can negate apparent savings.
You assess warranty implications to understand what is covered, for how long, and who bears repair costs if a failure recurs. Safety concerns demand adherence to device, airbag, and electrical guidelines to prevent hazards or accidental damage. Downtime factors matter: project duration, parts availability, and service scheduling influence total impact on you. Hidden expenses include disposal, tools, and potential rework if components don’t align after initial repair. You should quantify risk, compare coverage scopes, and map failure probabilities to prioritize safer, more efficient options.
- Warranty implications: coverage scope and transferability
- Safety concerns: electrical, airbag, and material integrity
- Downtime factors: duration, parts lead times, service windows
- Hidden expenses: tools, disposables, potential rework costs
Making the Decision: a Step-By-Step Guide to Choosing Budget and Schedule Optimized Options
To make an informed choice between DIY and professional interior cup holder work, start with a structured evaluation that weighs cost, schedule, and risk, then translate findings into a prioritized action plan. You’ll quantify budget considerations, estimate repair timelines, and map potential downtime against motorized access needs. Create a decision matrix: list tasks, required tools, skill level, and safety implications; assign numeric scores for cost, duration, and risk. Establish nonnegotiables (alignment with vehicle electrical safety, warranty impact, and component compatibility) and optional optimizations (bulk parts, time-windowed labor). For DIY, define confirmed scope, required PPE, and a staggered timeline to avoid cascading delays. For professional work, obtain written quotes with milestones, parts warranty, and post-service checks. Compare total ownership cost, including ease of future maintenance. Conclude with a single, actionable choice: execute the option that minimizes total risk while maximizing reliable repair timelines within your budget considerations and freedom from excessive downtime.
Frequently Asked Questions
Can DIY Fix Affect Your Vehicle’s Warranty or Insurance?
Direct answer: DIY fixes can affect warranty and insurance, depending on your manufacturer’s terms and your policy details. If you modify or repair without approved methods, warranty implications may arise and some insurers could deny claims related to the area you worked on. You must document steps, use correct parts, and preserve receipts. For safety, follow OEM guidelines and consult your dealer. This approach helps maintain warranty coverage and insurance coverage while you pursue freedom with confidence.
How Long Does a Professional Interior Cup Holder Repair Typically Take?
A professional interior cup holder repair typically takes 1 to 3 hours, depending on access, materials, and diagnostic needs. You’ll undergo a concise assessment, then follow repair techniques that prioritize structural integrity and function. Service costs vary by parts and labor, but expect a transparent, itemized quote. Safety is paramount, so technicians use proper grounding and tool handling. You’ll gain a secure, restored cup holder system while preserving freedom to drive with confidence.
Are There Risks to Airbag or Circuit Systems When DIY Repairing?
Yes, there are risks to airbag safety and circuit integrity when you DIY repair. You could disturb airbag sensors, wiring, or the SRS module, triggering faults or unintended deployment. Follow-all precautions: disconnect the battery, wait the advised cooldown, avoid static, and use proper tools. If any doubt remains, seek professional help. Your airbag safety and circuit integrity depend on precise, methodical steps and adherence to manufacturer guidelines.
What Is the Average Turnaround Time for Parts to Arrive?
Average turnaround is 3–7 days for standard interior cup holder parts, but it can extend to 1–2 weeks if parts are backordered or shipping delays occur. You should check part availability with the supplier before committing. Make certain you select authentic, compatible components, and track shipments for any delays. Maintain safety margins, verify compatibility after arrival, and document any replacement steps to minimize downtime during the process.
Can I Salvage Only the Sprung Mechanism Without Full Replacement?
-Indoor dash of a galaxy note, you can salvage the sprung mechanism only, but it’s delicate and may not seat reliably. Start by removing the cup holder and exposing the spring assembly, inspect for torsion wear, and test for binding. If intact, replace only the spring mechanism, not the entire unit. Use proper tools, follow repair options with caution, reassemble, verify fit, and guarantee safe operation.