DIY Fluid Services That Save Money and Avoid Oil Pressure Anomalies After Service
DIY fluid services that save money and avoid oil pressure anomalies start with a clear plan: assess needs, check baselines, and use proper fluids and filters that match specs. Keep hoses and caps leak-free, measure exactly, and don’t rush drains or refills. Use clean tools, prevent contamination, and log mileage, service dates, and observations. After service, verify oil pressure with steady readings and a brief idle/run. If you keep this up, you’ll uncover more practical tips soon.
Assessing Your Vehicle’s Fluid Service Needs
Determining your vehicle’s fluid service needs starts with a simple check of maintenance schedules and current symptoms. You’ll map out what fluids you actually monitor, then verify intervals against manufacturer guidance. Start with a quick gauge of fluid levels and color, noting any unusual smells or textures. Use fluid evaluation methods to compare today’s readings with established baselines, and flag deviations before they become problems. Create a concise plan from your findings: which fluids require topping, which need a full change, and what signs indicate a deeper issue. Your vehicle inspection checklist should include hoses, caps, and reservoirs for leaks, cracks, and tight fittings that could affect fluid performance. Document mileage, service dates, and observed trends so you can act promptly. Prioritize safety, reliability, and your freedom to drive with confidence. Keep the process practical, precise, and repeatable for ongoing peace of mind.
Choosing Cost-Effective Fluids and Filters
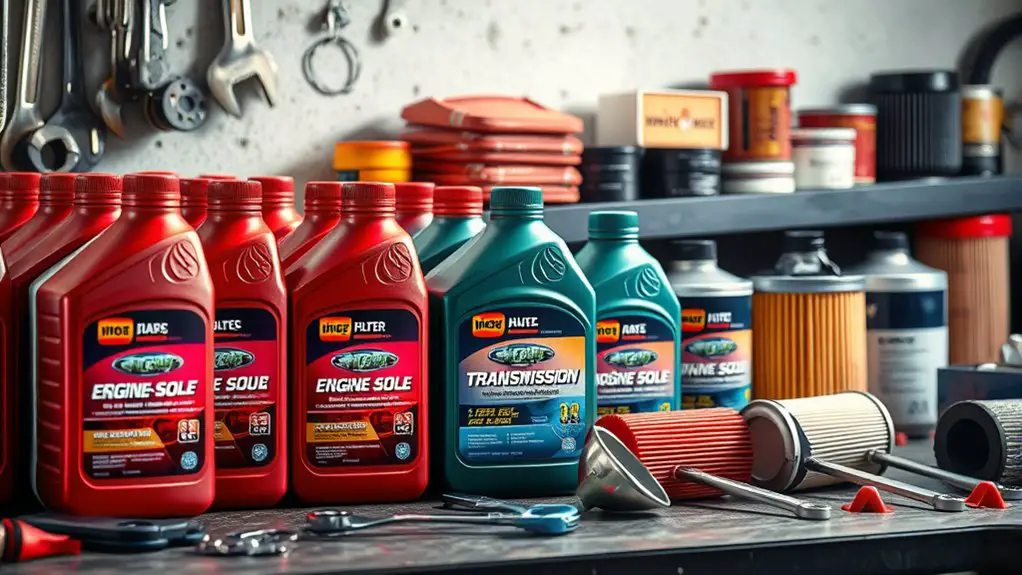
When you choose fluids, consider compatible options and costs across different fluid types to balance performance with value. Also compare filter costs and how often you’ll need replacements, factoring in your maintenance schedule and driving needs. This is your chance to plan a practical, cost-conscious routine that keeps systems clean and predictable.
Fluid Type Options
Choosing cost‑effective fluids and filters starts with matching API/ISO specs to your system’s requirements, then balancing initial price against long‑term performance. When you select fluid type, you weigh compatibility, viscosity, and operating temperature against cost and availability. Synthetic oils deliver stability, shearing resistance, and extended drain intervals, but you pay more upfront. Conventional oils stay affordable and work for simple duty cycles, yet may demand earlier changes. High mileage fluids can address older seals and wear patterns without overhauling your system. Specialty lubricants offer niche protection for stubborn conditions, yet their benefits hinge on correct application. Your goal is reliable protection without overkill, so match the blend to your engine design, climate, and service intent, then monitor performance and temperatures closely.
Filter Cost Considerations
Filter cost isn’t just the upfront price; it’s about value over a service cycle. You’re choosing fluid and filters that protect performance without chasing cheaper tricks. Prioritize filter longevity, not just cost per unit, because longevity lowers replacement frequency and downtime. Match filter compatibility to your system’s design, flow rate, and pressure ratings; a mismatched filter can cause restrictions or pressure spikes. Consider total cost of ownership: price, availability, and waste. Look for filters with proven filtration efficiency and robust housings that resist wear in your operating conditions. Don’t overpay for features you don’t need, but don’t compromise basic integrity. Document your chosen filters and part numbers, and stock a reasonable spare. With clear criteria, you preserve freedom to service confidently without surprises.
Maintenance Schedule Tactics
To keep costs in check, align your fluid and filter choices with your maintenance schedule and operating demands. Start by documenting your typical workload, uptime, and ambient conditions, then map these factors to maintenance frequency and service intervals. Choose fluids and filters that meet or exceed OEM specs but don’t overspec beyond real needs; avoid premium options that don’t add measurable value. Establish a routine cadence: inspect, replace, and verify performance at clear milestone points, not just time. Use staggered intervals for filters with different lifespans to minimize waste and downtime. Track results—oil pressure, temperature, and filter condition—to adjust choices proactively. This disciplined approach keeps costs predictable while preserving reliability, giving you genuine freedom to operate without overpaying for unnecessary capacity.
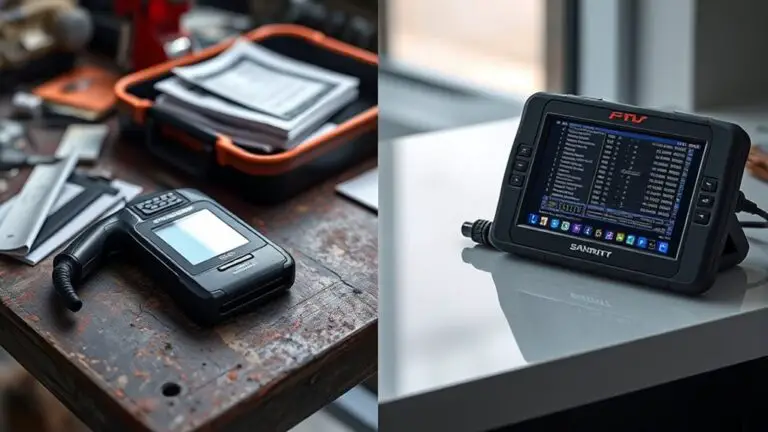
Tools and Equipment for DIY Fluid Services
You’ll start with the core fluid tools you’ll rely on daily and how to store them so they stay accurate. Set up basics mean organizing a clean work area, labeling containers, and keeping a backup in case of spills or cross-contamination. We’ll outline essential tools and practical setup steps to keep your DIY fluid services efficient and safe.
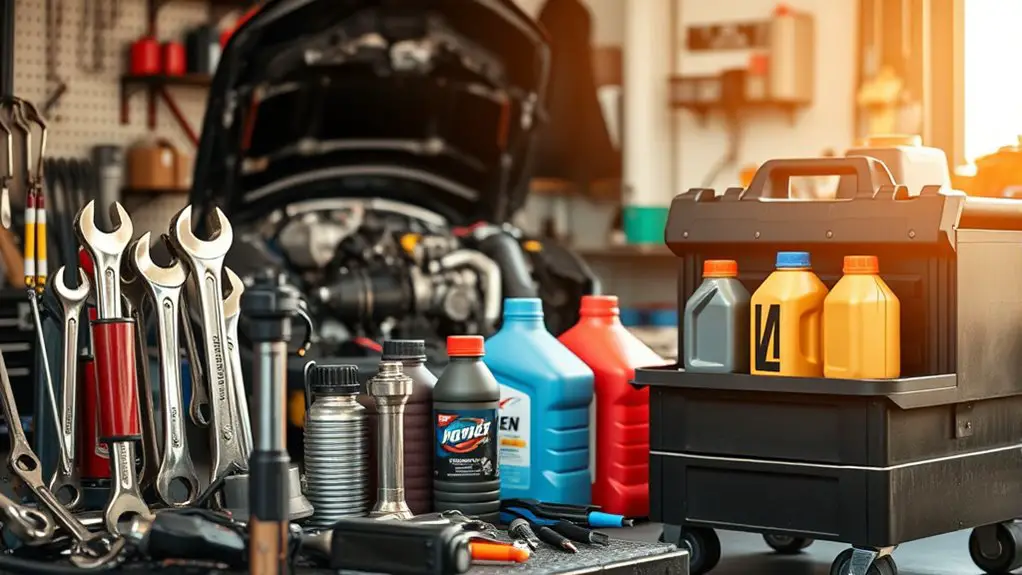
Essential Fluid Tools
When you’re tackling DIY fluid services, the right tools and equipment are non‑negotiable: a quality selection of wrenches, torque tools, jugs, funnels, and measurement devices keeps work accurate and safe.
Essential tools you’ll rely on include precise fluid measurement and reliable filtration techniques. Use calibrated cups and built‑in scales on jugs for consistency, and select filters compatible with your fluid type to prevent contaminants from sneaking in.
| Tool category | Purpose | Tip |
|---|---|---|
| Wrenches/Torque | Fastening, preload control | Match sizes to fittings |
| Jugs/Funnels | Transfer and pour without spills | Prefer wide mouths |
| Measurement devices | Verify volumes and pressure | Check calibration |
| Filtration accessories | Remove debris | Use appropriate filter type |
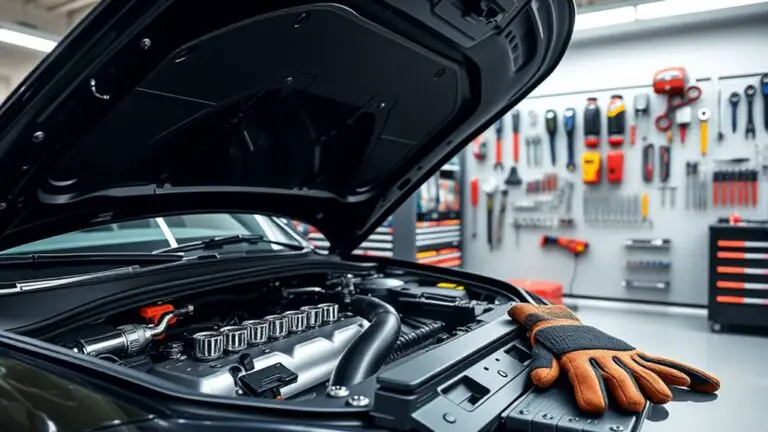
Equipment Setup Basics
Setting up your DIY fluid service kit starts with selecting the basics: dependable wrenches, torque tools, measuring jugs, funnels, and filtration options that suit your fluid type and project scale. Next, you’ll configure a compact, safe workflow focused on fluid transfer efficiency and contamination control. Place the primary reservoir and emptying containers on stable surfaces at waist height to reduce spills. Designate separate zones for intake, transfer, and disposal to minimize cross-contamination. Use clearly labeled, leak-tight fittings and color-coded hoses for quick identification. Confirm tools are within reach but not overcrowded to maintain clear access paths. Align equipment placement with gravity flow where possible, and secure cords and hoses to prevent trips. Regularly verify seals, flow rates, and filtration before any service.
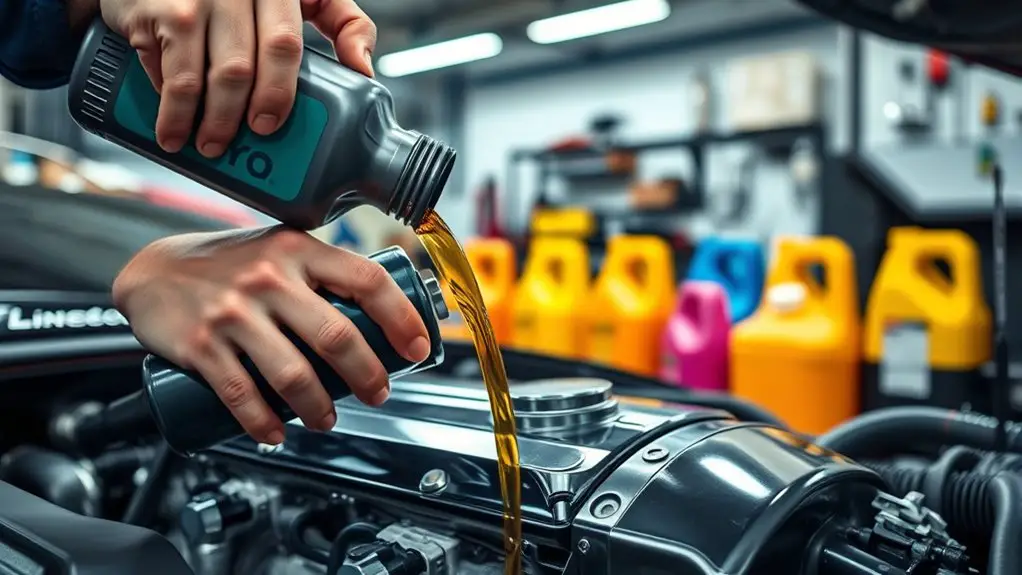
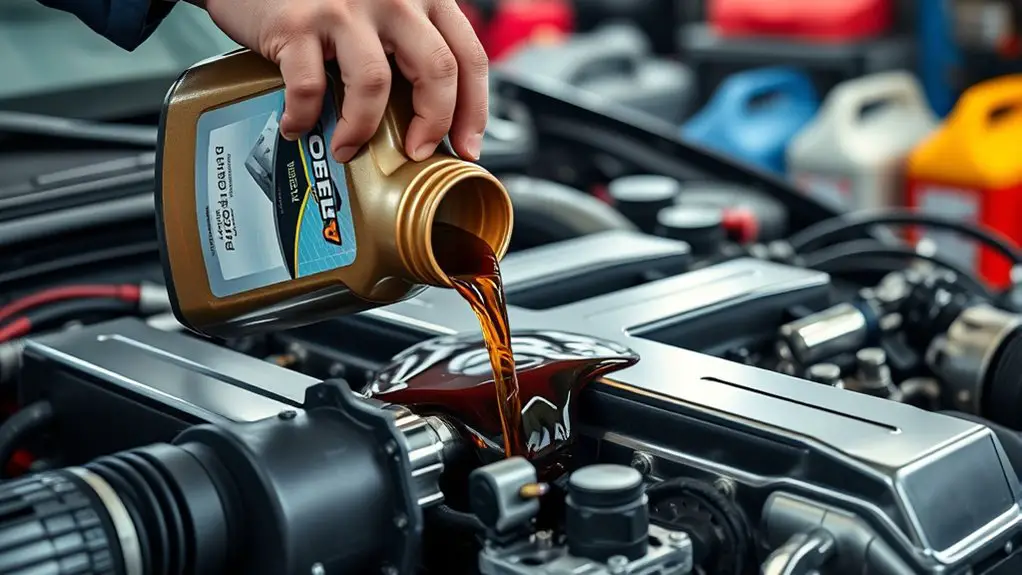
Draining, Refilling, and Measuring Oil Properly
To drain and refill properly, start by warming the engine and placing the vehicle on a level surface; this helps the oil flow and the drain plug seal correctly. You’ll drain until the oil is dripping, then remove the pan and wipe the threads clean. Refill with the recommended oil type and quantity, checking a trusted spec sheet for the exact amount. Use a funnel to prevent spills and avoid overfilling, which can create foaming and pressure issues. After adding oil, run the engine briefly, shut down, and wait a few minutes for the oil to settle. Check the dipstick with clean gloves on, noting the mark that corresponds to your engine’s operating range. For measurement accuracy, take readings with the engine off and level, repeat once to confirm. Consider oil viscosity for seasonal changes, and verify the final level again after a short drive to guarantee stable circulation.
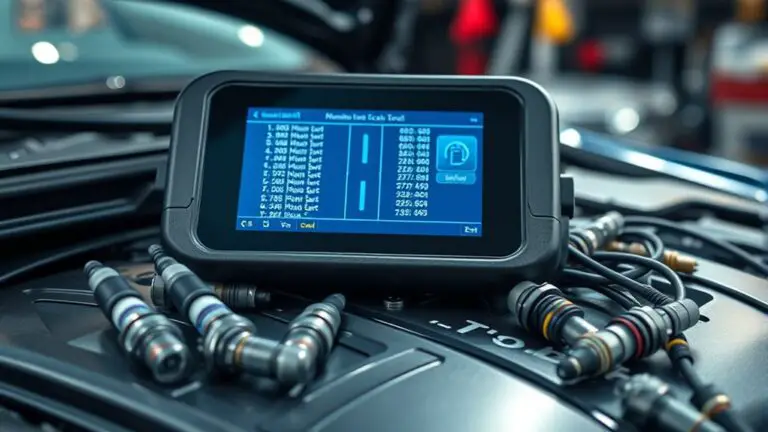
Ensuring Oil Pressure Stability After Service
After you’ve finished the drainage and refilling, the next step is making certain oil pressure stays steady once the engine’s running. You’ll monitor the gauge during warmup and note any drop or spike. If pressure lags, verify that the oil weight matches the OEM spec and isn’t too thin for your climate. Check the dipstick for consistency; a false reading can hide pressure issues. Ascertain the oil pump isn’t starving the system by confirming pickup clearance isn’t blocked and the mounting is solid. Listen for unusual lifter or bearing rattle, which can signal pressure loss. Record service intervals and compare against performance: stability today should mirror past runs. If pressure remains erratic, limit engine RPM and consult a technician before heavy use. Routine checks keep oil pressure predictable, extend engine life, and help you enjoy freedom from costly surprises. Keep notes, stay proactive, and trust your measurements.
Contamination Prevention and Filtration Practices
Contamination control starts with clean components and a clean environment, because even tiny particles can clog filters and wear bearings. You’ll minimize risk by verifying every part before you begin, from reservoirs to connectors, and by using dedicated trays to keep dirt out of the system. Identify contamination sources upfront—dust on benches, dirty rags, or tools that aren’t cleaned between steps—and eliminate them with a simple plan. Choose filtration techniques that fit your system’s demands: coarse pre-filters for large debris, precise inline filters for final fluid cleanliness, and clear, labeled housings so you can see when change is due. Maintain pristine fluid via fresh supplies and proper handling, avoiding exposure to open containers. Keep seals and o-rings clean, and don’t reuse contaminated filters. After service, flush as needed and cap ports to prevent ingress. Staying disciplined about cleanliness protects performance, reduces wear, and preserves your DIY momentum.
Common Mistakes That Inflate DIY Costs
Many DIYers slip into cost traps by rushing parts purchases, underestimating the value of precise specs, or skipping a quick planning step. You’ll avoid that by defining exact fluid type, quantity, and compatibility before you shop. Budgeting mistakes happen when you buy “close enough” parts or skip price comparisons, leading to churn and returns. Before you buy, list every required item, estimate true costs, and add a small contingency for variances. Don’t assume generic tools will substitute for specialized gauges, seals, or filters; misfit parts drive waste and rework. Be mindful of supplier margins—bulk or kit options aren’t automatically cheaper if they force unused components. Channel your freedom mindset into disciplined shopping: set a ceiling, track line items, and pause for a quick review after each purchase. By avoiding overestimating costs and budgeting mistakes, you preserve budget flexibility for essential, high-value components and accurate service results.
Scheduling Maintenance and Record-Keeping
Scheduling maintenance and keeping good records isn’t optional: it’s how you prevent surprises and extend component life. You’ll set a realistic maintenance frequency based on usage, environment, and OEM guidance, then align it with your budget. Create a simple calendar or checklist that marks each service, parts replaced, and any anomalies you noticed. Use clear, repeatable steps so you can trust the process, not memory. Service reminders—automatic or manual—keep you on track without nagging you to guess dates. For accuracy, log hours, mileage, fluid types, batch numbers, and technician notes, then review quarterly to spot patterns. Maintain a centralized record that travels with the machine, so investigations aren’t stalled by missing data. Your goal is predictable performance, not perfection. When you can anticipate needs, you reduce downtime, extend life, and keep DIY fluid work profitable and free use of your time.
Debunking Myths About DIY Fluid Services
Let’s build on what you’ve already set up with scheduling and record-keeping by cutting through common myths that trip people up with DIY fluid services. First, myth clarification: you don’t need fancy gear to start, but you do need accuracy, clean containers, and labeled fluids. Second, beware service misconceptions: assumptions about “more is better” can cause overfilling or wrong viscosity, which harms pressure readings. You’ll avoid leaks by inspecting seals and using the correct torque, not shortcuts. Third, small mistakes compound; take measured steps, test systems after each stage, and document results. Remember, DIY work isn’t a license to guess; it’s a disciplined practice that saves money when done with care. Fourth, safety isn’t optional—wear gloves, dispose of fluids properly, and ventilate. Finally, stay within your skill boundary and know when to consult a pro. With disciplined execution, you preserve system health and freedom to manage your own maintenance.
Frequently Asked Questions
How Often Should I Change My Oil Type for a DIY Service?
You should change your oil type every 5,000 to 7,500 miles, depending on your vehicle and driving. For DIY oil change frequency, follow your owner’s manual and your mileage. Synthetic oil benefits often extend intervals, but don’t skip real oil changes. Track your usage, climates, and stop‑and‑go driving. If you tow or haul heavy loads, shorten the gap. You’ll stay free and confident by pairing practical checks with smart oil change frequency.
Can I Reuse Old Filters to Save Money Safely?
Yes, you can’t safely reuse old filters. Reusing filters risks bypassing contaminants, causing engine wear. Check filter lifespan, inspect for cracks, tears, or swelling, and replace if any damage or uncertainty exists. Use a new filter per service, and hold strict timing to avoid oil pressure issues. It’s about safe reuse being off limits; prioritize reliability, not shortcuts, and maintain honest maintenance routines for lasting freedom from failures.
What Signs Indicate Incorrect Oil Pressure After DIY Service?
If you notice low gauge readings or a fluctuating oil pressure warning, that signals trouble after your DIY service. You might also hear metallic noises or see a drop in engine idle stability. Check for fluid leaks and verify proper oil level, filter seating, and oil pump operation. If a warning persists, shut down and inspect for a clogged pickup or air in lines. Perform fluid leak detection and recheck pressure before driving.
Which Brands Offer the Best Diy-Friendly Oil Pressure Gauges?
With a touch of understated elegance, you’ll find digital gauges and mechanical gauges from brands like Actron, AUTEL, and Innova provide solid DIY readouts. You’ll favor digital gauges for quick, clear numbers, while mechanical gauges feel reliable under tougher conditions. Choose models with high bridge accuracy, clear psi ranges, and appropriate adapters. You’ll want something affordable, leak-proof, and portable, so you can trust readings while you pursue freedom in maintenance.
Is It Cheaper to DIY Power Steering Fluid Changes?
Is it cheaper to DIY power steering fluid changes? Yes, often. A cost comparison shows you can save on labor, but you’ll pay for quality fluids and tools up front. If you source cost-conscious, you still get good fluid quality and a DIY-friendly setup. You’ll weigh purchase costs, tool reuse, and potential mistakes. In short, it can be cheaper if you value control, but don’t overlook long-term maintenance and proper disposal costs.