DIY: Safely Jump-Starting and Diagnosing Jump-Start Failure
To safely jump-start a dead battery, you’ll follow a calm, methodical sequence with proper gear and clear pre-checks. Start by inspecting terminals for corrosion, wear gloves and eye protection, and guarantee both vehicles are off in Park/Neutral with brakes set. Connect red clamps first, then black to a solid ground away from the battery. Start the donor, then attempt the dead vehicle. If it fails, recheck connections and consider battery health; more tips await you.
Jump-Starting Safety Basics
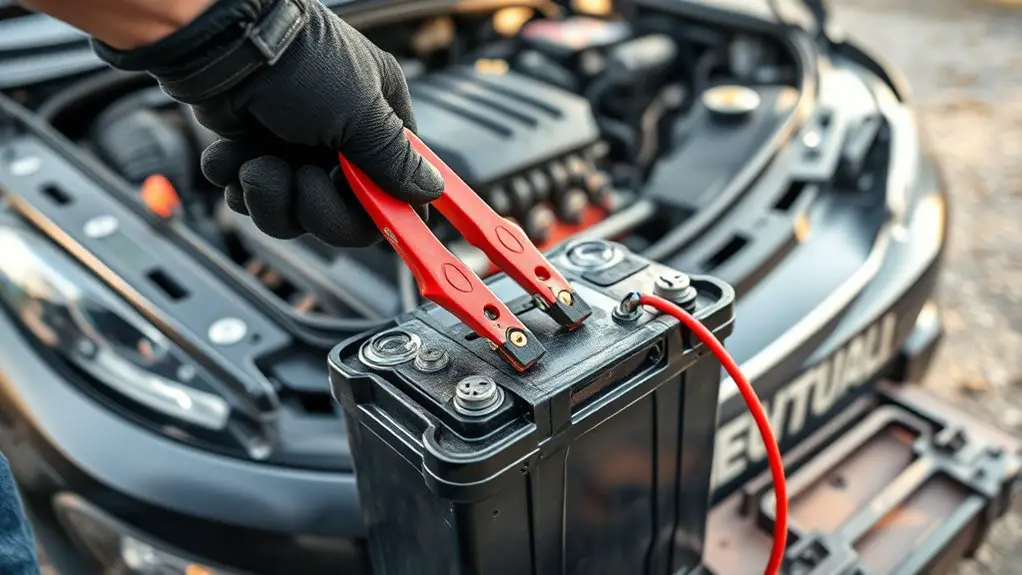
Jump-starting your car can be safe if you follow the right steps and stay aware of common hazards. Before you begin, review battery maintenance basics and note any corrosion, cracks, or swelling on the terminals. Wear gloves and eye protection, keep sparks away, and work in a well-ventilated area. Disconnect metal jewelry, remove hood supports, and verify both vehicles are in Park or Neutral with engines off. Connect the positive clamp to the dead battery first, then to the donor battery, keeping clamps away from each other. Attach the negative clamp to a solid ground on the vehicle with the dead battery, not directly to the dead battery post. Start the donor vehicle, then attempt ignition. If it doesn’t fire after several attempts, stop and reassess. Avoid touching clamps during operation, and never lean over the battery. Afterward, disconnect in reverse order, and inspect for corrosion as part of ongoing battery maintenance and safety precautions.
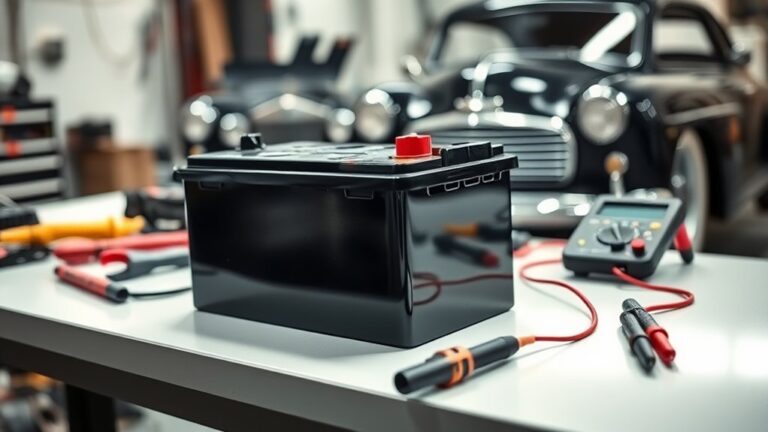
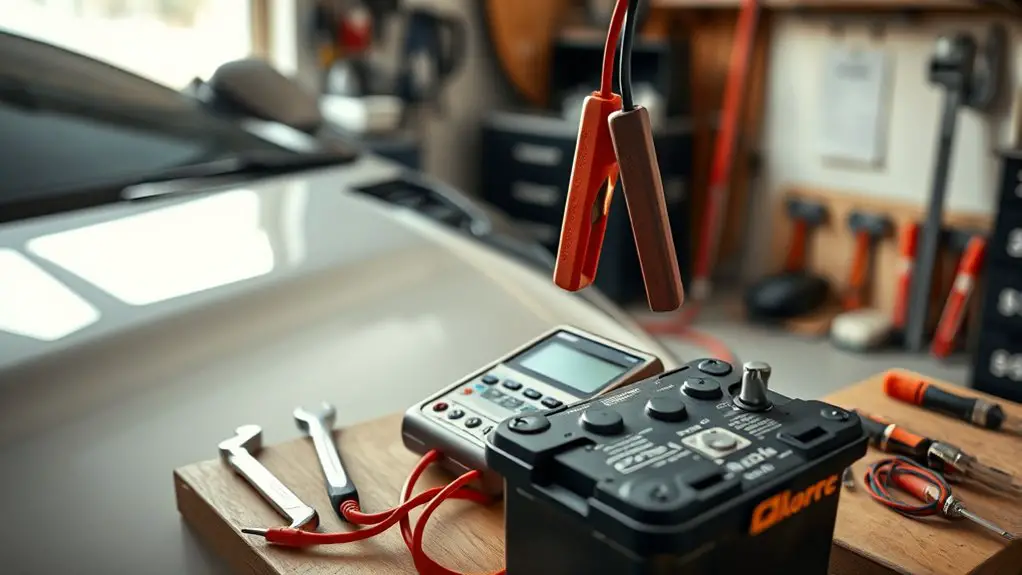
Tools and Prep for a Dead Battery
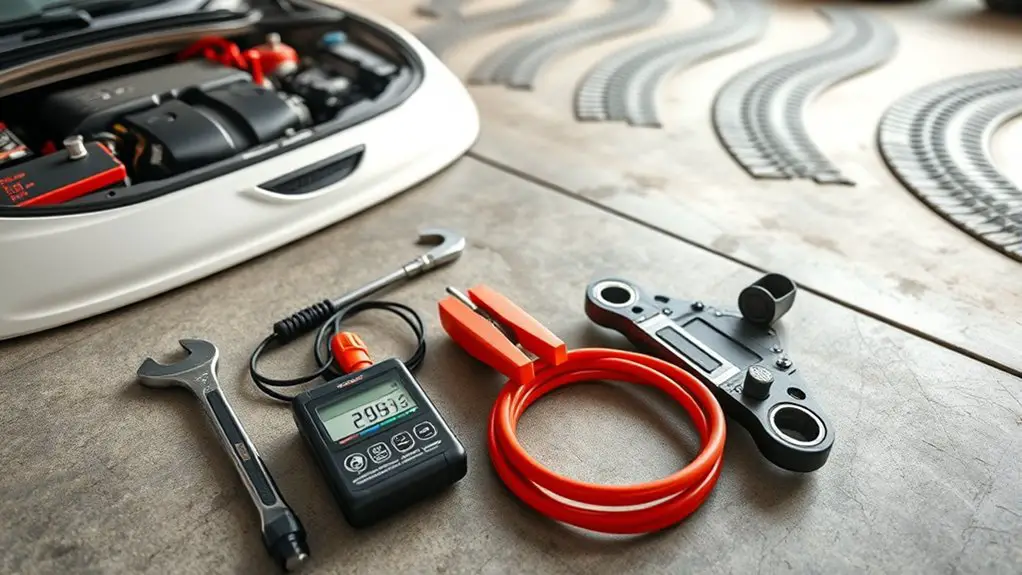
When you’re dealing with a dead battery, prep work and the right tools set the foundation for a safe jump-start. You’ll prioritize reliability, not haste, by keeping an organized setup and a calm mindset. A solid emergency kit and routine battery maintenance protect you from surprises and boost confidence when you need to act.
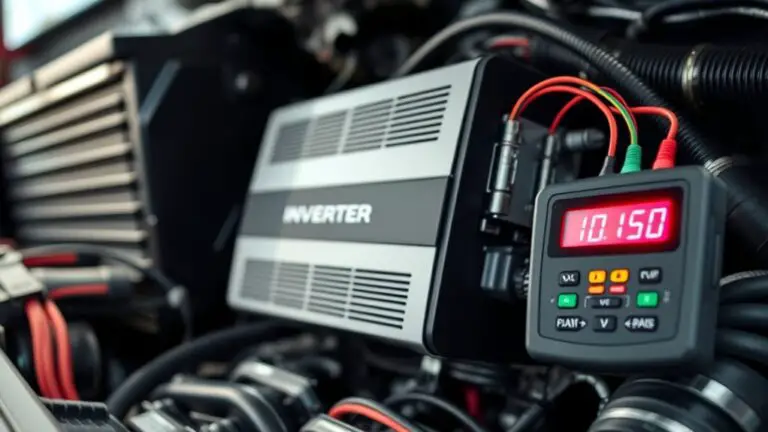
1) Emergency kit essentials: jumper cables, a portable power source, gloves, flashlight, and a reflective vest for visibility.
2) Basic tools: gloves, insulated pliers, and a sturdy brush for corrosion clean-up to maintain clean terminals.
3) Pre-check routine: inspect battery terminals for corrosion, verify fluids are at proper levels, and confirm the vehicle’s safety systems won’t interfere.
Pro tip: store the kit where it’s easily reachable, and schedule regular checks as part of battery maintenance. This mindset keeps you capable, prepared, and free to focus on getting back on the road safely.
Step-by-Step Jump-Start Procedure
To start a jump, first make certain both vehicles are in park or neutral with the parking brakes set and that the engines are off; then, connect the red positive clamp to the dead battery’s positive post and the other end to the donor battery’s positive post. Next, attach the black negative clamp to the donor battery’s negative post, and ground the other end on a solid metal surface away from moving parts and the dead battery. Start the donor vehicle and let it run a few minutes, then attempt a steady crank on the dead vehicle. If it catches, gradually rev and remove the clamps in reverse order, keeping cords clear of belts. If it doesn’t start, pause, recheck connections, and consider battery types and age. Remember jump start myths: steady attempts or charging from far away won’t fix faulty batteries. Safety first, and stop if you smell gas or hear grinding.
Diagnosing Common Jump-Start Failures
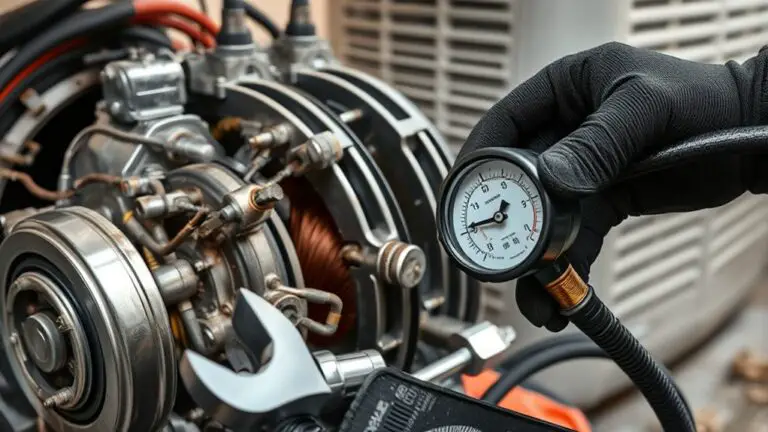
Common jump-start failures usually stem from battery health, wiring, or safety steps being skipped. When you diagnose, focus on root causes rather than quick fixes, and respect safety. Look for signs you can’t ignore, like dim lights, click-no-start, or rapid battery drain. Remember: faulty batteries and poor connections are common culprits, and addressing them early saves you time and risk.
Common jump-start failures stem from battery health, wiring, or skipped safety steps; diagnose root causes before forcing a start.
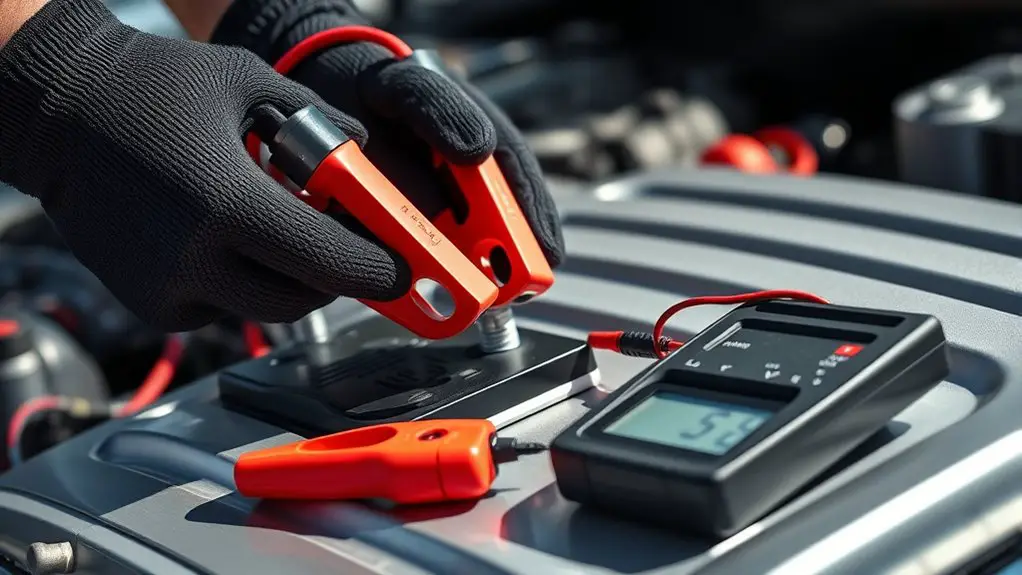
1) Check battery health indicators and voltage with a tester, verifying it holds a proper charge before any jump.
2) Inspect clamps and terminals for clean, tight contact; corroded or loose connections can fool you into thinking something else is wrong.
3) Confirm the vehicle’s safety steps are followed, including correct sequence and avoidance of sparks near exposed components.
If symptoms persist after these steps, reassess the basics rather than forcing a start. Diagnose with intention: faulty batteries or poor connections are the likely bottlenecks, and proper steps protect you and the system.
Troubleshooting Bad Cables and Connections
Bad cables and loose, corroded connections are frequent culprits that can fool you into thinking the battery is the problem. You’ll check each clamp and tighten only when secure, never forcing hardware. Start by inspecting cable quality: look for softened insulation, exposed wire, or cracking. If you spot damage, replace the entire set rather than attempting a patch. Clean metal contact points with a dry cloth; avoid liquids that could ignite sparks. Ascertain clamps grip firmly onto the battery terminals without slipping. For positive and negative leads, verify correct polarity and solid attachment to the terminals. Wiggling cables at the clamps should not produce sparking or looseness. If corrosion is present, scrub with a small brush and baking soda solution, then dry completely before use. Keep connections tight during the jump and recheck after the engine runs. Address bad connections promptly to prevent false failures and protect your safety.
When to Seek Professional Help
If you’re unsure after a quick check, or if anything about the jump-start process feels risky, it’s time to call a professional.
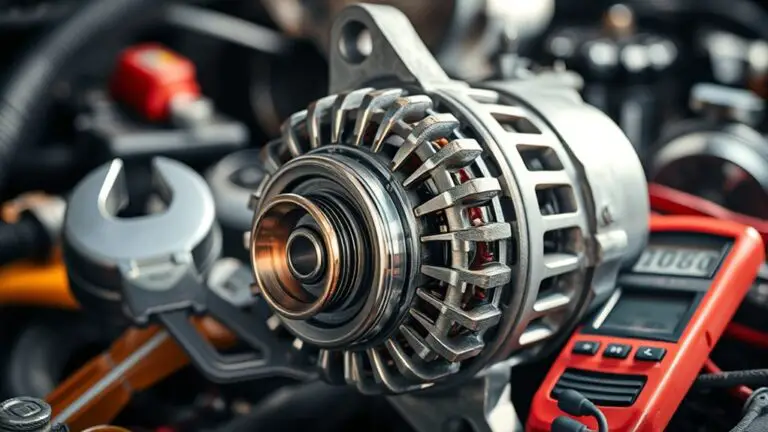
When to seek professional help matters. You’ll protect yourself and your vehicle by recognizing limits and knowing when to defer. If your battery won’t accept a charge after multiple attempts, or you smell burning, see a professional services team right away. If jump-starts fail repeatedly, the issue may be deeper than cables, and attempting more could cause damage. Consider battery replacement by a qualified technician rather than guessing at specs or using improvised methods. Electrical faults, corrupted under-hood wiring, or a faulty alternator demand professional evaluation. Always prioritize safety over a quick fix.
Seek professional help if the battery won’t charge after multiple tries, you smell burning, or jump-starts fail—don’t gamble with cables.
1) Battery replacement should be handled by trained technicians to guarantee correct type, polarity, and disposal.
2) Professional services can diagnose hidden faults beyond visible connections.
3) Schedule a diagnostic, not a guess, to prevent repeated failures.
Frequently Asked Questions
Can a Jump Start Damage Electronic Systems in Modern Cars?
Yes, a jump start can pose risks to electronic systems if you don’t follow proper steps. Jump start safety matters, and improper polarity, bad cables, or a faulty charger can spike voltages and trigger faults in modern consoles, ECU, sensors, or infotainment. To avoid electronic system risks, use a reputable booster, inspect cables, connect correctly, and remove jewelry. If unsure, skip the attempt and seek expert help for safety and reliability.
How Long Should a Jump Last Before Trying Again?
A jump should last about 2–5 minutes before you try to start the engine again. If it won’t turn over, wait a minute, recheck connections, and test again. Don’t rush—poor jump timing can harm electronics. If the car starts, remove cables in reverse order and avoid revving. If it doesn’t start after a couple tries, stop and inspect battery, alternator, and cables, or call for professional help. Stay patient, stay safe, stay vigilant.
Can a Dead Battery Be Jump-Started From Outside the Car?
Yes, you can jump-start a dead battery from outside the car, but only with proper battery accessibility and safe jump start techniques. Start by locating the battery, exposing the posts, and using insulated clamps. Keep metal away from belts and moving parts, connect red to positive, black to ground, and follow step-by-step to avoid sparks. If you smell fumes or can’t access the battery safely, don’t proceed. Safety first, freedom follows.
What if the Donor Vehicle’s Battery Dies During Jump-Start?
Yes—if the donor vehicle’s battery dies during jump-start, you should stop and reassess. You’ll risk damaging both batteries and electrical systems. Check that the donor vehicle has sufficient battery capacity before continuing, and use proper equipment. Disconnect after a brief, controlled boost, and don’t exceed manufacturer guidelines. If you must, use a second vehicle or a dedicated booster with higher capacity to avoid draining the donor battery. Safety first, then recheck everything before driving.
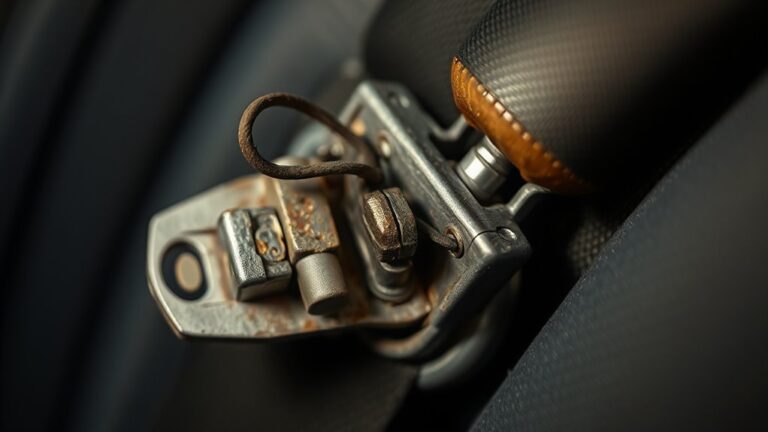
Are There Corrosion Indicators on Battery Terminals I Should Check?
Is there corrosion on battery terminals you should check? Yes, look for corrosion types like white, blue-green, or crusty buildup. If you see it, perform terminal cleaning before attempting a jump. Use a stiff brush and a baking-soda solution, then reconnect securely. After cleaning, inspect for loose clamps or damage. Do this with safety in mind, disconnect power, wear gloves, and avoid sparks. This keeps your system reliable and your ride safe.