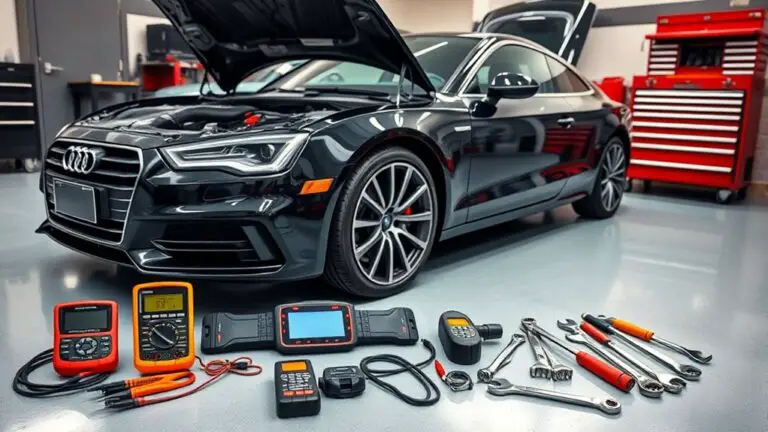
DIY Preventive Tasks to Extend Your Car’s Life
DIY preventive tasks to extend your car’s life are practical and straightforward. Start with regular fluid checks and top-ups, then verify tire pressure, tread depth, and rotate tires as recommended. Keep an eye on battery health—terminals clean and alternator output in the 13.8–14.8V range. Do quick brake inspections and look for wear, leaks, or sponginess. Inspect belts, hoses, and under-hood components, plus plan seasonal maintenance and scheduling. Master these basics, and you’ll uncover more smart steps ahead.
Regular Fluid Checks and Top-Ups
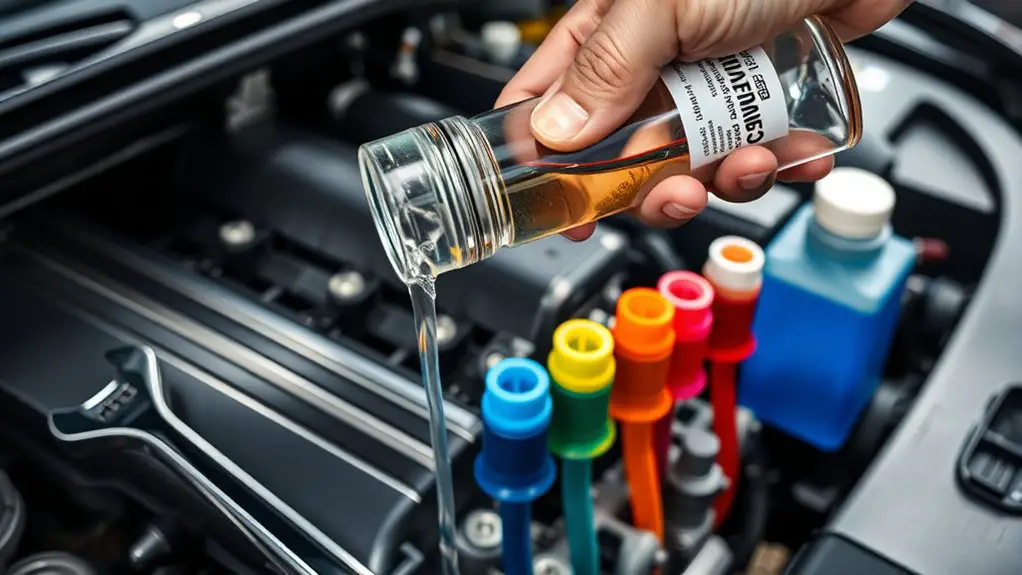
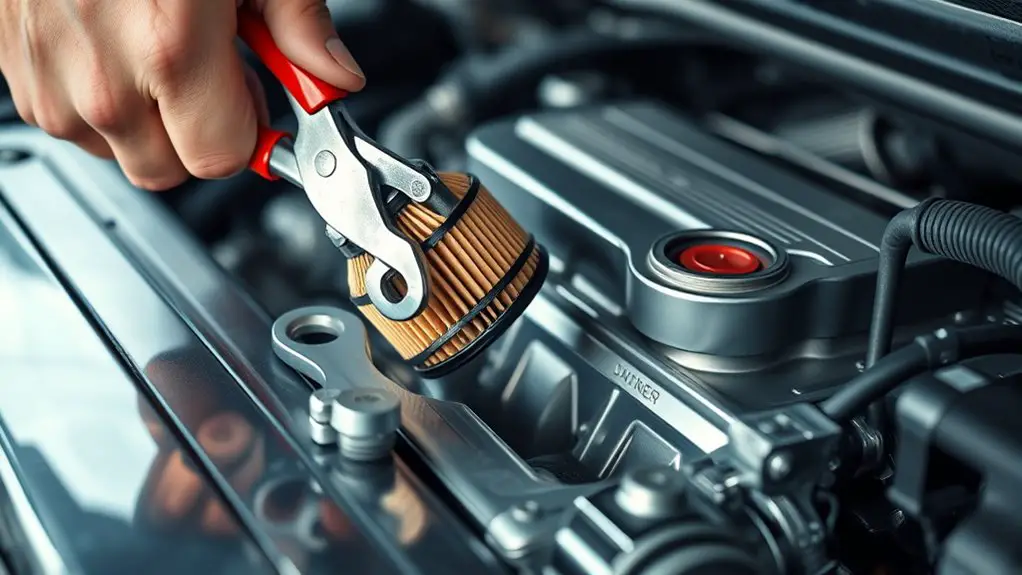
Regular fluid checks are essential for reliability and longevity. You’ll keep your car running smoother by confirming levels and spotting leaks before they bite. Start with fluid types—engine oil, coolant, brake fluid, transmission fluid, and power-steering fluid—so you know what belongs where and when to refresh it. Each fluid has a different maintenance frequency, so track a practical maintenance schedule that fits your driving habits. Check the dipsticks or reservoirs when the engine is cool and on level ground, then compare against marks or labeled specs. If levels are low, top up with the correct fluid type and grade; never mix incompatible fluids. Look for signs of contamination, like cloudy, discolored, or gritty fluids, and address odors or leaks promptly. Document dates and amounts, then adjust your maintenance schedule accordingly. Regular checks empower you to act decisively, preserving performance and preventing costly failures.
Tire Care: Pressure, T Tread, and Rotation
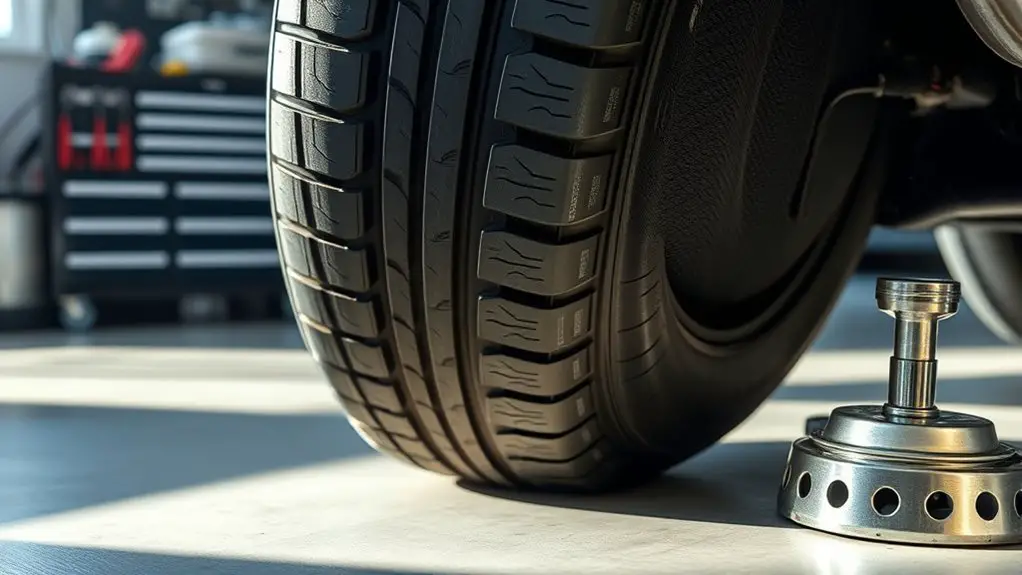
Maintaining proper tire pressure, checking tread depth, and sticking to a rotation schedule are basic, practical tasks you can do now. Start by confirming your vehicle’s recommended PSI and measuring with a gauge, then inspect tread for wear signs and rotate as advised in your owner’s manual. Consistent, proactive checks help prevent uneven wear, improve safety, and extend tire life.
Tire Pressure Basics
Tire pressure basics: why it matters is simple—correctly inflated tires improve fuel efficiency, handling, and tire life, while under- or overinflation can lead to poorer performance and flats. You’ll check when cold, then adjust to the vehicle’s recommended tire pressure listed on the door jamb or owner’s manual. Use a reliable gauge, not guesswork, and measure at least once a month or before long trips. Remember that load, speed, and temperature affect pressure, so rebalance after a heavy haul or seasonal change. Practice precise inflation techniques: add air in small increments, recheck, and seal valve stems cleanly. Keep a portable gauge and a small compressor in the trunk for convenience. Regular maintenance saves fuel, extends tire life, and supports confident driving.
Tread Depth Check
Tread depth is your first line of defense against poor traction, so check it regularly and act promptly when it wears down. You’ll want to measure tread depth with a reliable gauge and compare it to the factory minimum. Use quick checks across the center, shoulder, and tread blocks to catch uneven wear early. Look for tread wear indicators or a recurring pattern that signals thinning rubber. When measurements fall near the recommended limit, plan a rotation or service before grip declines in wet or slick conditions. Track tread wear over time to spot sudden changes that hint at alignment or suspension issues. Stay proactive: consistent tread measurement keeps you in control and your tires performing at peak.
Rotation Schedule Tips
Rotating your tires on a regular schedule keeps wear even, extends tire life, and preserves traction. You’ll benefit from a simple cadence that fits your driving style and vehicle.
1) Check tire rotation intervals in your owner’s manual, then apply a practical rotation frequency that matches your mileage and terrain.
2) Use a cross-pattern or vehicle-specific method, ensuring lug nuts are torqued to spec after each swap to maintain safety and performance.
3) Document each rotation date and any uneven wear signs, so you can adjust pressure, alignment, or suspension as needed for ideal tire rotation results and long-term grip.
Battery Health and Electrical System Basics
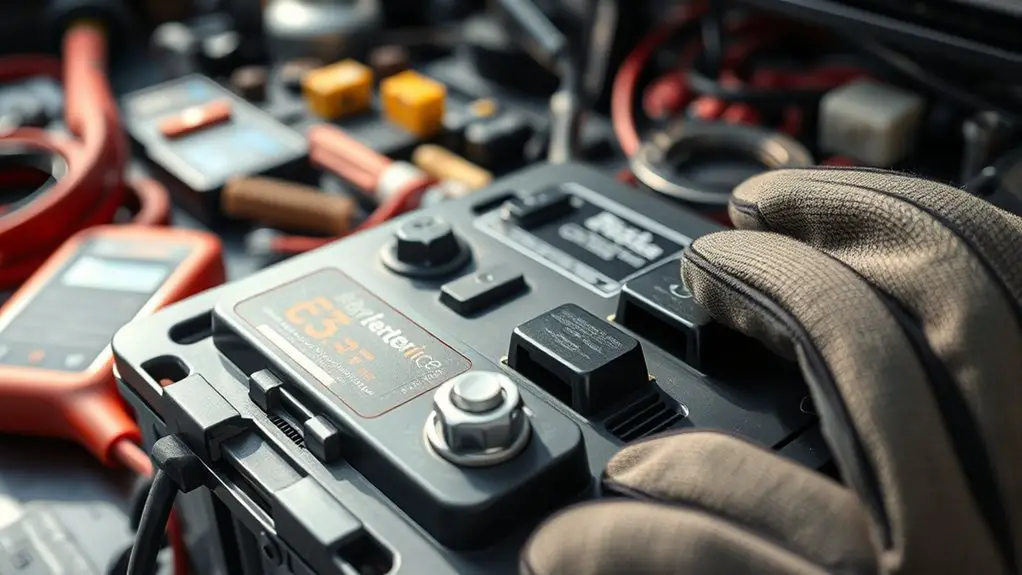
Maintaining battery health and understanding the electrical system are essential for reliable starts and overall reliability. You’ll keep independence when you know the basics and perform simple checks regularly.
| Quick checks | What it tells you |
|---|---|
| Battery terminals | Corrosion, tight connections |
| Alternator belt | Charging consistency |
| Starter draw | Hidden excessive load |
| Fuses/relays | Circuit health, safety |
| Electrical accessories | Drain causes, efficiency |
To start, practice battery maintenance and basic electrical diagnostics. Inspect terminals for corrosion and clean with a neutral solution. Check belt tension and listen for slipping. Test alternator output with a multimeter, aiming for 13.8–14.8 volts with the engine running. If the system struggles to start, investigate parasitic draw and inactive modules that drain power. Use a battery load test when unsure about capacity. Keep a portable jump pack handy but don’t rely on it long-term. By staying proactive, you preserve reliability, freedom, and peace of mind on the road.
Brake System Inspection and Safe Driving Practices
Start with a quick brake inspection checklist—pad wear, rotor condition, fluid level, and any leaks—to gauge overall safety. Then adopt safe driving practices like maintaining following distances, scanning for hazards, and braking gently to reduce wear. These habits set the foundation for reliable braking and proactive maintenance throughout your DIY routine.
Brake Inspection Essentials
Brake inspection is essential for safety and is best done before a problem shows up; start by checking pads, rotors, and fluid levels for wear, heat marks, and leaks. You’ll keep control and avoid surprises if you verify brake pad life, rotor surface, and brake fluid condition regularly.
1) Inspect pad thickness and rotor grooves, listening for squeal or grinding.
2) Check for uneven wear, warmth, and leaks in lines and reservoirs, confirming brake fluid quality.
3) Test pedal feel and response, noting any sponginess or delay and addressing issues before they worsen.
Stick to clear steps, stay curious, and respect your car’s limits. This routine supports freedom on the road while maintaining reliable stopping power.
Safe Driving Practices
Safe driving starts with staying on top of your brake system and how you handle the road. You inspect pads, fluid, and rotors regularly, not to chase perfection but to catch wear early. Listen for squeal or grinding, feel for pull or vibration, and address soft pedal issues before they become emergencies. Keep your brakes clean and dry, and replace worn components with quality parts. Pair braking discipline with defensive driving: anticipate hazards, maintain safe following distances, and signal intentions clearly. Minimize distractions by design—set GPS, music, and phone limits before you drive. Practice smooth deceleration, controlled stops, and steady steering inputs. With disciplined maintenance and focus, you extend both your brake life and your freedom on the road.
Belts, Hoses, and Under-Hood Routine Checks
Belts, hoses, and under-hood components are living parts of your car, so it helps to check them regularly and calmly, especially before long trips. You’ll spot telltale signs of wear and potential failures early when you stay attentive and methodical. A quick routine now saves bigger headaches later.
- Inspect belt wear and tension: look for cracks, fraying, glazing, or rib damage, and guarantee proper tension to prevent slipping.
- Check hose integrity: feel for soft spots, bulges, cracks, or leaks at clamps; replace any suspect hoses to avoid sudden bursts.
- Review connections and fluid lines: guarantee clamps are tight, fittings aren’t corroded, and there are no obvious leaks or loose wiring near hot surfaces.
Stay calm, stay curious, and keep a simple log of findings. Regular under-hood checks empower you to drive with confidence and freedom.
Seasonal Maintenance and DIY Scheduling
Seasonal maintenance is about timing and consistency, so you’ll schedule key tasks around the calendar and your driving patterns to minimize surprises. You’ll keep a tight rhythm: map when fluids change, tires rotate, and filters refresh. A seasonal checklist becomes your road map, not a menu you guess from. Start with the season, then align tasks to mileage and use—then adjust as needed. DIY scheduling means you set reminders, block time, and treat maintenance like a standing appointment, not an afterthought. Prioritize safety-critical items first, then efficiency-related ones, so you’re never surprised by a roadside moment. Track completed work, note any anomalies, and revise the schedule quarterly. Keep tools handy, catalogs updated, and parts on hand when possible. This approach preserves freedom: you control timing, materials, and pace, avoiding downtime while extending life. Seasonal checklist and DIY scheduling empower proactive care without rigidity.
Frequently Asked Questions
How Often Should I Replace My Cabin Air Filter?
Answer: You should replace your cabin air filter every 12,000 to 15,000 miles, or about once a year if you drive mostly in clean conditions. If you notice reduced airflow, strange smells, or allergy symptoms, swap sooner. This cabin filter maintenance boosts air quality improvement and keeps your system humming. Stay proactive, schedule replacements, and insist on fresh, functioning components for freer, clearer driving—your ride, your rules, your respiratory relief.
What’s the Best Way to Dispose Used Motor Oil?
The best way to dispose used motor oil is to take it to an authorized recycling facility or an automotive service center. Don’t pour it down the drain. Your disposal options include recycling centers, household hazardous waste programs, or oil-change shops that accept used oil. Keep it in sealed containers and label it. By choosing oil recycling, you protect the environment, and you’ll meet local rules. It’s simple, convenient, and responsible.
Can I Troubleshoot Check Engine Light Myself Safely?
Did you know that about 20% of engine misfires are fixable with basic checks? You can troubleshoot the check engine light yourself, but safely. Start by inspecting warning lights and codes with a basic diagnostic tool. If you see obvious issues like loose cables or a dirty sensor, address them cautiously. If the code points to critical system failures, stop and seek professional help. Use diagnostic tools to guide, not replace, informed judgment.
Which Tools Are Essential for DIY Brake Jobs?
You’ll need basic tools: jack stands, lug wrench, torque wrench, C-clamp, and a brake caliper tool. Essential for a DIY brake job, you’ll also want a sturdy wrench set and a brake bleeder if you’re replacing fluid. Remember to check brake pad types and brake fluid specs for your vehicle. Stay precise: loosen lines carefully, replace pads, reinstall with proper torque, bleed the system if necessary, and test softly before highway use. Freedom comes with caution.
How Often Should I Flush Coolant and Replace It?
You should flush and replace coolant every 2 to 5 years or per your vehicle’s interval, whichever comes first. Check your owner’s manual for exact timing. When you do it, consider coolant maintenance basics and mix ratios, and know your coolant types before you drain. Use plain, practical steps, stay precise, and keep the system clean. You’ll gain reliable cooling and freedom to drive with confidence, not fear of overheating.

