DIY: Repairing Corroded Charging Port Safely
If you’re tackling a corroded charging port, make sure you gather essential tools like a soft brush, isopropyl alcohol, and a multimeter. Always wear goggles and gloves for safety. First, power off the device and inspect for damage or debris. Clean gently using the brush and alcohol. After cleaning, test the port’s functionality and voltage output. If issues persist, it might be time to seek professional help. For more detailed steps, you’ll want to check further.
Understanding Corrosion and Its Causes

Corrosion is a common issue that can greatly affect the performance of your device’s charging port. By definition, corrosion is the gradual destruction of materials, usually metals, due to chemical reactions with their environment. There are several corrosion types you should be aware of, including galvanic, pitting, and uniform corrosion. Galvanic corrosion occurs when two different metals come into contact in an electrolyte, causing one to corrode faster than the other. Pitting corrosion involves localized damage, resulting in tiny holes or pits, which can severely compromise the charging port’s integrity. Uniform corrosion, on the other hand, leads to a more even wear across the surface. Understanding these corrosion types helps you identify the specific issues affecting your charging port. By addressing corrosion early on, you can maintain your device’s functionality and preserve its longevity, giving you the freedom to use your technology without interruptions.
Tools and Materials Needed for the Repair
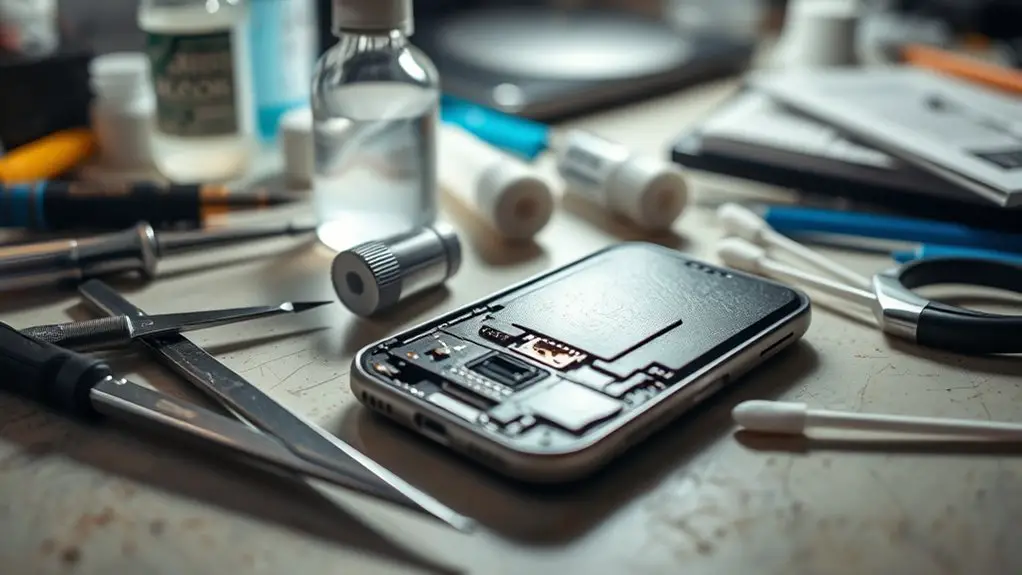
To successfully repair a charging port, you’ll need a specific set of tools and materials. Essential tools include precision screwdrivers and tweezers, while recommended cleaning materials often involve isopropyl alcohol and a soft brush. Gathering these items beforehand will streamline your repair process.
Essential Tools Overview
While you may feel confident about tackling the repair of a charging port, having the right tools and materials is essential for a successful outcome. Start with a quality repair kit, which should include various screwdrivers, tweezers, and prying tools. These instruments will help you access the charging port without damaging surrounding components. Corrosion tools, like a soft brush and isopropyl alcohol, are vital for cleaning away debris and corrosion safely. You might also need a multimeter to test connectivity once you’ve completed the repair. Finally, having a magnifying glass can assist in inspecting for any remaining corrosion. With these tools at hand, you’re well-equipped to take on the repair and restore your device’s functionality.
Recommended Cleaning Materials
Having the right cleaning materials is essential for effectively repairing a charging port. You’ll need specific tools to guarantee the corrosion is removed safely and to prevent future issues. Here’s a quick guide to recommended cleaning materials:
| Material | Purpose |
|---|---|
| Isopropyl Alcohol | Effective cleaning solution |
| Soft-bristled Brush | Gentle scrubbing for debris |
| Cotton Swabs | Precise application of cleaner |
Using these cleaning solutions helps eliminate corrosion and keeps your charging port functioning efficiently. Make certain to follow up with corrosion prevention measures, like applying a protective spray. This way, you can enjoy a reliable charging experience without fear of future damage.
Safety Precautions Before Starting the Repair

Before you plunge into repairing your charging port, it’s crucial to take certain safety precautions to prevent accidents and damage. First, gather your safety gear; this should include goggles to protect your eyes from debris and gloves to shield your hands from any corrosive materials. Working on electronic devices exposes you to electrical hazards, so verify your device is powered off and unplugged before starting.
Next, create a clean, well-lit workspace to minimize the risk of accidents. Make sure you have proper tools at hand, as using makeshift items can lead to injury or further damage. Additionally, avoid working near water or other liquids, which can increase the risk of electric shock. Finally, familiarize yourself with the components of your device, so you know what you’re dealing with and can work more safely and efficiently. Following these precautions will help promote a safer repair process.
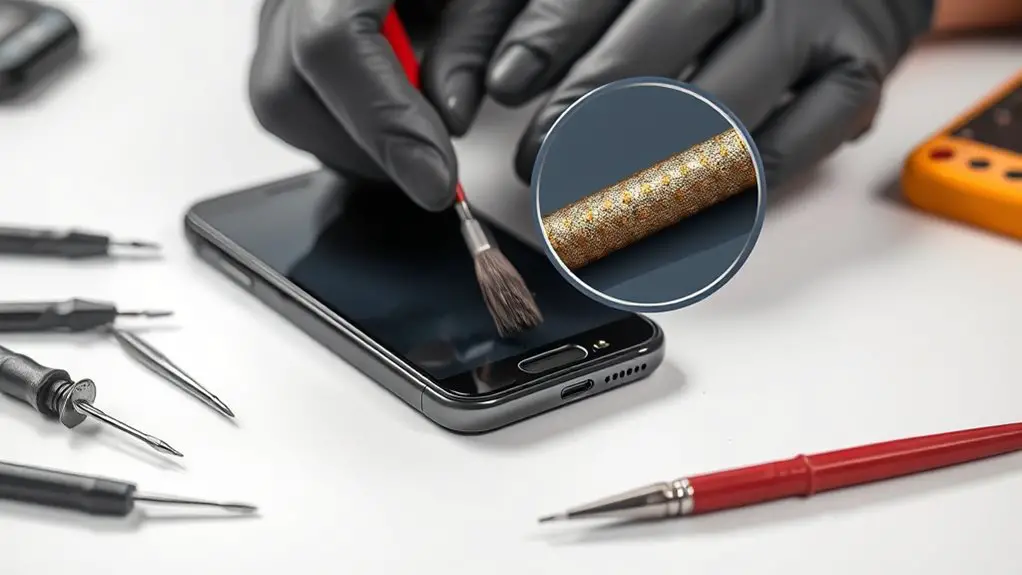
Step-by-Step Guide to Cleaning the Charging Port
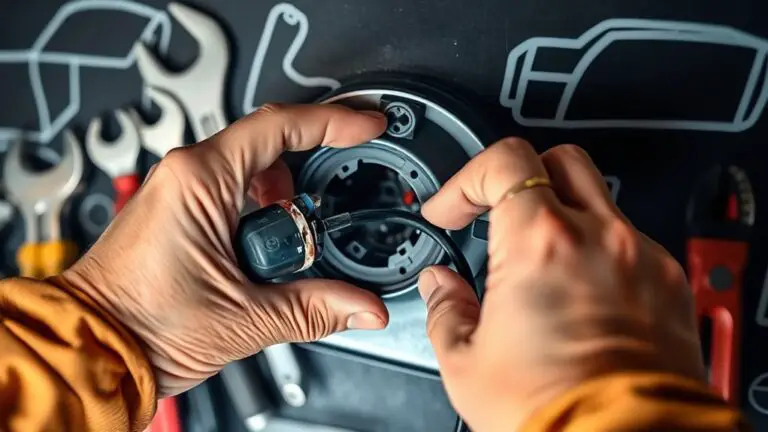
To effectively clean your charging port, start by ensuring your device is completely powered off and unplugged. Next, gather the necessary tools: a soft brush, compressed air, and isopropyl alcohol. Using the soft brush, gently remove any loose debris or dust from the charging port. Be cautious not to use excessive force, as this could damage the internal components.
After brushing, take the compressed air and blow short bursts into the port to dislodge any stubborn particles. Maintain a safe distance to avoid moisture accumulation. If corrosion is visible, dip a cotton swab in isopropyl alcohol, ensuring it’s not dripping, and carefully clean the affected area. Allow the port to dry completely before powering your device back on. By following these cleaning techniques, you can help maintain a functional charging port, extending your device’s lifespan and ensuring peak performance.
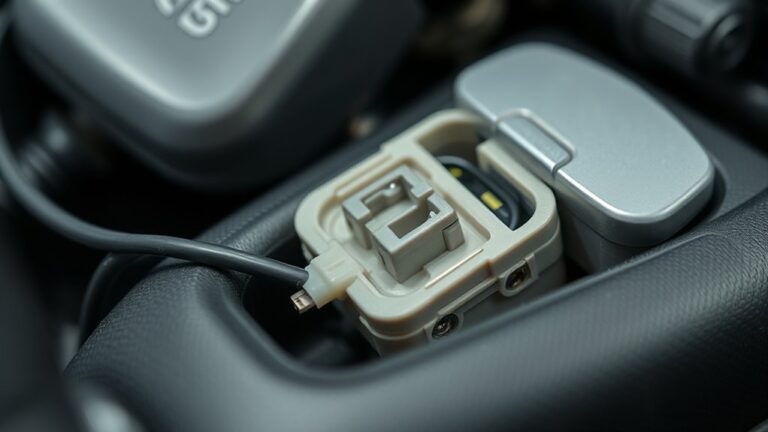
Inspecting the Charging Port for Damage
Now that your charging port is clean, it’s essential to inspect it for any damage. Use visual inspection techniques to check for signs of corrosion, such as green or white residue, and assess for physical damage like bent pins or cracks. Identifying these issues early can save you time and prevent further complications.
Visual Inspection Techniques
Although it might seem straightforward, conducting a thorough visual inspection of your charging port is crucial for identifying potential issues. Regular inspection frequency is key to catching problems early. Start by checking for these signs:
- Physical Damage: Look for any cracks, dents, or bent pins that may obstruct connections.
- Corrosion Types: Identify different corrosion types, such as white powdery deposits or discoloration around the port.
- Debris Accumulation: Verify there’s no lint, dirt, or foreign substances blocking the port, which can hinder charging efficiency.
Identifying Corrosion Signs
Corrosion in the charging port can considerably affect your device’s performance and lifespan. To identify corrosion indicators, start by closely inspecting the charging port. Look for any discoloration, especially a green or white powdery residue, which often signifies corrosion. You should also check for rust-like spots or a dull appearance on the metal connectors. If you notice any unusual smells or the port feels sticky, that could be a sign of corrosion as well. Pay attention to how the charging cable fits; if it feels loose or does not connect securely, corrosion may be the culprit. Taking these steps will help you determine if your charging port needs repair before it leads to more severe issues.
Assessing Physical Damage
Before attempting any repairs, it’s crucial to assess the physical damage to your charging port. A thorough charging port evaluation guarantees that you identify any issues that may hinder functionality. Here’s what to look for during your physical inspection:
- Bent or Broken Pins: Check for any pins inside the port that are misaligned or damaged.
- Loose Connections: Confirm the port is securely attached to the device. Wiggle it gently to test for stability.
- Cracks or Chips: Inspect the outer casing for any visible cracks or chips that could indicate structural issues.
Testing the Device After Cleaning
Once you’ve finished cleaning the charging port, it’s essential to test the device to verify proper functionality. Start by using multiple testing methods to assess device performance. First, connect your charger and check for any immediate signs of response, like the charging indicator lighting up. If the device doesn’t respond, try a different cable or charger to rule out issues with those components.
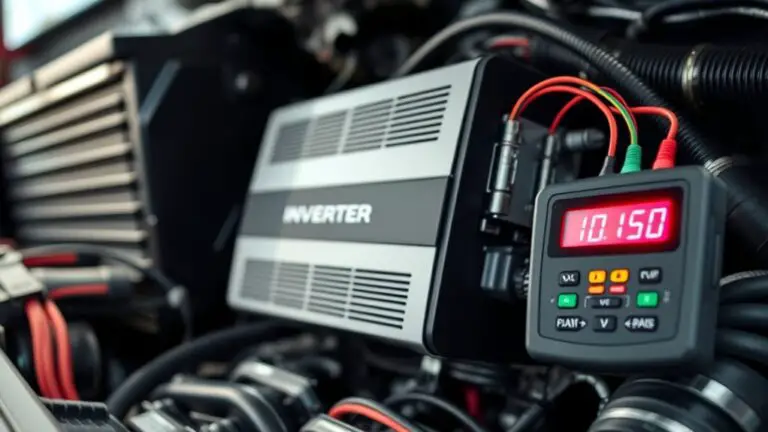
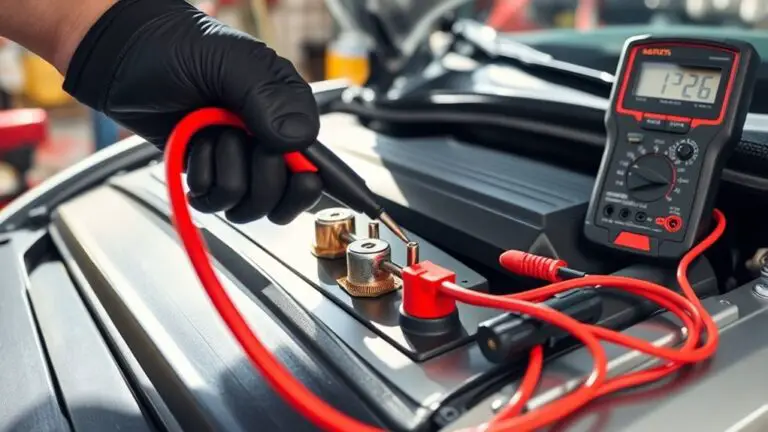
Next, if your device powers on, monitor the charging speed. Observe whether it charges as expected and doesn’t overheat. You can also use a multimeter to check the voltage output from the charging port, making sure it meets specifications.
Finally, consider testing with a USB device to see if data transfer functions correctly. This step confirms that the port is not only delivering power but also communicating effectively. By following these steps, you’ll guarantee your device is back in ideal working condition.
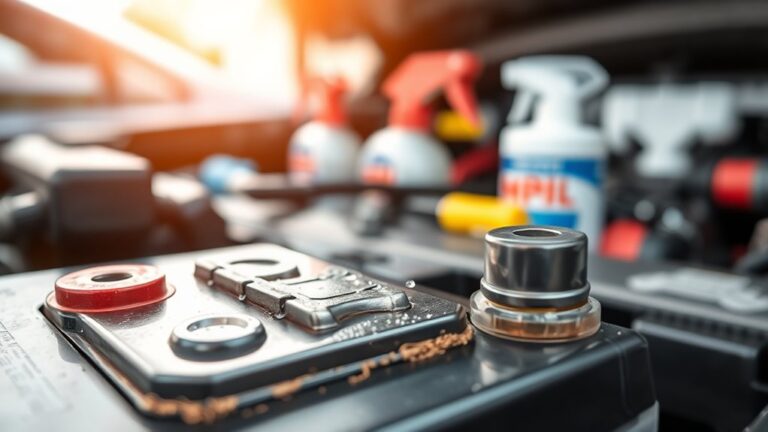
Preventative Measures to Avoid Future Corrosion
To prevent future corrosion of your charging port, it is crucial to adopt a few practical habits. These strategies focus on corrosion prevention and effective moisture control, ensuring your device remains in peak condition.
- Keep It Dry: Always store your device in a dry environment. Avoid exposing it to high humidity or wet conditions, as moisture can easily lead to corrosion.
- Use Dust Covers: Invest in protective caps or covers for your charging port. This simple addition can shield the port from dust and moisture, greatly reducing the risk of corrosion.
- Regular Cleaning: Make it a habit to clean your charging port regularly. Use a soft brush or compressed air to remove debris. This keeps the connection clear and helps maintain moisture control.
When to Seek Professional Help
While you can handle minor issues with your charging port, there are situations where seeking professional help is crucial. If you notice persistent charging problems despite cleaning, it’s time for a professional assessment. Corrosion can sometimes lead to underlying issues that aren’t visible to the naked eye, and only an expert can properly diagnose these problems.
Additionally, if your device shows signs of physical damage or overheating, don’t attempt to fix it yourself. These issues can escalate, leading to higher repair costs or even device failure.
Consider the age of your device, too. If it’s older and repairs are costly, it might be wiser to invest in a new one rather than pouring money into repairs. Remember, prioritizing safety and functionality is key. When in doubt, trust a professional to guarantee your device is repaired correctly and safely.
Frequently Asked Questions
Can I Use Vinegar to Clean a Corroded Charging Port?
Yes, you can use vinegar to clean a corroded charging port, as its acidity can help dissolve corrosion. However, be cautious—excessive moisture can damage your device. After applying vinegar, make sure you thoroughly dry the port to prevent further corrosion. To enhance corrosion prevention, consider using isopropyl alcohol instead, as it evaporates quickly and reduces moisture risks. Always prioritize safety and consider professional help if you’re unsure about the cleaning process.
How Often Should I Clean My Charging Port?
You should clean your charging port about once a month, like giving your device a revitalizing drink of water. If you charge frequently, consider more regular maintenance, as dirt and debris can accumulate quickly. Use compressed air or a soft brush for effective cleaning without damaging components. Staying proactive with these maintenance tips will enhance your device’s lifespan and guarantee peak charging performance, giving you the freedom to stay connected without interruptions.
Is It Safe to Use Compressed Air on the Charging Port?
Using compressed air on your charging port can be safe, but you need to be cautious. Make sure the can is held upright to avoid moisture entering the port. This method aids in charging port maintenance by dislodging debris without physical contact. However, excessive force can damage internal components, so it’s best to use short bursts. Always follow compressed air safety guidelines to minimize risks while keeping your device clean and functional.
Will Cleaning the Charging Port Void My Warranty?
Cleaning your charging port might feel like a daring adventure, but it won’t void your warranty if done properly! Warranty terms usually cover manufacturer defects, not user maintenance. Just be cautious with your cleaning methods; avoid harsh chemicals or excessive force. Always check your device’s warranty policy before diving in. Keeping that port clean could save you from bigger issues down the line, ensuring your freedom to use your device uninterrupted!
What Signs Indicate a Need for Professional Repair?
If you notice persistent charging issues, visible corrosion types like rust or greenish buildup, or if your device overheats during charging, it’s time for professional repair. Inconsistent connectivity and unusual signs like burning smells can also indicate deeper problems. Repair costs vary, but addressing these symptoms early can save you from more expensive damage later. Don’t ignore these warning signs; seeking expert help guarantees your device’s longevity and performance.