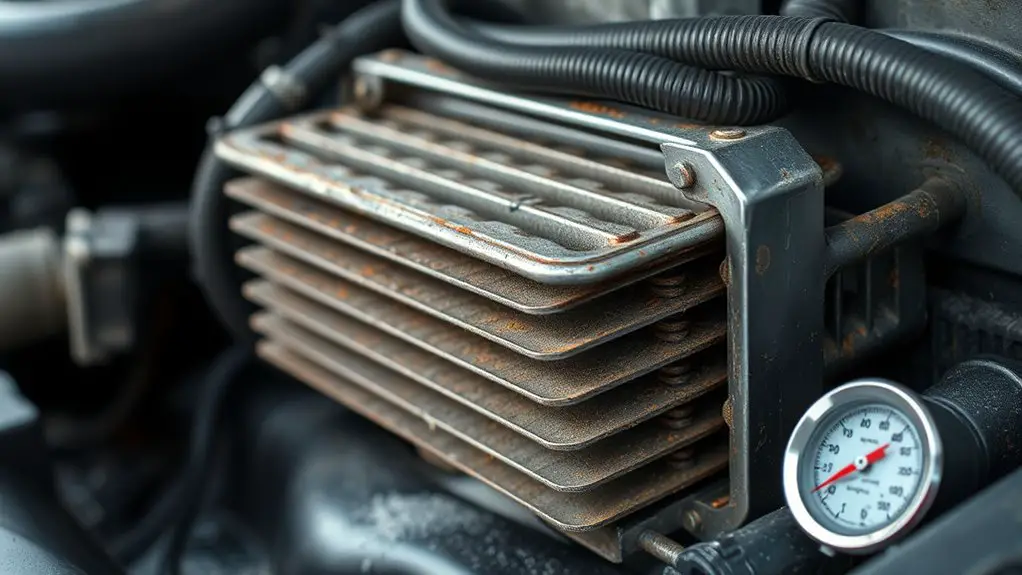
DIY Tips to Spot Early Signs of Heater Core Clog
If you’re spotting early signs of a heater core clog, start by monitoring heat output and temps. Look for low or erratic heat, bursts of hot air followed by cool air, or cooling gauge swings. Smells matter too—sweet coolant odor or damp, sweet fog on windows can hint leaks. Check for moisture on carpets and under the dash, plus visible leaks or swollen hoses. If these clues show up, you’re on the right track to a diagnosis, and you’ll learn more soon.
Common Early Indicators of a Heater Core Coul
Common early indicators of a heater core clog include unusually low or fluctuating interior heat output and a sweet, antifreeze-like odor inside the cabin. You’ll notice the heater’s performance drift as coolant flow becomes restricted, reducing heat at the vents. Inspecting the dashboard indicators, you may see the temperature gauge behaving oddly or a faint sweet scent when the HVAC system runs. This isn’t random; it points to a blockage in the heater core path, where coolant circulates to transfer heat into the cabin. If flow is impeded, you’ll feel cooler air despite setting the controls high, and the system may cycle on and off erratically. Expect moisture buildup on windows as humidity shifts with coolant leakage. To diagnose, verify coolant levels and listen for unfamiliar engine sounds near the firewall. Addressing the root cause early protects the cooling circuit and preserves proper coolant flow.
Temperature Anomalies to Watch For
Temperature anomalies in the heater core path can reveal a blockage even when dashboards show normal readings: you may notice inconsistent heat output, with sudden warm spells followed by cooler air despite steady fan and temperature settings. You’ll observe temperature fluctuations inside the cabin that don’t align with requested heat, signaling restricted flow or trapped coolant. Heating inconsistencies become more apparent during steady driving or idle, when the system should maintain uniform output. Pay attention to brief hot bursts that quickly fade, or lukewarm pockets that persist despite high fan speed. The pattern may shift with engine temperature, yet remain irregular, indicating partial clogging or air pockets in the core. Document these cues: time of day, engine RPM, coolant level, and climate settings. If anomalies persist, you’re justified in testing the mix, flow, and bleed procedures, since early detection minimizes overheating risk and prevents longer, costlier repairs.
Unusual Smells and Fluid Clues Around the Cabin
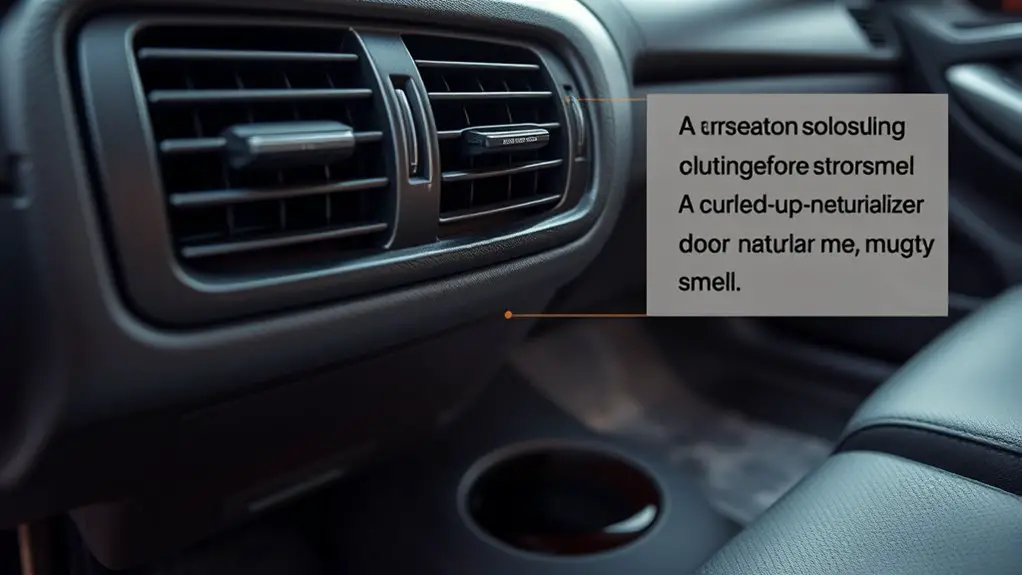
Rising or unusual odors near the cabin, especially a sweet, rotten egg, burning, or chemical scent, can signal coolant leaks, electrical wiring issues, or degraded heater components.
Unusual smells aren’t cosmetic; they hint at fluid and system changes you can verify quickly. Focus on coolant evaporative hints, engine bay moisture, and the telltale sweet or sulfur note. If you detect a persistent odor after startup, check for damp carpet, foggy windows, or a sweet thickness on footwear. Unpleasant odors paired with dampness or warmth may indicate a leaking heater core or related seals. Note any visible leaks under the dash or along hoses. Don’t ignore faint chemical or burning hints—these can escalate to failure. Sensible next steps: locate the source, monitor coolant level, and inspect hoses for cracks. If you smell coolant leaks, proceed with caution and seek a professional diagnosis to avoid internal damage or misdiagnoses.
| Symptom | Possible Cause |
|---|---|
| Odor in cabin | Coolant leak, electrical issue |
| Damp carpet | Leaking heater core |
| Foggy windows | Moisture ingress, coolant vapor |
| Sweet/egg smell | Sulfur compounds, chemical reaction |
| Burning scent | Electrical fault, overheated components |
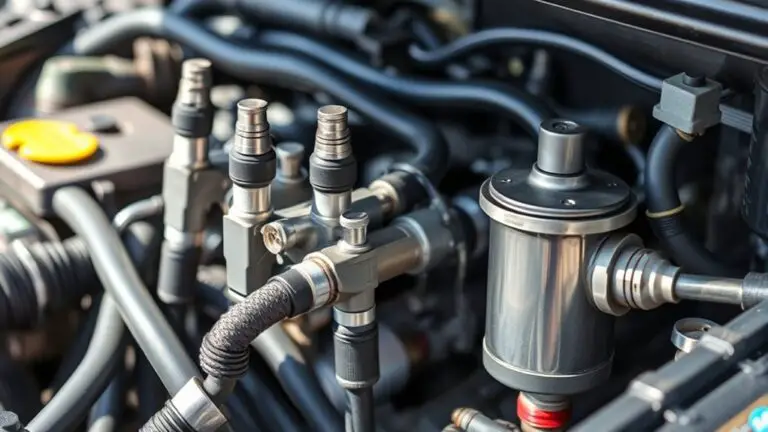
Visual Clues Inside the HVAC System and Cabin
Visual cues inside the HVAC system and cabin can reveal hidden issues without disassembly. You’ll perform visual inspections that focus on system components and their interconnections. Look for coolant staining around hoses, fittings, and the heater core inlet and outlet; discoloration can signal flow restriction or leaks. Observe the blower housing and evaporator area for excessive frost, condensation, or dampness, which may indicate impaired heat transfer or a partial blockage. Check for brittle or swollen hoses, loose clamps, or corrosion at clamps and terminals. Inspect the firewall bulkhead penetration for moisture intrusion, and scan for unusual debris or debris-laden residues on the cabin side. Noting temperature inconsistencies between air vents and expected output helps pinpoint misrouting or partial clogging. Document any abnormal sounds or vibrations from the blower motor during operation, as they can accompany evolving flow issues. In all steps, prioritize methodical, repeatable checks to map system components to observed symptoms.
Safe At-Home Checks to Narrow Down the Cause
To safely narrow down the cause at home, start with simple, noninvasive checks you can perform without disassembling the system.
- Inspect the cabin and engine compartments for coolant leaks, corrosion, or damp insulation that could signal a leak or flow issue.
- Verify heater control operation, thermostat position, and blend door behavior to rule out misadjustment rather than core blockage.
- Check coolant level and condition; use the owner’s manual troubleshooting guide to note color, contamination, or air pockets that disturb flow.
- Confirm the radiator and heater core hoses are hot at both ends when the engine reaches operating temp, indicating proper circulation or revealing a blockage indicator.
A focused, methodical approach keeps you within a safe, home maintenance mindset while you gather data. If symptoms persist, consult a professional as part of your troubleshooting guide and avoid forced disassembly.
Frequently Asked Questions
How Long Does a Heater Core Typically Last Before Clogging?
Typically, a heater core itself doesn’t have a fixed lifespan before clogging; it hinges on your coolant quality and maintenance. If you keep up with regular heater maintenance and replace coolant as needed, you can delay buildup for years. Expect clogs to appear when coolant lifespan is ignored or contaminated, leading to reduced flow. Stay proactive: flush systems, monitor temperatures, and track coolant lifespan to prevent premature heater core issues.
Can a Clogged Heater Core Cause Overheating or Engine Damage?
A clogged heater core can contribute to overheating and potential engine damage if left unaddressed. You’ll likely notice overheating symptoms such as rising temps, reduced coolant flow, and inconsistent temperature control, which can strain engine components. To protect engine control and prevent damage, address the clog promptly. Do you want to keep your system resilient by inspecting coolant flow and seeking professional service if symptoms persist? This approach supports overheating symptoms awareness and engine damage prevention.
Are DIY Flushes Proven to Restore Heater Core Flow?
DIY techniques can restore some heater core flow, but they’re not proven to reliably fix all blockages. You’ll often see mixed results, and improper flushing can push debris into other parts of the cooling system. For best heater maintenance, assess symptoms, use manufacturer-approved methods, and consider professional service if flow doesn’t improve. You decide based on risk tolerance, cost, and your confidence with precise flushing steps. Always prioritize system integrity and long-term reliability.
Do Aftermarket Coolants Affect Heater Core Clog Risk?
Only about 50% of aftermarket coolants meet OEM temperature and corrosion specs, so yes, they can affect heater core clog risk. You should check coolant compatibility before mixing brands, and prefer products labeled for your vehicle. Using improper formulations increases deposits and flow restriction. Keep a steady maintenance interval, monitor for sweet smells or fogging, and guarantee correct concentration. If in doubt, flush and test for compatibility to minimize clog risk while keeping system freedom.
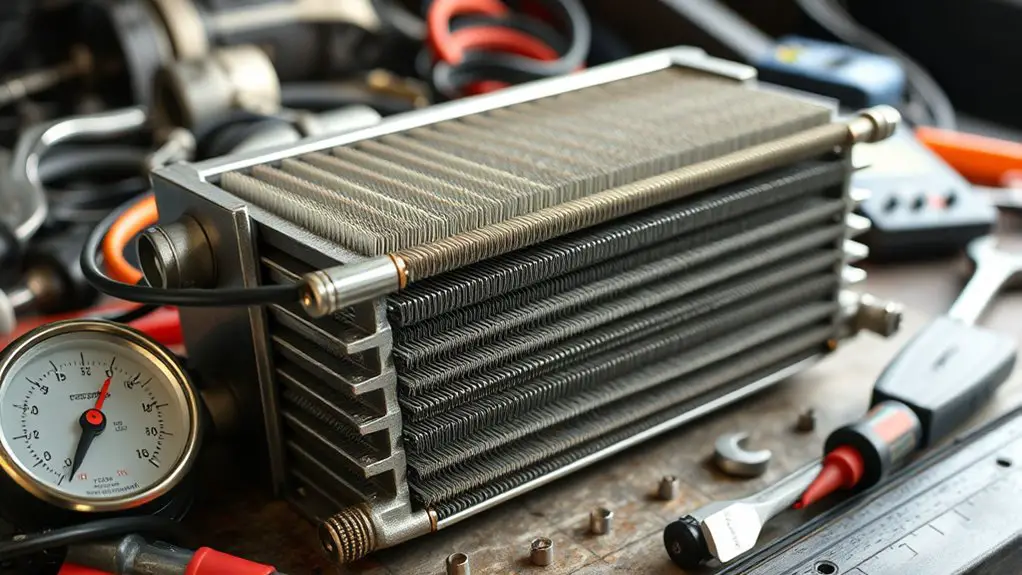
What Garage Tools Best Diagnose Heater Core Flow Issues?
You should use a pressure gauge and a flow meter to diagnose heater core flow issues. Attach the pressure gauge at the upper radiator hose or heater core inlet to observe abnormal pressure drops or spikes, then verify flow with a flow meter across the heater core loop. Look for inconsistent flow, reduced gauge readings, or erratic numbers. Interpret results quickly, safely, and precisely to determine clog presence and guide corrective steps.