How to Prepare Your Car and Tools Before Tackling Faulty Aftermarket Modules
Before you tackle faulty aftermarket modules, assess safety first and isolate power to prevent shorts or airbag shocks. Gather the right tools—metric and SAE kits, multimeter, test light, torque wrenches, and isolators—plus PPE like safety glasses and cut-resistant gloves. Set up a clean, well-lit workspace with clearly labeled zones for assembly, testing, and documentation. Document baseline readings and plan teardown steps with repeatable procedures. If you keep following this approach, you’ll uncover more precise methods and checks to apply.
Assessing the Fault and Safety Considerations

When evaluating a faulty aftermarket module, start with a systematic check of its symptoms and potential failure modes. You’ll map observed behaviors to plausible causes, separating intermittent faults from persistent ones. Begin with fault identification by tracing electrical signals, harness connections, and module responses to controlled inputs. Note any abnormal voltages, erratic readings, or noncompliant outputs, documenting timestamps and conditions. Next, perform safety checks to protect yourself and the system: isolate power, disconnect the battery when necessary, and respect airbag or high-voltage cautions if applicable. Verify grounding integrity and inspect for corrosion or insulation damage that could masquerade as a faulty module. Rule out user error and aftermarket harness faults before concluding a module fault. Maintain a clear, hierarchical log of findings, actions taken, and remaining uncertainties. Preserve a calm, analytical mindset, avoiding jumping to conclusions. Clear fault identification and rigorous safety checks enable reliable decisions and safer, more controlled troubleshooting.
Gathering Essential Tools and Protective Gear

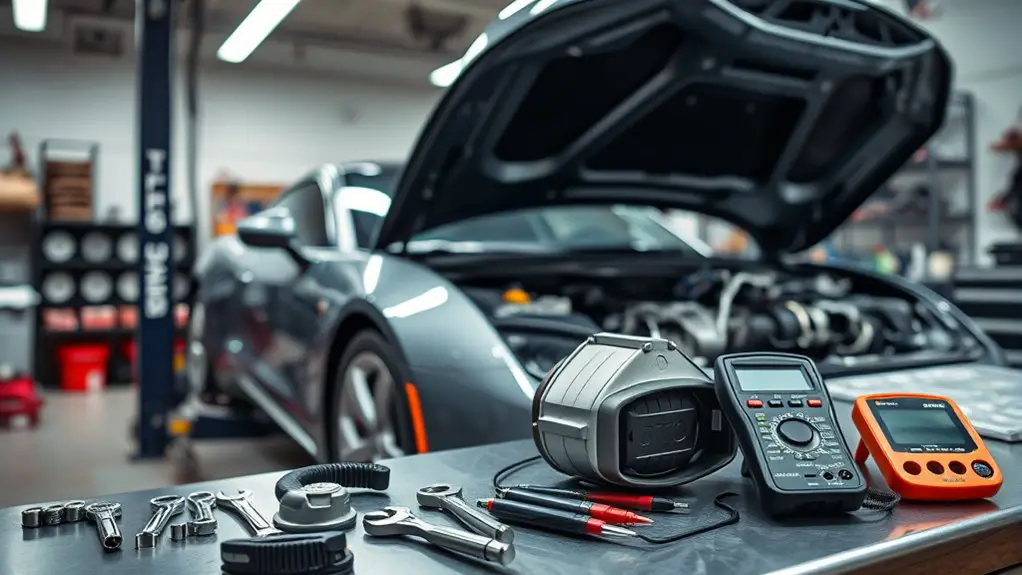
Gather the right tools and protective gear before you start, prioritizing safety and reliability. You’ll select tool types that match the task at hand, avoiding improvised options. Begin with a basic metric and SAE toolkit: ratchets, sockets, precision screwdrivers, pliers, wire cutters, multimeter, and a test light. Add torque wrenches and isolators for electrical work, plus a non-conductive flashlight for tight spaces. For protective equipment, choose safety glasses, cut-resistant gloves, and a face shield if you’ll shoulder-strap or bench-test modules. Use a dielectric mat to isolate components and prevent shorts. Organize a labeled tackle box or magnetic tray so fasteners stay in reach. Include consumables: electrical tape, zip ties, heat shrink, contact cleaner, and corrosion inhibitor. Confirm you have a reliable power source and a proper fuse puller. Verify tool types and protective equipment are within reach, fitting the job’s scope and reducing risk during disassembly and inspection.
Preparing the Workspace and Safety Procedures

To start safely, set up a dedicated workspace free of clutter and distractions, with a stable, rollable surface and ample lighting. You’ll establish a controlled environment that supports repeatable tasks and minimizes risk. Begin with clear zones: assembly, testing, and documentation. Maintain a tidy surface to prevent misplaced fasteners and tools, and label containers for easy retrieval. Prioritize workspace organization by grouping related items and removing unnecessary clutter before you power up. Safety equipment must be readily accessible: eye protection, gloves, and fire-safe storage for flammable liquids if present. Confirm a grounded power strip, proper ventilation, and a smoke detector are in place, and verify that tools are in good condition with intact insulation. Implement safe handling procedures for batteries, capacitors, and wiring, using insulated tools and one-handed work when feasible. Document procedures, review potential hazards, and commit to stopping work if uncertainty arises. Maintain discipline, because freedom thrives on disciplined, deliberate action.
Diagnosing With Basic Tests and Documentation
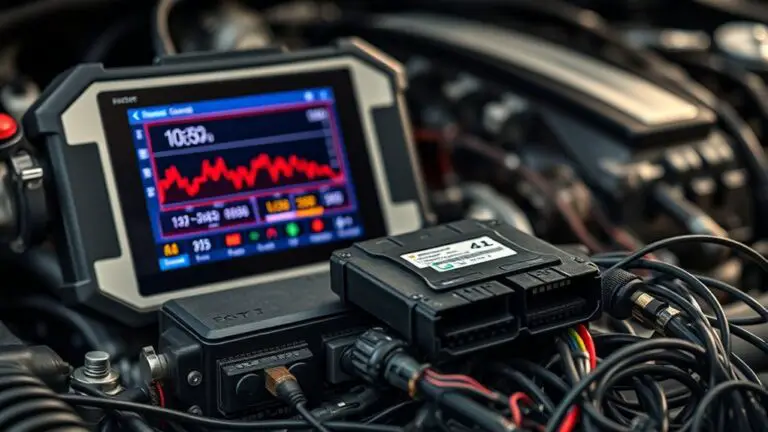
With a clear plan in hand, begin by establishing a baseline through basic electrical tests and thorough documentation. You’ll map circuit paths, note connector states, and record observed voltages with a digital multimeter and oscilloscope where applicable. Prioritize consistency: run the same test under identical conditions, and log timestamped results to enable trend analysis. For basic troubleshooting, test supply rails, grounds, and common reference points, then verify continuity and resistance within manufacturer tolerances. When identifying the module, perform non-destructive checks such as visual inspection, connector pin counts, and readable part numbers to confirm module identification without assuming function. Document all findings, including environmental factors, harness condition, and any suspicious anomalies. Create a concise defect log: symptom, potential cause, tests run, and outcome. Cross-check results with service literature or schematics, avoiding speculation. This disciplined approach minimizes guesswork and prepares you for iterative diagnostics while preserving system integrity.
Planning Teardown, Reassembly, and Verification
You’ve mapped the baseline and documented findings, so next you’ll plan the teardown, reassembly, and verification steps with a focus on repeatability and safety. Start with teardown strategies that minimize risk to modular components and harness repeatable work sequences. Define entry points, required tools, and specific torque values, documenting any deviations for future runs. Create a stepwise plan that isolates circuits, preserves connectors, and protects fasteners from loss. Emphasize clean, labeled routing for disassembly and a checklist to validate each modular component’s position and orientation during reassembly. Establish verification criteria early: functional tests, insulation integrity, and diagnostic readouts that confirm module compatibility. Prepare containment for small parts and an organized workspace to prevent cross-contamination. Use standardized torque, seating, and seating-depth targets to guarantee consistent performance. Align teardown steps with safety margins and a rollback plan if unexpected interference arises, keeping the process repeatable across vehicles and scenarios.
Frequently Asked Questions
How Do I Identify Counterfeit or Substandard Aftermarket Modules?
Counterfeit or substandard aftermarket modules can be identified by inspection, testing, and provenance. You should perform counterfeit detection by verifying serial numbers, OEM logos, and hardware inscriptions; compare packaging, firmware hashes, and PCB quality. Check vendor legitimacy, warranty terms, and return policies for aftermarket quality assurances. Use a multimeter, load tests, and functional benchmarks to confirm performance within spec. Document results, isolate suspicious units, and avoid third-party vendors with opaque supply chains.
What Environmental Conditions Could Affect Module Performance During Work?
Temperature fluctuations and humidity levels can degrade module performance during work. You should monitor ambient and surface temperatures, maintain stable humidity, and avoid rapid exposure changes. Keep a controlled environment, use calibrated thermometers, and log readings. Protect connectors from condensation, and work with anti-static precautions. If you see fogging, frost, or daisy-chained heat, pause and re-check conditions. By managing these factors, you guarantee consistent measurements and reduce risk of erroneous diagnostics.
Are There Legal Risks to Modifying Aftermarket Vehicle Electronics?
If you modify aftermarket vehicle electronics, you should know there are legal risks and potential liability. Roughly 15% of owners report warranty disputes after DIY updates, underscoring caution. You’ll face legal implications, including compliance with emissions, safety standards, and manufacturer terms. Guarantee documentation and imagery of changes, test results, and approvals. Understand warranty concerns before proceeding; your freedom to customize isn’t free from enforcement, and missteps can void coverage or invite enforcement actions.
How Can I Document Changes for Warranty Implications?
You should keep thorough warranty documentation and implement change tracking. Start by recording each modification, including part numbers, serials, dates, and technician initials. Note the reason for the change, testing procedures, and observed results. Maintain before-and-after snapshots of software and wiring diagrams. Store this in a centralized, timestamped log accessible to authorized personnel. Regularly back up data, and guarantee documentation aligns with manufacturer guidelines to protect warranty rights and facilitate fault isolation.
What Signs Indicate a Module Failure During Bench Testing?
“Where there’s a will, there’s a way.” You’ll spot module failure during bench testing by erratic outputs, abnormal voltage rails, unexpected resets, missing communication, and out-of-spec timing. Monitor with precise diagnostics: module diagnostics flags, inconsistent stream data, and latch-up conditions. Document reproducible fault states, compare against baselines, and re-test after each intervention. You stay thorough, methodical, and decisive, ensuring bench testing results translate into actionable repair steps while preserving your freedom to troubleshoot.