How to Prepare Your Car and Tools Before Tackling Lost Calibration
Begin with a clear assessment of your calibration system. Inventory all components, histories, tolerances, and recent drift, noting interdependencies and data integrity. Gather essential tools: torque wrench, micrometer, calipers, DMM with clamps, and a portable scope, plus a stable reference stand and clean mirrors. Set up a clean, organized workspace with labeled bins and safe zones. Establish milestones, precise logs, and success criteria. Troubleshoot by verifying baseline, mounting integrity, power, and grounding, then validate results before a final go/no-go—and you’ll be ready to press ahead.
Assessing the Calibration System

Evaluating the calibration system starts with a clear, objective inventory of all components and their current state. You map sensors, actuators, and reference points, noting calibration histories, tolerances, and recent drift. This inventory isn’t passive; it’s your baseline for decisions. You assess interdependencies, power stability, and data integrity, flagging anything that could skew results. Calibration importance becomes your guiding principle: accuracy today prevents misalignment tomorrow. You categorize issues by severity, likelihood, and impact, then prioritize corrective steps. You verify documentation availability, update procedures, and confirm access to required standards. In parallel, you scrutinize existing calibration methods for relevance and limits, distinguishing robust techniques from expedients. You seek repeatable, auditable processes rather than shortcuts. Your goal is a concise plan: what to measure, how often, and with what reference. By the end, you’ll have a proven framework to guide subsequent tests, adjustments, and verifications, preserving freedom through disciplined, transparent calibration practice.
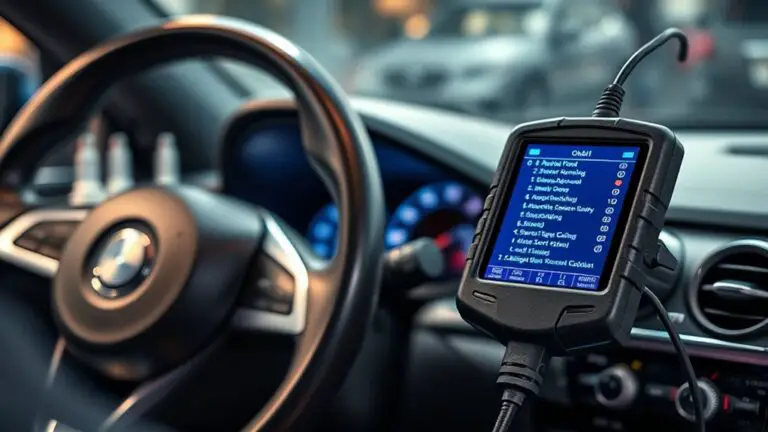
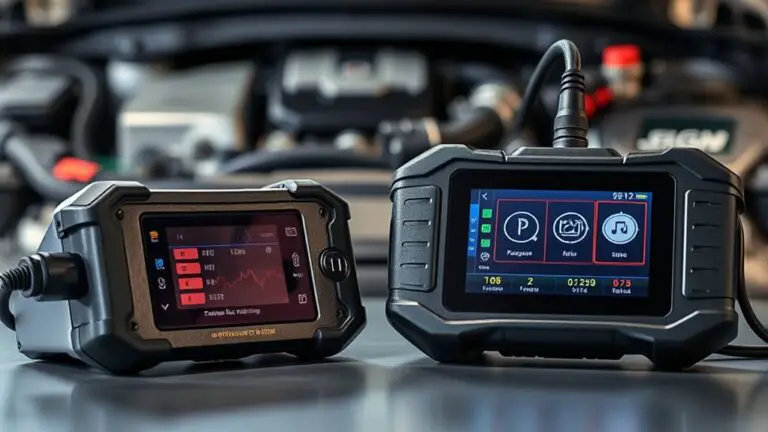
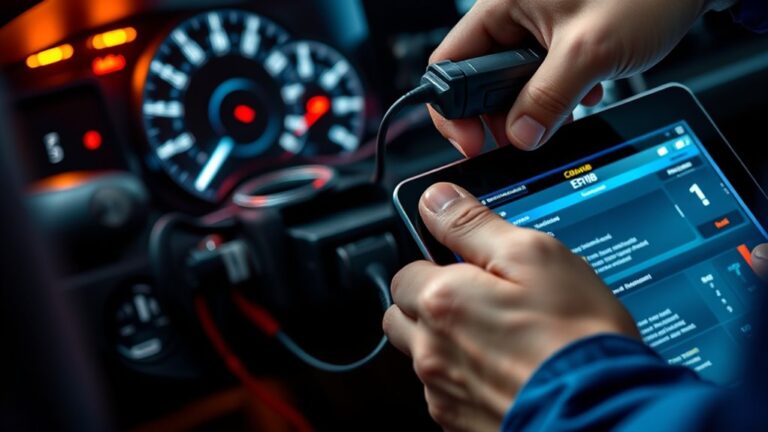
Essential Tools and Gear for Calibration
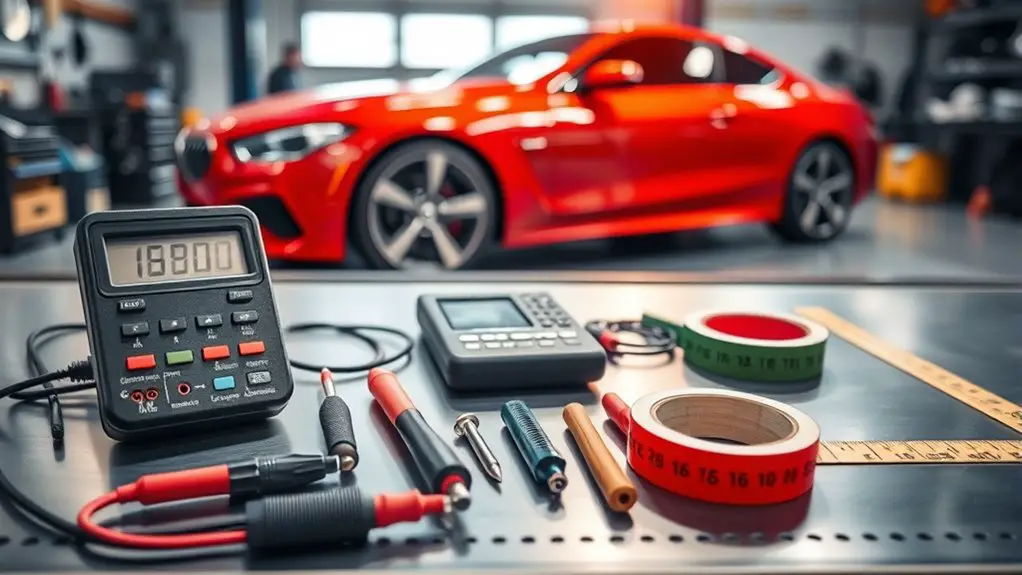
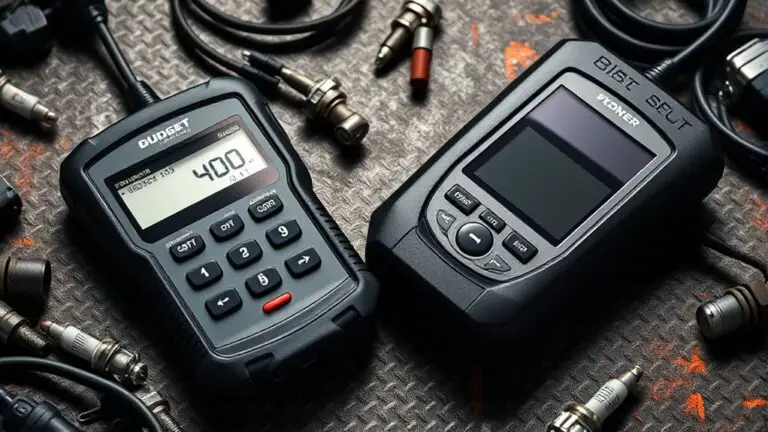
Essential tools and gear form the backbone of reliable calibration. You approach this with purpose: a precise kit, organized and ready to deploy. Your calibration tools must be accurate, calibrated, and fit for the task, not cluttered with guesswork. Start with a basic, high-quality torque wrench, micrometer, and calipers—these establish reference measurements you can trust. Include a digital multimeter with current clamps for electrical checks, plus a portable oscilloscope if you’re tracing signals. A stable reference stand, alignment targets, and a mirror with clean, reflective surfaces help you verify geometry without distortion. Gear selection matters; choose documented, industry-standard items and label each piece for rapid retrieval. Keep spare batteries, adapters, and diagnostic cables in a dedicated pouch. Use a clean workspace and a protective mat to prevent contamination. Finally, document tool calibrations and keep a concise checklist to confirm readiness before you begin.
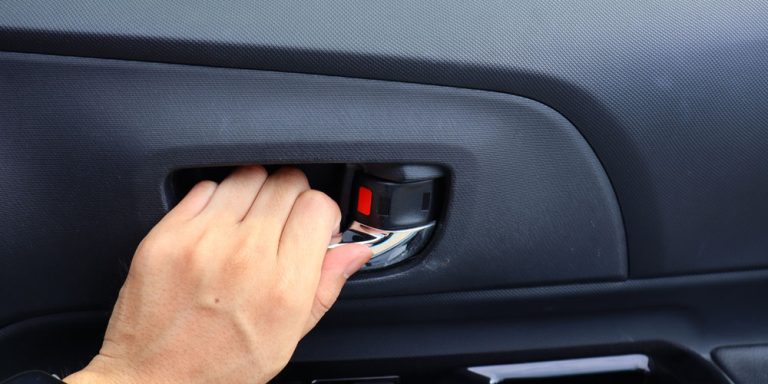
Workspace Setup and Safety Protocols
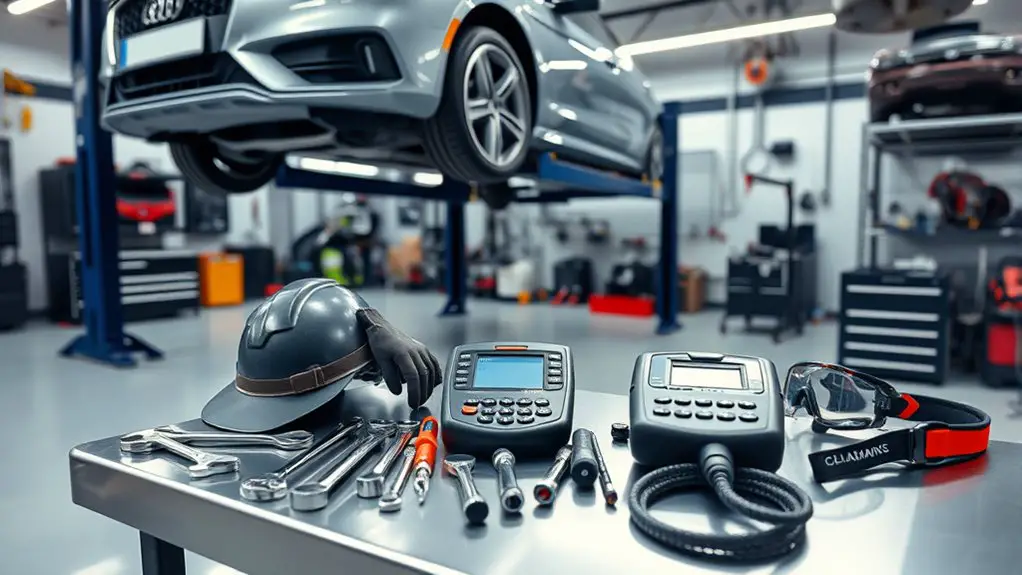
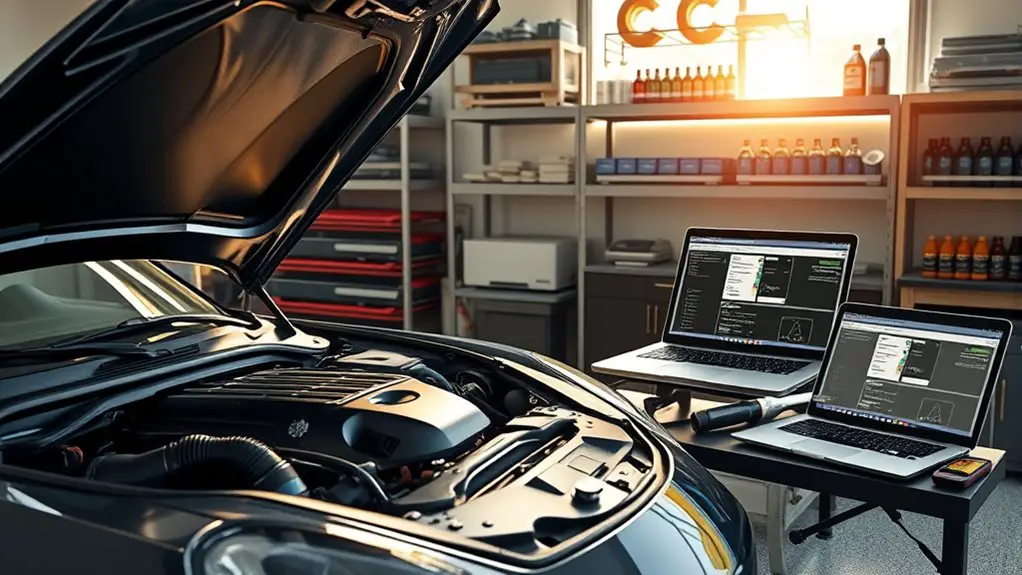
A well-organized workspace sets the stage for accurate calibration, so start by establishing a clean, fixed area with stable lighting, firm flooring, and a dust-free surface. You’ll align tools and components to reduce misreads and interruptions. Next, map clear zones for vehicle access, measurement, and reference panels, keeping pathways unobstructed at all times. Maintain a dedicated bench height and a non-slip mat to prevent fatigue and slips during long sessions. Prioritize workspace organization by labeling storage bins, securing cords, and staging parts in sequence to minimize search time. Implement safety protocols that emphasize awareness, ventilation, and fire readiness; keep a first-aid kit, fire extinguisher, and eye wash accessible. Wear safety equipment appropriate to tasks, such as gloves and eye protection, and verify battery disconnects and jack stands are secure before starting. Your freedom comes with discipline: plan, protect, calibrate.
Documenting and Tracking Calibration Progress
You’ll establish clear milestones for calibration progress, recording each target and achievement so you can measure improvement over time. Keep precise logs of tool usage, noting settings, dates, and outcomes to guarantee traceability. Adopt concise progress log practices that capture milestones, tool activity, and ongoing improvements to support accountability and repeatability.
Tracking Calibration Milestones
Tracking calibration milestones involves establishing a clear, verifiable record of progress, so you know precisely what’s been completed and what remains. You’ll set concrete benchmarks tied to calibration frequency, then log outcomes against each milestone. Keep a centralized ledger that records dates, results, and any deviations, so you can audit progress at a glance. Define success criteria for every stage, and verify once a milestone is reached before advancing. Prioritize consistency in data collection—uniform measurements, similar conditions, and documented caveats. Use milestone tracking to forecast delays, allocate resources, and preserve accountability, ensuring you stay aligned with your goals. Maintain concise summaries that highlight blockers and resolutions, then update stakeholders as needed. This disciplined approach yields freedom through clarity and deliberate, measurable advancement.
Documenting Tool Usage
Documenting tool usage is the next step in keeping calibration progress transparent and actionable. You’ll establish a clear record that links actions to outcomes, avoiding ambiguity in future attempts. Begin with a concise tool inventory: list each item, model, and condition, so you know what you have and what you may need. For every session, note usage frequency, date, and purpose, along with any adjustments or observations. This isn’t bookkeeping for its own sake; it’s a map you can trust when you return to work. Keep the format consistent and accessible, whether you’re jotting by hand or in a digital log. Regular reviews reveal trends, gaps, and opportunities to refine your approach while preserving your autonomy and momentum.
Progress Log Best Practices
Progress logs are your roadmap for calibration progress, so keep them precise and consistent from the start. You’ll track progress using concise entries that capture date, task, and outcome, ensuring you can audit later. Use calibration logs to document settings, references, and deviations, then compare against targets to identify drift quickly. Maintain a logical sequence: plan, perform, verify, adjust. Regular reviews prevent garbled data and wasted effort, while clear timestamps anchor accountability. The table below adds structure for quick reference and future sonnections:
| Date | Task | Outcome |
|---|---|---|
| 2024-08-01 | Target alignment | Within spec |
| 2024-08-02 | Sensor test | Minor drift corrected |
| 2024-08-03 | Final verification | Stable readings |
Troubleshooting Common Calibration Issues
Calibrating a system often reveals root causes that aren’t immediately obvious, so start by verifying that all baseline conditions are met before diving into diagnostics. When you encounter calibration errors, isolate whether the issue stems from data input, mechanical play, or software thresholds. Check sensor sensitivity first: noise, drift, or mounting stiffness can skew readings and lead to false targets. Next, confirm that power, grounding, and reference signals are stable, then reassess alignment or target geometry. If results remain inconsistent, reproduce the error with repeatable steps and document deviations for troubleshooting flow. Maintain a disciplined approach: change one variable at a time and verify impact before proceeding. Communicate findings clearly to teammates and record any calibration adjustments for future sessions.
- Verify baseline conditions and reproducibility
- Inspect sensor sensitivity and mounting integrity
- Validate power, grounding, and reference signals
- Document changes and outcomes for traceability
Pre-Calibration Checklists and Final Review
To start the pre-calibration phase, assemble a concise checklist that confirms all prerequisites are in place: stable data inputs, proper sensor mounting, clean power and grounding, and verified reference signals. You’ll proceed with a tight sequence: verify data integrity, confirm sensor alignment, inspect wiring for impedance and interference, and revalidate power rails. Document each item, timestamp checks, and set pass/fail thresholds to avoid ambiguity. Move next to environmental controls: secure mounting, vibration limits, temperature ranges, and shielding as needed. Execute a final sanity pass on calibration targets, noting any drift, offsets, or noise, then perform a controlled reset if required. In the final calibration review, compare results against predefined criteria, annotate deviations, and decide whether refinements are necessary before live testing. This phase emphasizes pre calibration considerations, disciplined validation, and a crisp go/no-go decision, preserving your sense of freedom while maintaining rigorous standards.
Frequently Asked Questions
How Often Should Calibration Tools Be Replaced?
Most calibration tools should be replaced every 1–3 years, depending on usage and environment. If you log heavy daily use or exposure to dust, humidity, or temperature swings, err toward the shorter end. A surprising 60% of calibration errors trace to worn tooling rather than procedures, underscoring tool longevity’s impact. With that in mind, track calibration frequency, inspect for wear, and retire tools promptly to maintain accuracy and your freedom to perform reliably.
Can Calibration Be Performed Without a Dedicated Workstation?
Yes, you can perform calibration without a dedicated workstation. Use portable calibration methods that rely on your available space, stable surfaces, and clear measurements. Set up a clean, well-lit area, keep the tool kit handy, and follow stepwise checks to guarantee accuracy. Portable calibration favors flexibility, but stay precise: verify references, document results, and recheck after adjustments. You’ll maintain reliability while enjoying the freedom to work anywhere with methodical, authoritative techniques.
What Legal Requirements Govern Calibration Documentation?
Yes, you must comply with calibration documentation requirements. The legal framework generally mandates adherence to calibration standards and meticulous documentation practices. You’re expected to record traceability, reference standards, method, and results, including any adjustments and uncertainty estimates. Maintain tamper-evident records, secure storage, and audit trails. Depending on jurisdiction, you may need certified technicians, official sign-offs, and timely reporting to authorities. Compliance guarantees accountability, reliability, and defensible autonomy within freely exercised technical governance.
Which PPE Is Mandatory for Different Calibration Tasks?
You’ll need PPE types matched to each task: eye protection for laser alignment, gloves for chemical handling, and hearing protection for noisy calibrations. In a hypothetical case, you pause a test if dust spikes, donning a respirator and face shield to maintain Calibration safety. You assess hazards, select PPE accordingly, and document it. This approach keeps you compliant, reduces risk, and preserves precision, because you won’t gamble with your focus or outcomes.
How to Safely Dispose of Calibration Waste Materials?
You dispose calibration waste by following calibration disposal methods that minimize risk and protect the environment. You’ll separate liquids from solids, label containers, and use approved, leak‑proof containers. You should never mix wastes; store them per waste management guidelines until collection. You’ll transport only with proper documentation, using designated spill kits and secondary containment. You’ll document disposal steps, timeframes, and chain-of-custody, and you’ll audit procedures regularly to guarantee ongoing compliance and safe, lawful practices.