How to Properly Bleed Brakes to Fix Grinding Noise
To properly bleed your brakes and fix that grinding noise, park your vehicle on a flat surface and engage the parking brake. Start by topping off the brake fluid reservoir and gathering your tools. Locate the bleeder valves on the calipers. Use the pump-and-hold method with an assistant to release air and old fluid. Repeat this process until you see clear fluid. Make certain you’ve checked for leaks afterward for peak performance. You’ll find more detailed steps ahead.
Understanding the Importance of Brake Maintenance

Brake maintenance is essential for guaranteeing your vehicle’s safety and performance. Regularly evaluating your brake system functionality helps identify potential issues before they escalate. Preventive maintenance, like checking brake pads, rotors, and fluid levels, is key in maintaining peak braking efficiency. By staying proactive, you not only enhance your vehicle’s responsiveness but also extend the lifespan of the brake components.
Neglecting brake maintenance can lead to decreased performance, resulting in longer stopping distances and increased wear on the entire system. You want the freedom to drive confidently, knowing your brakes are reliable.
Investing time in routine checks guarantees that your vehicle remains safe and roadworthy, allowing you to enjoy the open road without worry. Remember, proper brake maintenance isn’t just about fixing problems; it’s about preventing them, safeguarding your freedom to travel wherever you desire.
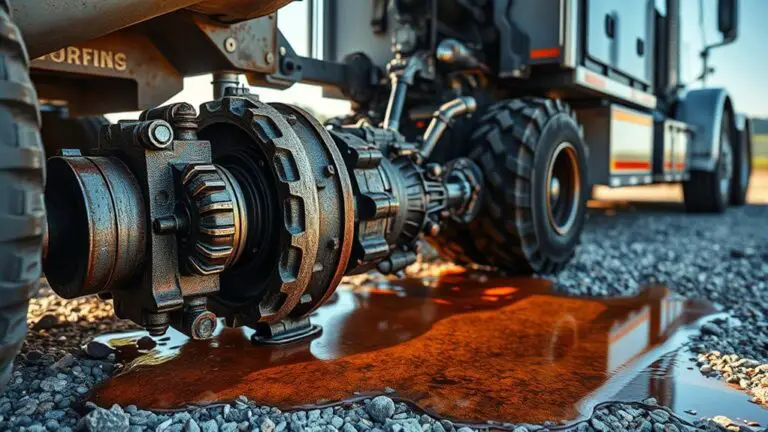
Identifying the Signs of Air in the Brake Lines
When air infiltrates your brake lines, it compromises the system’s efficiency, leading to noticeable changes in brake performance. One of the first signs you might notice is a spongy brake pedal; it doesn’t feel firm underfoot. This occurs due to air bubbles disrupting the brake line configuration, affecting fluid pressure transfer. Additionally, you may experience longer stopping distances, as the brakes aren’t responding as quickly as they should.
Listen for unusual noises, like grinding or squeaking, which may indicate that the brake system is struggling to perform effectively. Air bubble detection is vital; if you see bubbles in the brake fluid reservoir, it’s a clear indicator that air has entered the system. Regularly inspecting your brake lines can help you catch these issues early, ensuring your braking system remains reliable and responsive, which is essential for maintaining your freedom on the road.
Gathering the Necessary Tools and Materials
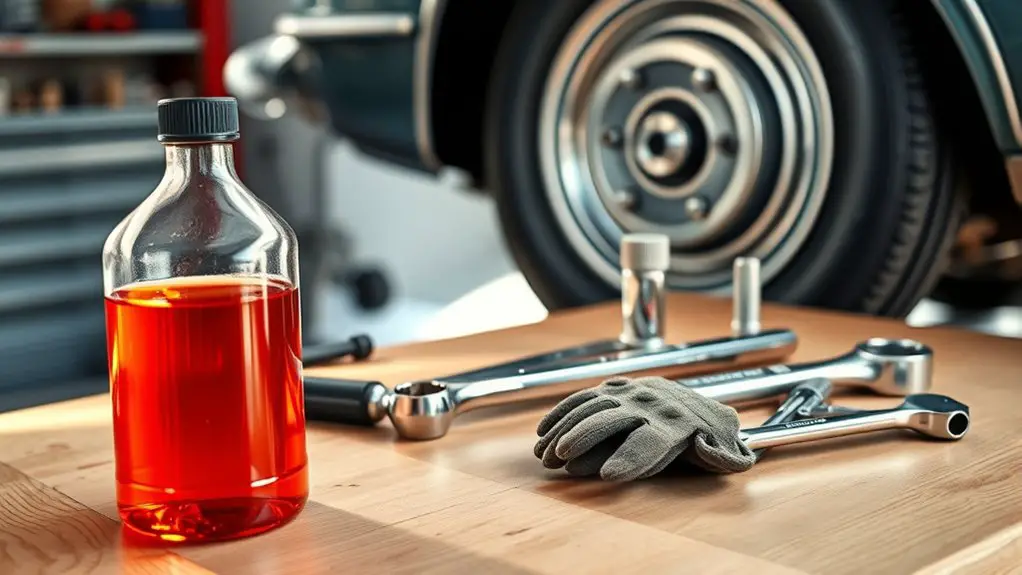
Before diving into the brake bleeding process, it is essential to gather the right tools and materials. First, you’ll need high-quality brake fluid compatible with your vehicle’s braking system. Check your owner’s manual for specifications. Next, collect important brake tools: a brake bleeder wrench, clear tubing, and a catch container to prevent spills. If you’re working alone, a one-person bleeder kit can simplify the process. A vacuum pump is also beneficial for effectively removing air from the brake lines. Make sure to have a funnel handy to avoid mess when adding fluid. Finally, don’t forget safety gear, such as gloves and goggles, to protect yourself from brake fluid, which can be corrosive. With these items ready, you’ll be well-prepared to tackle the brake bleeding process efficiently and safely, ensuring your braking system operates at its best.
Preparing Your Vehicle for Brake Bleeding
To guarantee a smooth brake bleeding process, it’s crucial to prepare your vehicle properly. Start by ensuring your vehicle is parked on a flat surface and engage the parking brake for added vehicle safety. Next, pop the hood and check the brake fluid reservoir; top it off with the appropriate brake fluid as necessary, ensuring it’s not contaminated. This step prevents air from entering the brake lines while you bleed the brakes.
Inspect the brake lines for any visible leaks or damage; addressing these issues beforehand will save you time and complications later. Additionally, gather all needed tools, like a wrench and a clear tube for bleeding. Having everything organized minimizes interruptions during the process. Finally, wear safety goggles to protect your eyes from hazardous brake fluid splashes. With your vehicle ready, you’re set to proceed to the next critical steps in fixing that grinding noise.
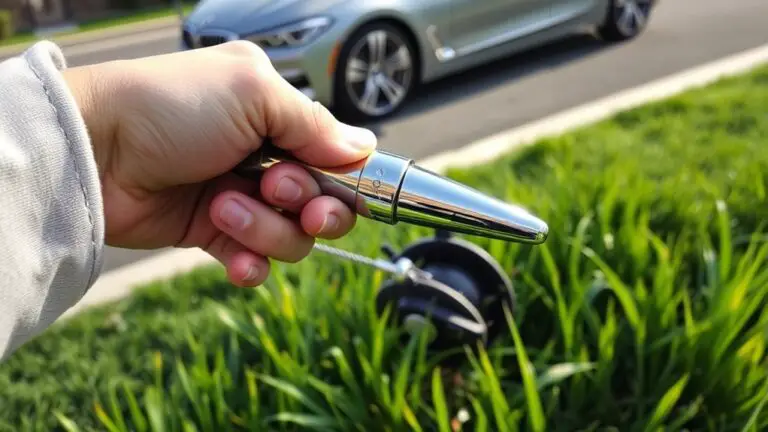
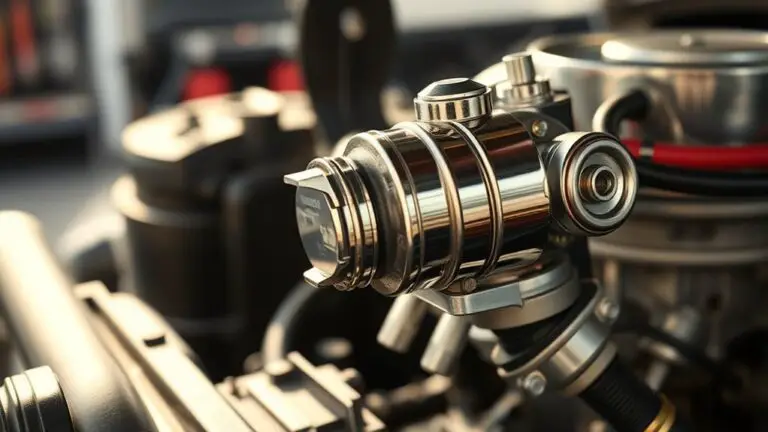
Locating the Brake Bleeder Valves
With your vehicle prepared and the necessary tools gathered, the next step is locating the brake bleeder valves. These valves are typically found on the brake calipers or wheel cylinders of each wheel, depending on your vehicle’s braking system. To access the brake components, you’ll want to raise the vehicle securely and remove the wheel. Once you have a clear view, look for small, metal nipples, usually covered by a rubber cap.
For front disc brakes, the bleeder valve locations are often near the top of the caliper, while for rear drums, they may be on the wheel cylinder. It’s essential to verify you can easily reach each valve; if they’re rusty or obstructed, consider cleaning or replacing them. Knowing these locations will streamline the bleeding process, guaranteeing you maintain peak brake performance and safety.
Starting With the Right Brake Line
Before you start bleeding your brakes, verify you’re using quality brake lines that can withstand the pressure and heat generated during braking. Examine each line for any signs of damage or wear, as compromised lines can lead to fluid leaks or brake failure. Starting with the right brake line is essential for a safe and effective brake system.
Selecting Quality Brake Lines
Choosing the right brake line is essential for guaranteeing ideal braking performance and safety in your vehicle. You’ll want to take into account various brake line materials, such as stainless steel, rubber, and braided stainless steel. Each offers distinct advantages: stainless steel is highly durable and resistant to corrosion, while rubber provides flexibility and is often less expensive. Braided stainless steel combines both durability and performance, making it a popular choice. When selecting brake lines, prioritize brake line durability to withstand the pressures and heat generated during braking. Opt for lines that meet or exceed manufacturer specifications to guarantee reliability. Investing in quality brake lines not only enhances your vehicle’s braking system but also contributes to your freedom on the road.
Checking for Damages
Although the right brake line is essential for ideal braking performance, it’s equally important to regularly check for any signs of damage. Start with a thorough brake pad inspection, as worn pads can affect your brake line’s integrity. Next, assess the rotor condition; warped or damaged rotors can lead to uneven pressure, compromising the entire system.
| Inspection Component | Signs of Damage | Recommended Action |
|---|---|---|
| Brake Pads | Cracks, excessive wear | Replace immediately |
| Brake Line | Leaks, bulges | Replace if damaged |
| Rotors | Warping, scoring | Resurface or replace |
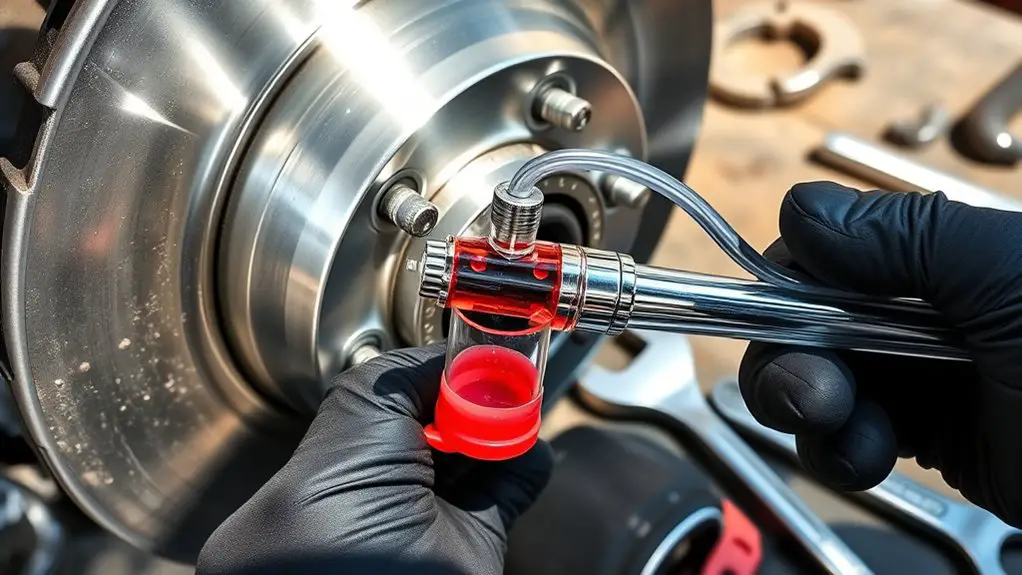
Using the Pump and Hold Method
To effectively bleed your brakes using the pump and hold method, begin by ensuring the brake fluid reservoir is filled to the appropriate level. Next, have an assistant sit in the driver’s seat, ready to operate the brake pedal. Instruct them to pump the brake pedal several times to build brake pressure, then hold the pedal down firmly. While they maintain pressure, you’re going to open the bleeder valve on the brake caliper. This allows air and old fluid to escape. Once the fluid runs clear, close the valve before your assistant releases the brake pedal. Repeat this pump technique until you see a steady stream of clear fluid without bubbles, indicating that all air has been purged from the system. Remember to monitor the fluid level throughout the process to prevent drawing air back into the lines.
Repeating the Process for All Brake Lines
Once you’ve bled the first brake line, it’s essential to follow the correct order for the remaining lines to guarantee peak brake performance. Use the proper tools, like a brake bleeder kit or wrench, to avoid damaging any components. Repeat the pumping and holding process for each line, starting from the farthest away from the master cylinder and moving closer.
Identify Brake Line Order
Identifying the brake line order is essential for an effective bleeding process. Start by consulting your vehicle’s manual for specific brake line identification. Typically, the order follows a diagonal pattern—right rear, left front, left rear, and right front. This guarantees that air is purged systematically, maintaining ideal brake fluid types throughout the system.
When bleeding, work from the furthest brake line from the master cylinder to the nearest one. This method assures that any trapped air is expelled efficiently, enhancing braking performance. Always monitor the brake fluid level in the reservoir during this process to prevent introducing more air. Following the correct order not only saves time but also provides the freedom to drive confidently, knowing your brakes are functioning properly.
Use Proper Tools
Having the right tools on hand is essential for efficiently bleeding your brakes, guaranteeing the process runs smoothly for all brake lines. You’ll need a brake bleeder kit, which typically includes a vacuum pump or a one-way valve system. This allows you to draw out old brake fluid without introducing air into the lines. Make certain to have fresh brake fluid ready, as maintaining the correct fluid level is vital. You should also have a wrench for the bleeder screws and a container to catch the old fluid. By using appropriate brake tools, you can prevent contamination and maintain system integrity. Repeat this process methodically for each brake line to guarantee peak performance and reduce grinding noise.
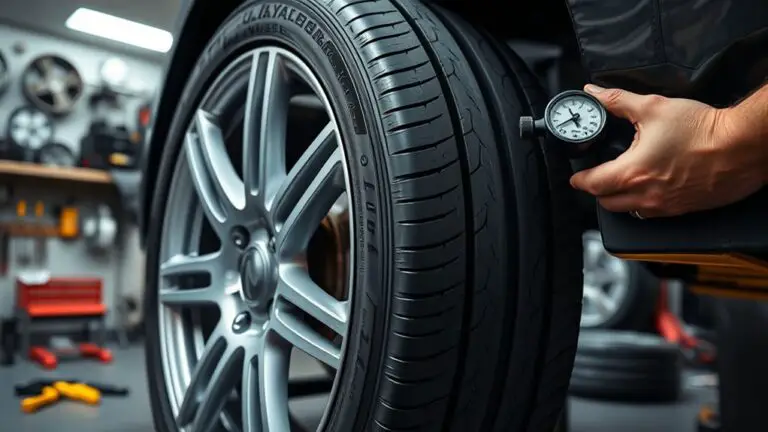
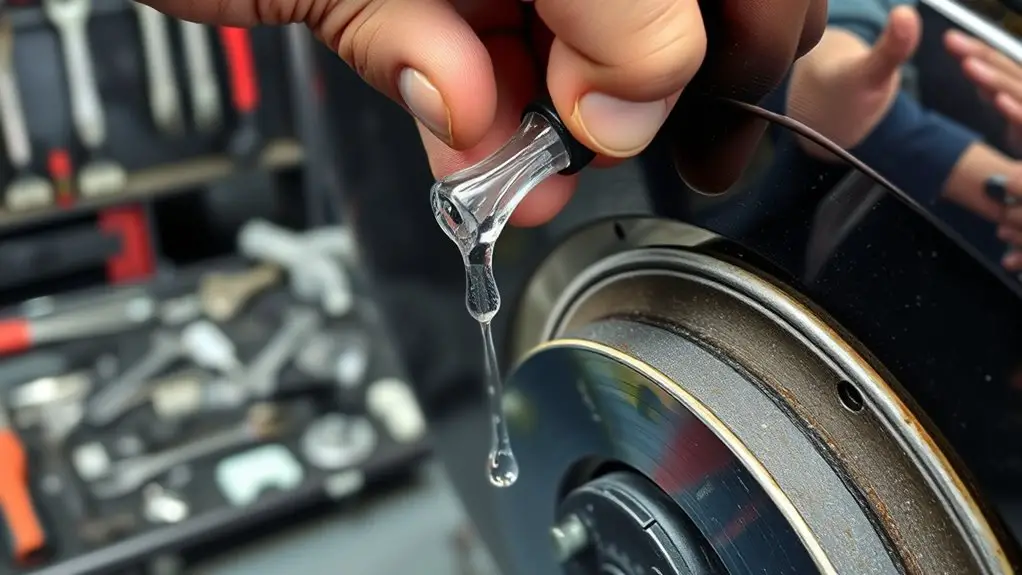
Checking Brake Fluid Levels
Checking brake fluid levels is an important step in maintaining your vehicle’s braking system. Start by locating the brake fluid reservoir, usually found near the back of the engine bay. Make sure the vehicle is on a level surface for accurate readings. Inspect the fluid level against the marked indicators on the reservoir. If it’s below the minimum line, you’ll need to add brake fluid that meets your vehicle’s specifications.
Be mindful of fluid contamination; any discoloration or debris in the fluid may indicate a problem. Contaminated brake fluid can lead to decreased braking efficiency and potential damage to components. If you notice any contamination, it’s best to flush the system and replace the fluid entirely. Regularly checking and maintaining the right brake fluid levels not only enhances your vehicle’s performance but also guarantees your safety on the road. Don’t overlook this vital maintenance task!
Testing the Brake System After Bleeding
After bleeding your brakes, it’s essential to check the brake fluid levels to guarantee they’re adequate. Next, inspect for any leaks that might indicate a problem with the system. Finally, test the brake performance to confirm everything is functioning properly before hitting the road.
Check Brake Fluid Levels
Once you’ve completed bleeding the brakes, it’s crucial to verify the brake fluid levels to guarantee peak performance. Low brake fluid can lead to air entering the system, compromising braking efficiency. Here’s what to check:
- Verify the fluid level is within the recommended range.
- Identify the brake fluid types compatible with your vehicle (DOT 3, DOT 4, etc.).
- Inspect for any signs of fluid contamination sources, such as dirt or moisture.
- Check for discoloration, which may indicate the need for a fluid change.
- Confirm the reservoir cap is securely fastened to prevent contamination.
Maintaining proper brake fluid levels not only enhances safety but also prolongs the lifespan of your braking system.
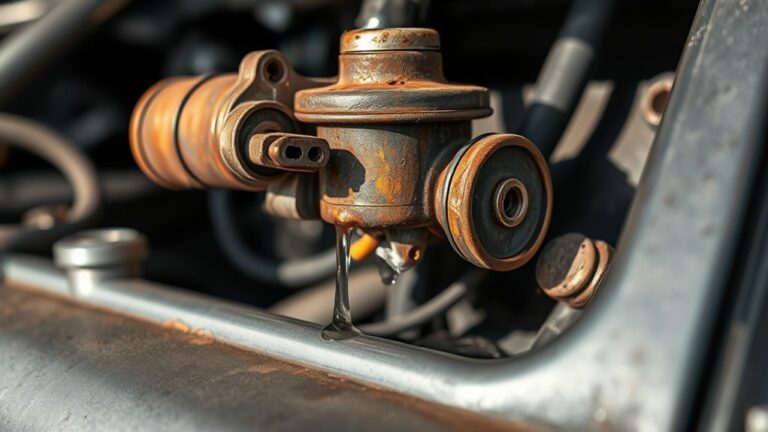
Inspect for Leaks
Inspecting for leaks is an essential step in ensuring your brake system functions properly after bleeding. After bleeding, always check for any signs of brake fluid leaks. These leaks can compromise your braking performance and safety. Start by visually inspecting the brake lines, calipers, and master cylinder for any fluid residue. If you notice any leaks, you’ll need to address them immediately.
Here’s a quick checklist to help:
| Component | Check for Leaks | Action Needed |
|---|---|---|
| Brake Lines | Fluid residue | Repair or replace |
| Calipers | Wetness around seals | Tighten or replace |
| Master Cylinder | Dampness | Inspect seals |
| Brake Fluid Reservoir | Low fluid level | Refill or replace |
| Wheel Cylinders | Leakage | Inspect and repair |
Test Brake Performance
Testing brake performance is essential to guarantee your vehicle’s safety and responsiveness after bleeding the brake system. A thorough brake performance evaluation ascertains that everything is functioning correctly. Here’s what you should do during brake system testing:
- Check for firm pedal feel: The brake pedal should feel solid without any sponginess.
- Conduct a stopping test: Accelerate to a safe speed and apply brakes to assess responsiveness.
- Listen for unusual noises: Be alert for grinding or squeaking sounds during braking.
- Inspect for vibrations: Feel for any pulsations in the brake pedal when engaged.
- Examine brake fluid level: Verify the fluid remains at the appropriate level for peak performance.
Completing these steps will help you confirm that your brakes are working effectively after bleeding.
Common Mistakes to Avoid
While bleeding brakes may seem straightforward, many DIY enthusiasts make common mistakes that can compromise their vehicle’s braking performance. One major error is using the wrong type of brake fluid; always check your manufacturer’s specifications to avoid damaging components. Another mistake is failing to use the correct bleeding technique. Whether you’re using the one-person method or a vacuum bleeder, guarantee you follow the proper steps to remove all air from the system.
Additionally, don’t overlook the importance of checking for leaks after bleeding. Even a small leak can lead to brake failure. Make sure to keep the brake fluid reservoir topped up during the process to prevent introducing more air. Finally, always work in a well-ventilated area, as brake fluid is toxic and flammable. By avoiding these common pitfalls, you can guarantee a more effective brake bleeding process and maintain your vehicle’s safety.
When to Seek Professional Help
Even with the best intentions and preparation, there are times when seeking professional help is the safest choice for brake bleeding. If you encounter any of the following issues, it’s wise to call for professional assistance:
- Persistent grinding noise after bleeding
- Warning lights on the dashboard related to the brake system
- Difficulty engaging or releasing the brake pedal
- Fluid leaks around brake components
- Inconsistent brake response while driving
These signs indicate that your brake system may have underlying issues that require expert diagnostics and repair. Ignoring them could compromise your safety and the performance of your vehicle. Professionals can accurately assess the situation, ensuring all components function correctly. Don’t hesitate to reach out if you’re unsure; prioritizing safety is always the right choice.
Maintaining Your Brake System for Longevity
Proper maintenance of your brake system is essential for ensuring both safety and performance over the life of your vehicle. To achieve system longevity, regularly check your brake fluid levels and replace it as necessary. Contaminated or low brake fluid can lead to decreased braking efficiency and potential system failure. You should also inspect brake pads and rotors for wear; replacing them at the first sign of damage can prevent further issues.
Additionally, keep an eye on brake lines for leaks or corrosion, as these can compromise your braking power. It’s wise to schedule routine inspections with a trusted professional to catch any underlying problems early. Finally, driving habits play a significant role—avoid sudden stops and excessive braking to extend the lifespan of your brake components. By staying proactive in maintenance, you’ll enhance both the safety and performance of your vehicle’s braking system.
Frequently Asked Questions
How Often Should I Bleed My Brakes?
You should bleed your brakes every 1 to 2 years as part of regular brake maintenance. This helps guarantee peak brake performance by removing air and moisture from the brake lines, which can degrade the system. If you notice a spongy pedal or decreased stopping power, it’s essential to bleed the brakes sooner. Staying proactive with brake maintenance not only enhances safety but also prolongs the life of your braking system, giving you the freedom to drive confidently.
Can I Bleed Brakes Without a Helper?
Yes, you can bleed brakes without a helper using solo brake bleeding techniques. Curiously, studies show that nearly 30% of car owners attempt DIY brake maintenance. To do this effectively, you’ll need a one-way valve in your brake bleeder kit and a clear tube. This setup allows you to control the brake fluid release while ensuring no air re-enters the system, providing you the freedom to manage your brake maintenance independently.
What Happens if I Introduce Air Back Into the System?
If you introduce air back into the brake system, it can create air bubbles that compromise braking performance. These bubbles reduce hydraulic pressure, leading to a spongy brake pedal feel and decreased stopping power. You might notice a longer stopping distance or inconsistent braking, which can be dangerous. To guarantee safety and efficiency, it’s essential to maintain a completely fluid-filled system, free of any air pockets. Always check for leaks after bleeding.
Is It Safe to Drive With Grinding Brake Noise?
It’s not safe to drive with grinding brake noise. For instance, a driver named Sarah ignored the sounds, leading to severe brake failure and an accident. Regular brake maintenance tips can help identify issues early, while noise reduction techniques can prevent further damage. If you hear grinding, it indicates worn pads or damaged rotors. Don’t risk your safety; address the problem immediately to guarantee your brakes function properly and maintain your freedom on the road.
What Type of Brake Fluid Should I Use?
You should use the brake fluid type recommended by your vehicle’s manufacturer, typically found in the owner’s manual. Common types include DOT 3, DOT 4, and DOT 5, each with different properties. Always check for brake fluid compatibility; mixing different types can lead to system failure. If you’re unsure, consult a professional to guarantee you’re using the right fluid for ideal braking performance and safety. Your vehicle’s brakes depend on it!