How to Trace Intermittent Intermittent Electrical Faults Using a Heat Shrink Kit
To trace intermittent electrical faults, start by systematically inspecting connections for signs of wear or damage. Use a multimeter to test for continuity and monitor temperature changes in circuit components. Once you identify faulty connections, cut and strip wires as needed, then apply the appropriate size heat shrink tubing over repairs. Carefully shrink the tubing to guarantee a tight seal and protect against moisture. Understanding the repair process will enhance your ability to maintain electrical integrity moving forward.
Understanding Intermittent Electrical Faults
When dealing with electrical systems, understanding intermittent faults is essential, as these issues can be elusive and challenging to diagnose. Common causes of these faults often include poor connections, corrosion, damaged cables, or fluctuating loads. These factors can lead to erratic behavior, making troubleshooting particularly difficult.
To effectively address intermittent faults, you should employ systematic troubleshooting strategies. Start with visual inspections to identify any obvious signs of wear or damage. Utilize continuity tests to check for breaks in the circuit. If issues persist, consider monitoring the system under various load conditions to replicate the fault.
Documenting the symptoms and conditions when the fault occurs can also provide valuable insights. By combining these approaches, you can narrow down potential causes, allowing for a more efficient resolution and restoring the freedom of a reliable electrical system.
Essential Tools for Troubleshooting
Troubleshooting electrical faults requires a specific set of tools that enhance accuracy and efficiency in diagnosis. By equipping yourself with the right essential equipment, you’ll be better positioned to implement effective troubleshooting strategies. Here’s a list of tools you shouldn’t overlook:
- Multimeter: For measuring voltage, current, and resistance.
- Insulation Tester: To assess the integrity of insulation in wiring.
- Wire Strippers: Essential for preparing wires for connections.
- Screwdrivers: A variety of sizes for accessing components.
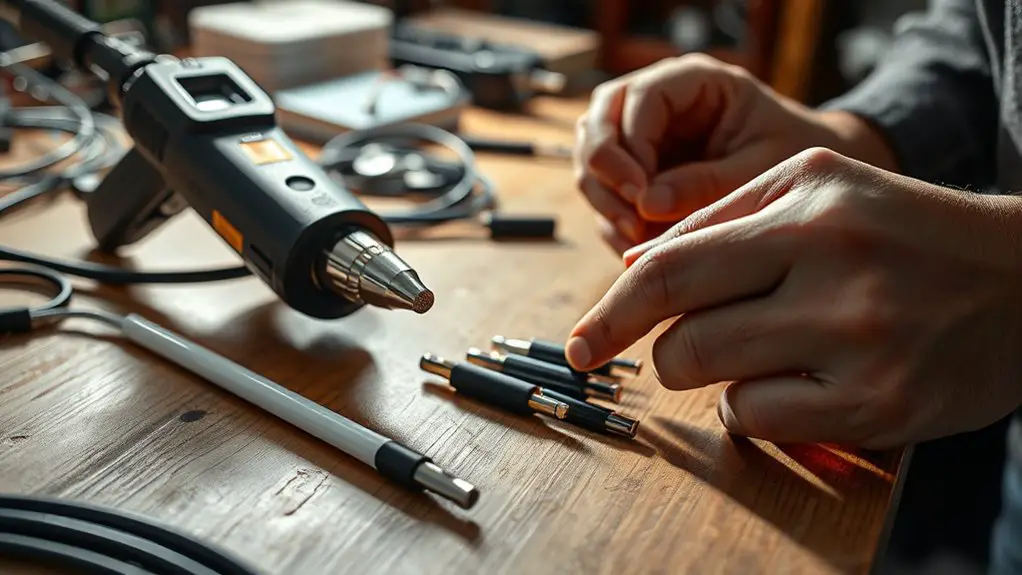
- Heat Gun: Useful for applying heat shrink tubing during repairs.
These tools not only streamline the troubleshooting process but also empower you to identify and rectify faults with confidence. By familiarizing yourself with this essential equipment, you’ll enhance your ability to tackle intermittent electrical issues effectively, ensuring a safer and more reliable electrical system.
What Is a Heat Shrink Kit?
A heat shrink kit is an essential collection of materials used for insulating and protecting electrical connections. Typically, this kit includes various sizes of heat shrink tubing, which are made from heat shrink materials like polyolefin or PVC. When heated, these materials contract, forming a tight seal around wires, terminals, or connectors, which is vital for preventing moisture ingress and ensuring electrical integrity.
You’ll find that heat shrink applications extend beyond basic insulation; they also provide strain relief and mechanical protection. By choosing the right diameter and length, you can customize your repairs for ideal performance. Many kits also come with adhesive-lined tubing that enhances the waterproofing effect, adding another layer of security. Understanding these components will empower you to tackle electrical repairs confidently, ensuring that your connections remain durable and reliable over time.
Preparing for the Repair Process
Before diving into the repair process, it’s crucial to gather all necessary tools and materials. Proper preparation not only streamlines your workflow but also enhances safety. Adhering to safety precautions is essential to avoid accidents. Confirm your workspace is organized; a clutter-free environment minimizes risks and improves efficiency.
Here’s a list of items you’ll need:
- Heat shrink tubing
- Soldering iron and solder
- Multimeter
- Wire strippers
- Insulation tape
With these tools in hand, you can confidently tackle the task ahead. Make sure to inspect each item for functionality. An organized workspace allows you to access tools swiftly, reducing downtime and frustration. Before starting, double-check that all safety gear is on, including gloves and goggles. By creating a well-prepared environment, you’re setting yourself up for success in identifying and repairing electrical faults effectively.
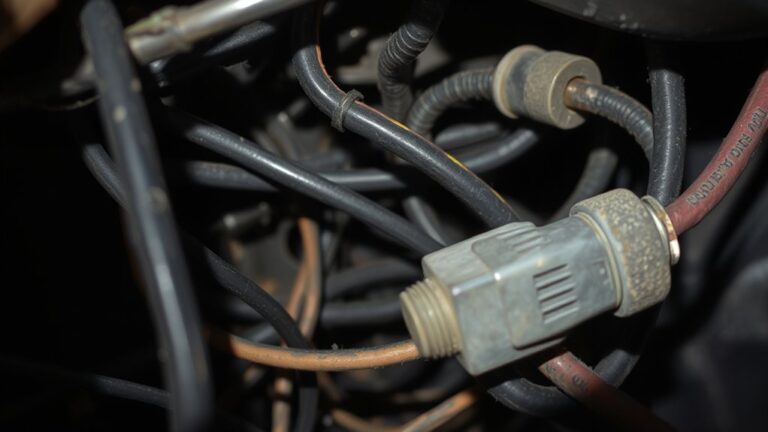
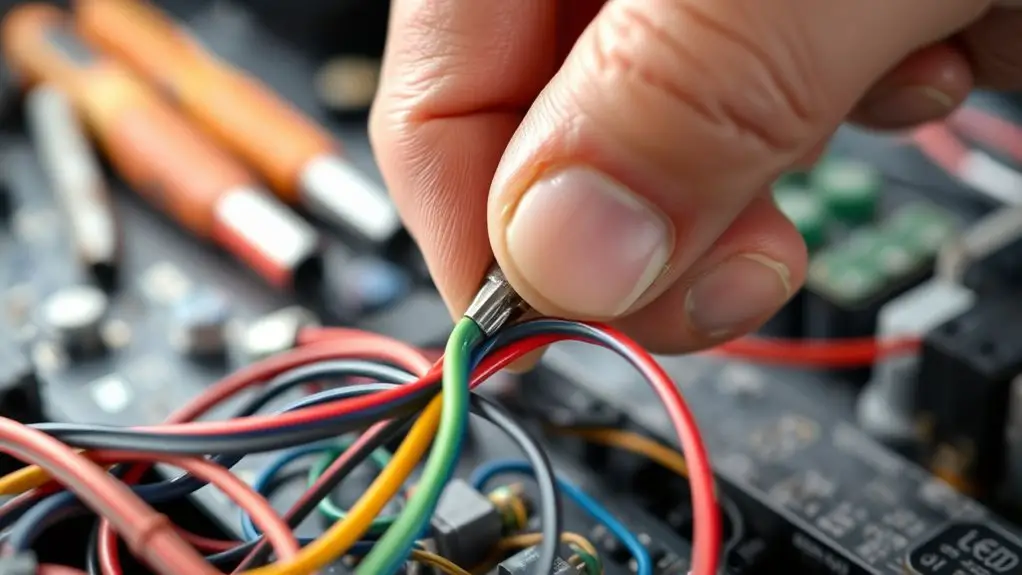
Identifying Faulty Connections
Identifying faulty connections is essential for effective electrical repairs. You’ll need to employ visual inspection techniques to spot any obvious signs of wear or damage, followed by testing for continuity to guarantee proper circuit functionality. Additionally, monitoring temperature variations can help pinpoint areas where excessive heat indicates potential issues.
Visual Inspection Techniques
Sometimes, the simplest method to uncover faulty connections in electrical systems is through visual inspection. By carefully examining the components, you can spot common indicators of potential issues. Here are some key aspects to look for:
- Discoloration or burn marks on connectors
- Frayed or damaged insulation on wires
- Loose or corroded terminals
- Signs of arcing or sparking around connections
- Inconsistent wire routing or tight bends
These visual inspection techniques can lead you to the root of intermittent faults. Remember, a keen eye can often reveal problems that testing alone might miss. Prioritize this approach before delving into more complex diagnostics, as addressing visible issues can save time and resources in troubleshooting electrical faults.
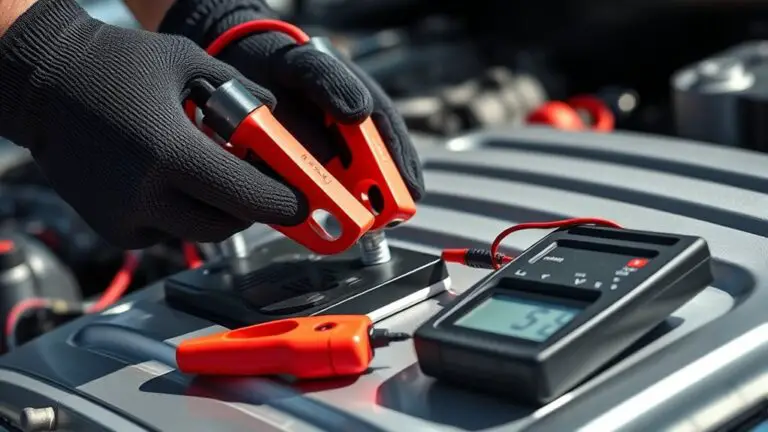
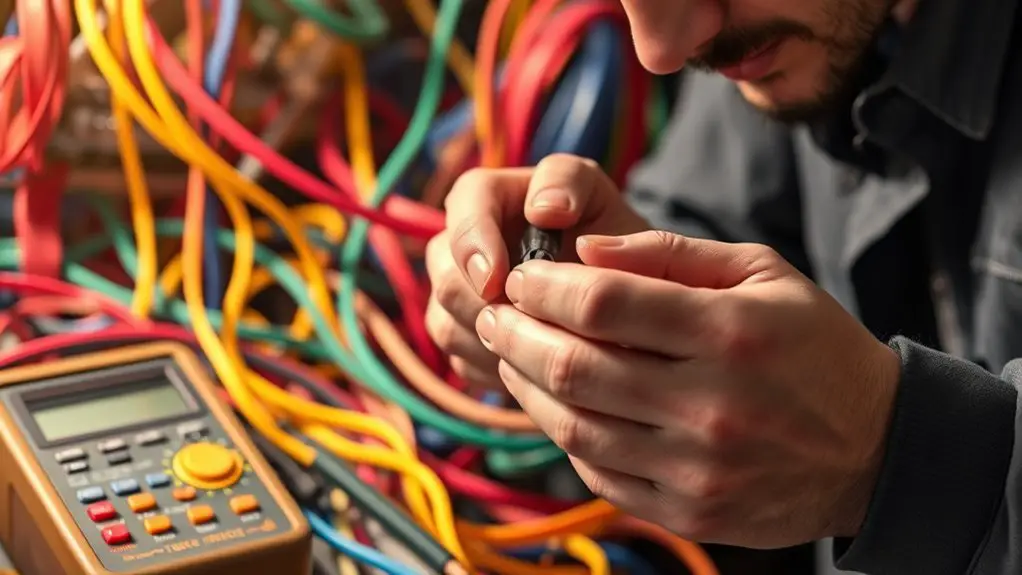
Testing for Continuity
Testing for continuity is an essential step in identifying faulty connections within electrical systems. You’ll need a multimeter set to continuity testing mode, which allows you to measure electrical resistance effectively. Begin by disconnecting power to the circuit, guaranteeing safety. Attach one probe to each end of the connection you’re testing. If the multimeter beeps or shows a low resistance reading, the connection is good. Conversely, a lack of sound or high resistance indicates a fault. This process helps pinpoint issues like broken wires or poor connections, allowing for targeted repairs. By understanding electrical resistance during continuity testing, you can maintain the integrity of your electrical systems and verify they operate efficiently.
Monitoring Temperature Variations
Monitoring temperature variations can be an essential method for pinpointing faulty connections in electrical systems. By utilizing temperature sensors and thermal imaging, you can identify hotspots that indicate poor connections or insulation failures. This process allows for proactive maintenance, reducing the risk of catastrophic failures.
- Detect overheating components before they fail
- Assess the effectiveness of insulation
- Identify connections that generate excessive resistance
- Monitor temperature fluctuations during operation
- Enhance overall system reliability and safety
Incorporating these techniques into your troubleshooting routine will empower you to maintain system integrity and minimize downtime. By staying vigilant about temperature variations, you’ll gain insights into the health of your electrical connections, ensuring peak performance in your systems.
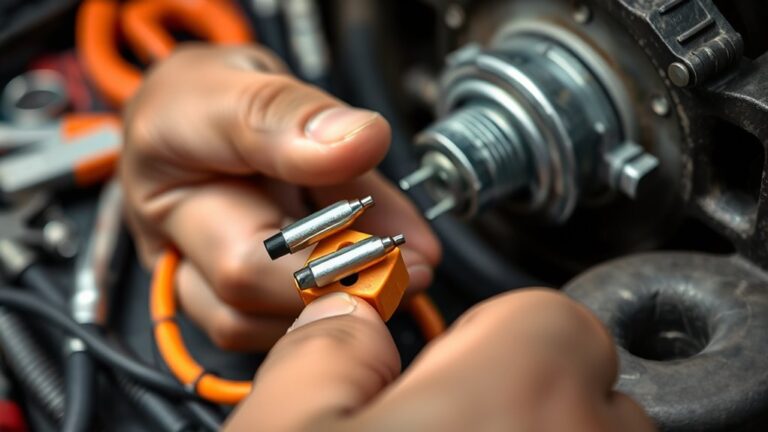
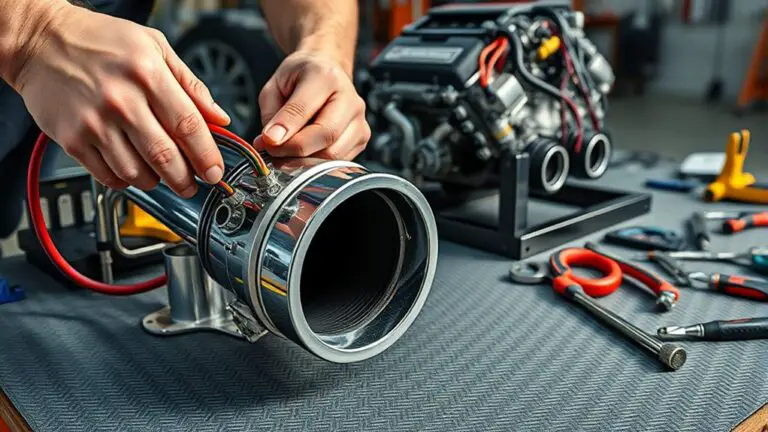
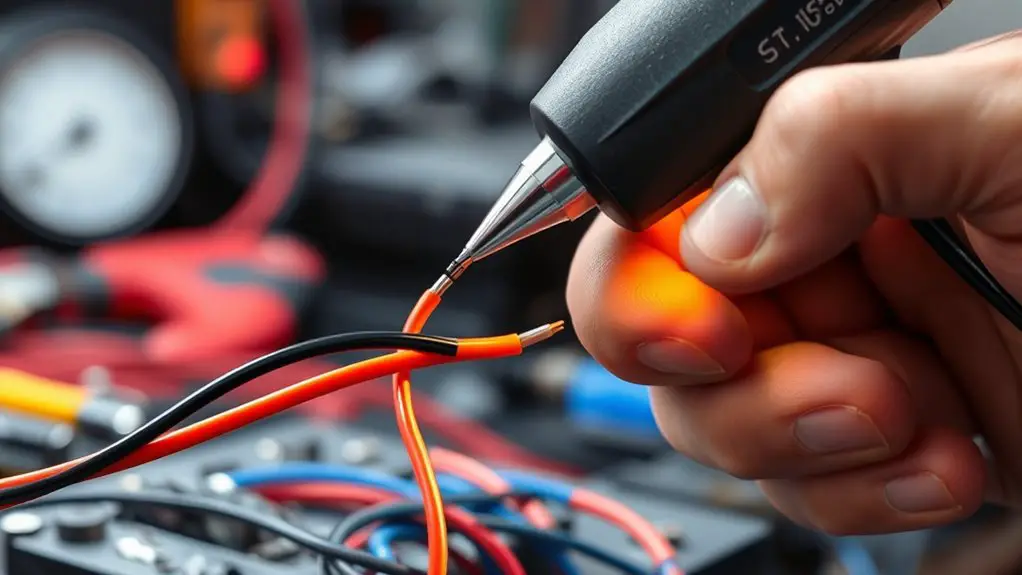
Applying Heat Shrink Tubing
When applying heat shrink tubing, it is crucial to guarantee that the tubing fits snugly over the electrical connection or exposed wire. Begin by selecting the appropriate diameter and shrink ratio for your heat shrink applications. Once you’ve cut the tubing to the required length, slide it over the connection, ensuring full coverage.
Next, use a heat source, such as a heat gun, to evenly apply heat across the tubing. Maintain a consistent distance to avoid damaging the insulation or surrounding components during tubing installation. As the tubing heats, it will begin to shrink, creating a tight seal that protects the connection from moisture, dirt, and mechanical stress.
Once fully shrunk, inspect the tubing for any imperfections or gaps. Properly applied heat shrink tubing is critical for ensuring the longevity and reliability of your electrical repairs, making it an indispensable step in fault tracing.
Testing the Repairs
After completing electrical repairs and applying heat shrink tubing, it’s crucial to validate the integrity of your work. Testing guarantees repair effectiveness and helps identify any lingering issues that might compromise safety. Here’s how to proceed:
- Visual Inspection: Check for any visible defects in the heat shrink tubing.
- Continuity Testing: Use a multimeter to confirm that electrical connections are intact.
- Load Testing: Apply the intended load to guarantee the circuit operates under normal conditions.
- Temperature Monitoring: Observe the repaired area for overheating during operation.
- Functional Testing: Verify that the equipment or circuit performs as expected in real-world scenarios.
Preventative Measures to Avoid Future Faults
To prevent future electrical faults, it’s essential to implement a proactive maintenance strategy that addresses potential issues before they escalate. Regular inspections of electrical systems can help identify wear and tear on components, ensuring that you address problems early. Focus on preventative maintenance by routinely checking electrical insulation for signs of deterioration, such as cracks or fraying. This will help maintain the integrity of your wiring and reduce the risk of faults.
Additionally, keep an eye on connections and terminals, as loose connections can lead to overheating and eventual failure. Establish a schedule for testing and replacing aged or compromised components, ensuring that your system remains reliable. By prioritizing these measures, you can enhance the longevity of your electrical infrastructure and minimize unexpected disruptions. Taking these steps will empower you to maintain control over your electrical systems, ultimately fostering an environment of safety and efficiency.
Best Practices for Using a Heat Shrink Kit
When using a heat shrink kit, it’s essential to select the right size to guarantee adequate coverage and insulation. You’ll also need to apply proper heating techniques to activate the shrinkage without damaging the material beneath. Finally, making sure of strong adhesion will secure the connection and enhance the longevity of your repairs.
Selecting the Right Size
Selecting the right size of heat shrink tubing is essential for ensuring effective insulation and protection of electrical connections. Proper size selection based on tubing dimensions can prevent failures and enhance performance. Keep these guidelines in mind:
- Measure the diameter of the wire or connection accurately.
- Choose tubing that shrinks to at least 50% of its original size.
- Consider the environment: temperature fluctuations and moisture can affect performance.
- Account for additional layers of insulation, if applicable.
- Verify that the tubing is rated for the specific voltage and application.
Proper Heating Techniques
Effective heating techniques are essential for achieving ideal results with a heat shrink kit. To guarantee peak shrinkage, use a heat gun instead of an open flame, as it offers controlled, focused heat. When applying heat, maintain a distance of about 6 inches from the tubing, rotating it to promote even heating. This prevents overheating, which can cause damage. Always start with low heat settings and gradually increase if necessary, as this is one of the safest heating methods. Avoid holding the heat gun in one spot for too long, as it can lead to weak spots. By following these proper heating techniques, you’ll enhance the effectiveness of your heat shrink application, ensuring reliable electrical connections.
Ensuring Strong Adhesion
Although achieving strong adhesion with a heat shrink kit may seem straightforward, several best practices can greatly enhance the bond between the tubing and the underlying surface. Proper surface preparation is critical; contaminants can compromise adhesion. Here are some effective adhesion techniques you should consider:
- Clean the surface thoroughly to remove dust, grease, or moisture.
- Choose the right size of tubing for a snug fit.
- Apply heat uniformly to guarantee even shrinkage and bonding.
- Allow the tubing to cool completely before testing its strength.
- Inspect the joint for any gaps or weak spots post-application.
Frequently Asked Questions
Can I Use a Heat Shrink Kit for Non-Electrical Applications?
Yes, you can definitely use a heat shrink kit for non-electrical applications. Its versatility allows for alternative applications such as bundling cables, protecting components from moisture, or even creating grips on tools. The heat shrink material provides a secure, tight fit once heated, making it suitable for various projects beyond electrical uses. Just verify the temperatures involved won’t damage the materials you’re working with, and you’ll have a useful tool for your needs.
How Do I Choose the Right Size of Heat Shrink Tubing?
When it comes to choosing the right size of heat shrink tubing, you’ll want to guarantee you’re not just shooting in the dark. Start by measuring the diameter of the wire or component you need to cover. The tubing dimensions should be slightly larger than this measurement, allowing for a snug fit once shrunk. Always consider the shrink ratio; a 2:1 ratio is common. Proper size selection guarantees effective insulation and protection, giving you peace of mind.
What Are Common Signs of Intermittent Electrical Faults?
Common signs of intermittent electrical faults include flickering lights and inconsistent power supply. You might notice appliances cutting in and out, or circuits tripping unexpectedly. These issues often indicate loose connections, damaged wiring, or faulty components. Pay attention to fluctuations in voltage, as they can signal deeper problems. Regular monitoring and prompt investigation of these symptoms can help you maintain a reliable electrical system and prevent larger, more costly issues down the line.
Is It Safe to Use a Heat Gun for Shrinking Tubing?
Yes, it’s generally safe to use a heat gun for shrinking tubing, provided you follow heat gun safety guidelines. Make certain you maintain a safe distance to avoid overheating and damaging the tubing or surrounding materials. If you’re concerned about heat application, consider heat shrink alternatives like self-adhesive sleeves or silicone wraps, which can provide insulation without the need for a heat source. Always prioritize safety when working with electrical components.
How Long Should I Heat the Tubing for Proper Sealing?
To guarantee proper sealing of heat shrink tubing, you should typically heat it for about 30 seconds to a minute, depending on the size and thickness. Think of it like baking a cake; too little time and it’s gooey, too much and it burns. As you apply heat, watch for the tubing to shrink snugly around the wire, securing a secure, moisture-resistant seal. Consistent monitoring will help you achieve the perfect seal every time.