Lighting Troubleshooting: Loose Bumper Causes and Fixes
Loose bumper movement can dim, misdirect, or flicker lights. Start by methodically inspecting mounting points and fasteners for looseness or damage, then reseat and torque in a cross pattern, testing each light pair before moving on. Trace the wiring from the bumper to the body, reseat connectors with power off, and check for corrosion or moisture. Verify gaps and alignment after reattachment and look for binding during turns. If issues persist, you’ll uncover more steps below.
Common Symptoms of a Loose Bumper Affecting Lighting
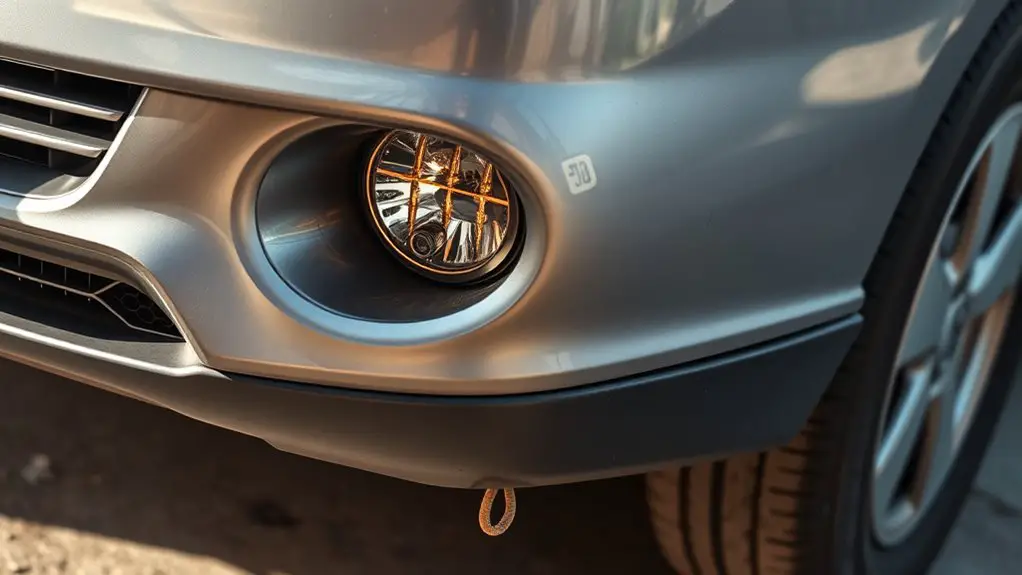
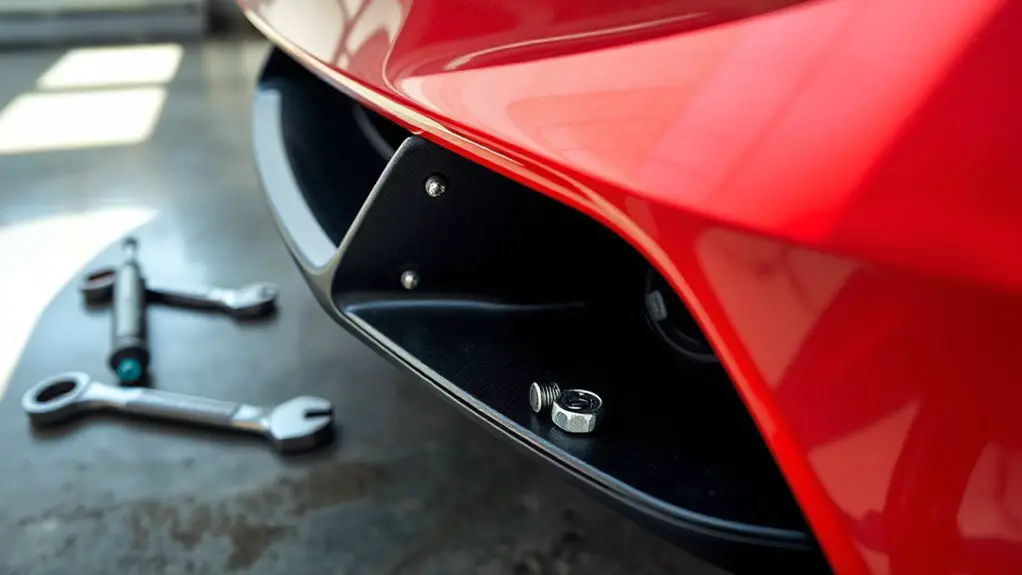
A loose bumper can misalign or partially obstruct the lighting components, causing dim or uneven illumination and sometimes flickering. You’ll notice shifted headlights, misfocusing beams, or daytime running lights that don’t activate consistently. Inspect for gaps between bumper lip and body panel, and listen for squeaks or rattles at low speeds. A creeping tilt may redirect fog lights, creating uneven road coverage and shadows. If you see reduced brightness on one side or sporadic flicker under cold starts, consider bumper alignment as a potential root cause. Check mounting points and fasteners for looseness, as loose hardware can introduce micro-movements that degrade lighting performance. A diagnostic approach is to compare left versus right beam patterns on a flat surface, noting discrepancies. If symptoms persist after securing fasteners, document the exact conditions and proceed to targeted inspection. This step helps isolate lighting malfunction from electronic or bulb issues, preserving freedom to remedy safely.
How to Safely Inspect for a Loose Bumper
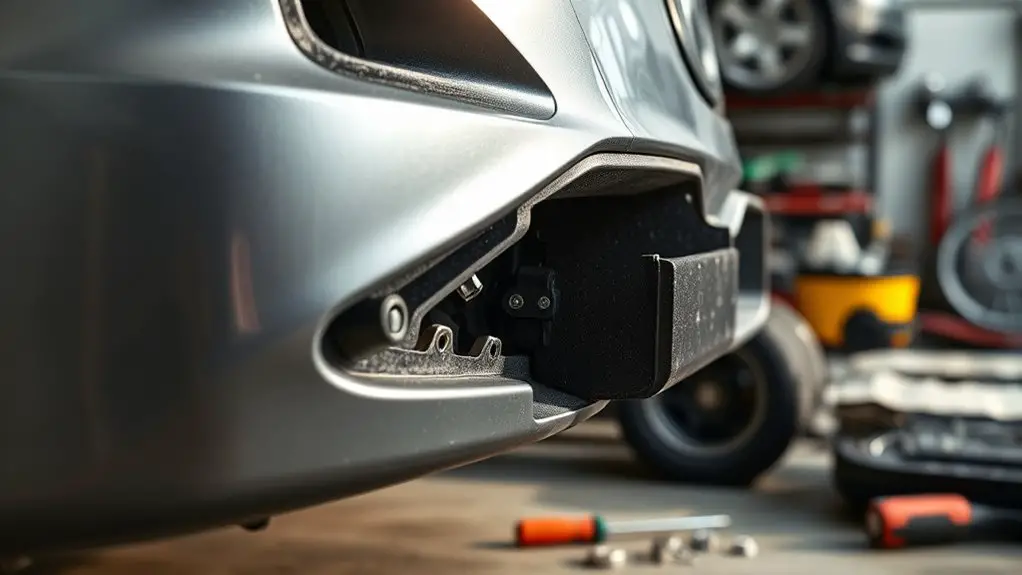
Start by inspecting the mounting points for any loosening or damage, paying close attention to misalignment that can affect lighting. Next, check all bumper fasteners to confirm they’re tight and intact, replacing any stripped or missing hardware as needed. If you notice movement when lightly pressed, document the finding and proceed with a more thorough inspection of mounting integrity before driving.
Inspect Mounting Points
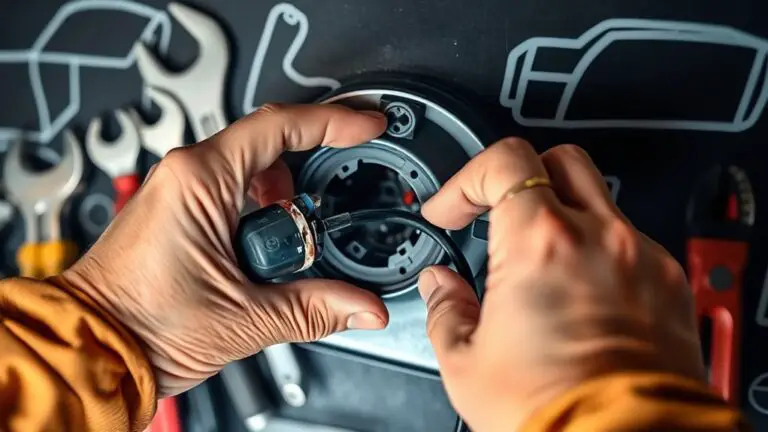
Inspect mounting points by locating the bumper’s fasteners—bolts, bolts, and clips—then verify each connection for looseness, corrosion, or damage. You’ll want a clear view of every attachment to guarantee stable alignment and reliable lighting performance. Proceed with a deliberate, stepwise check that avoids guesswork and focuses on evidence.
- Inspect fastener integrity: tighten or replace any suspect bolts or clips to preserve bumper alignment and prevent misalignment that could affect lighting adjustment.
- Assess mounting surface: look for rust, paint gouges, or warped brackets that could compromise support or create feedback into lights.
- Confirm alignment cues: compare gaps and heights with adjacent panels, guaranteeing consistent glare and no mounting flex during operation.
Check Bumper Fasteners
To check bumper fasteners safely, begin by visually and manually inspecting all mounting points for looseness, corrosion, or damaged hardware, then create a plan to address any findings before proceeding with the lighting checks. You’ll verify bumper alignment by checking gaps at rocker panels, top edge, and appendages, noting any misalignment that could affect light aim. Focus on fastener types: keepers, bolts, nuts, clips, and rivets; identify missing or degraded components. Confirm threads are clean and hardware torque is within manufacturer specs, using a torque wrench if available. Document every inconsistency, replace damaged fasteners with correct equivalents, and recheck alignment after tightening. Proceed to lighting checks only when the bumper sits securely, confirming reliable light performance and accurate aiming.
Tools and Materials You Might Need
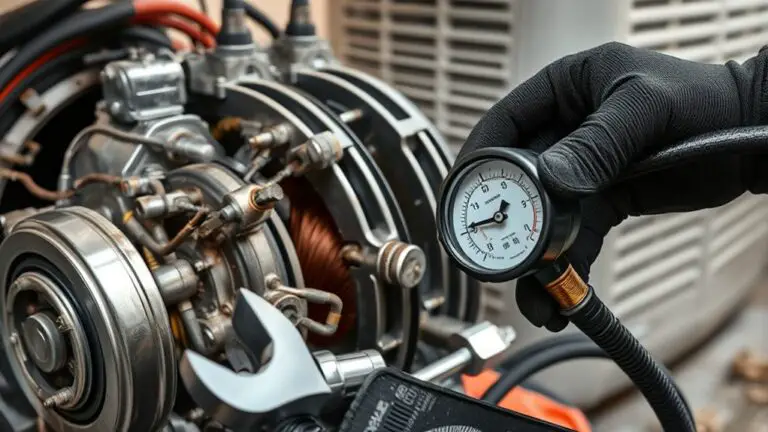
You’ll want a concise set of essentials: a basic toolbox with screwdrivers, pliers, a flashlight, and a voltage tester, plus a multimeter for precise checks. Keep common materials on hand, like insulated wire, electrical tape, wire nuts, heat shrink, and replacement bulbs or LEDs. This setup supports quick, accurate diagnostics without overloading your workspace.
Essential Tools List
An essential toolkit for lighting troubleshooting blends core hand tools, multimeters, and common consumables you’ll reach for again and again. You’ll want a focused set that supports bumper maintenance, diagnostic checks, and lighting upgrades without excess. Plan around reliability, modularity, and clear readings as you work.
- Essential hand tools: screwdrivers, pliers, wire strippers, and a sturdy inspection light.
- Diagnostic gear: a digital multimeter, load tester, and a continuity tester for quick circuit checks.
- Consumables and safety: electrical tape, dielectric grease, zip ties, spare fuses, and a small first aid kit for on-the-go confidence.
These items keep you prepared to diagnose, test, and implement bumper maintenance and lighting upgrades with precision.
Common Materials Needed
Common materials needed span both tools and consumables, arranged for quick access during diagnostics and upgrades. You’ll want a compact toolkit with metric and SAE sockets, extensions, and a torque wrench for controlled fastenings. Include trim pry tools, a microfiber cloth, and a flashlight to inspect mounting points without damaging finishes. For bumper work, gather bumper materials such as compatible fasteners, clips, and adhesive edges, plus replacement screws or bolts that match your vehicle spec. Have duplicative fasteners on hand to account for wear. Fastening techniques require clean threads and proper torque, so carry thread sealant or anti-seize where appropriate. Add protective tape to protect surrounding panels. Keep a portable power drill or impact driver sparingly, and verify alignment before securing upgrades.
Quick Visual Checks at a Glance
Quick Visual Checks at a Glance let you rapidly verify the most common lighting issues before diving into deeper diagnostics. You’ll scan for obvious misalignments and failing indicators, keeping the process tight and actionable. Precision matters, so you’ll trust what your eyes show against solid references and known benchmarks.
- bumper alignment: confirm the bumper sits squarely with adjacent panels and housing gaps are consistent, not pronounced or uneven.
- visual indicators: look at lens clarity, reflector brightness, and any moisture or condensation that signals seal compromise.
- mounting stability: check hardware tightness, fastener integrity, and that no playful movement exists when you gently test the assembly.
With these quick checks, you establish a baseline, isolate obvious defects, and decide whether to proceed to deeper diagnostics. You’re guiding your own hands toward reliable visibility, maintaining a balance between freedom to troubleshoot and disciplined, repeatable steps.
Diagnosing Wiring and Connector Issues Linked to Bumper Movement
When bumper movement is suspected to affect wiring and connectors, start by visually tracing the harness routes from the bumper to the vehicle body to identify any loose or stressed segments, pinch points, or signs of wear. Next, inspect connector housings for seating issues, misalignment, or telltale gaps that signal degraded polarity or movement-induced strain. Use a diagnostic approach: unplug and reseat each connection with the power off, listen for a firm click, and verify that locking tabs are secure. Check for visible corrosion, bent pins, or greenish residue that indicates connector corrosion or moisture ingress. Gently wiggle wiring at shared bends to determine if movement causes intermittent contact. Document any irregularities, even subtle ones, and compare to standard harness routing. Prioritize wiring integrity over appearance; a clean connector with solid contact reduces false fault codes and preserves lighting function under dynamic bumper movement. Leave repair decisions to professional rules if inconsistencies persist.
Step-by-Step Tightening and Reattachment Methods
After identifying suspected wiring movement, you’ll tighten and reattach connections methodically to restore stable contact. You’ll follow a precise sequence that preserves bumper alignment and guarantees reliable lighting adjustments. Begin with the closest connector, reseating until you feel a definitive click, then torque bolts to the manufacturer’s spec. Document each step to maintain a diagnostic trail and enable repeatable results.
After locating loose wiring, reseat each connector with a definitive click, torque bolts to spec, and document the steps to ensure repeatable, aligned lighting performance.
1) Secure primary harness to its mounting point, verify alignment, and recheck the connector latch for full engagement.
2) Refit fasteners in a cross pattern, snugging to spec, then test lighting function before moving to the next pair to prevent misalignment.
3) Confirm bumper alignment after reattachment by revisiting edge gaps and ensuring no binding occurs during wheel turn or suspension travel.
Brief, controlled tests verify contact integrity and light output, while maintaining freedom to adjust if minor shifts occur.
When to Seek Professional Help for Bumper-Related Lighting Problems
If you’ve followed the troubleshooting steps and lighting issues persist after reassembly, it’s time to contemplate professional help. You’re weighing reliability over quick fixes, so recognize when expertise is required. Seek professional help when visual or diagnostic tests indicate misaligned bumper components affecting light aim or wiring integrity. Start with bumper alignment checks to confirm proper mounting height, trim gaps, and mounting point torque, since improper alignment can pull sockets out of range or pinch wiring. If you observe inconsistent light operation, unusual flicker, or rapid burnout that resists standard testing, a professional inspection is warranted. A trained technician will verify electrical continuity, harness integrity, and ground connections, then assess bumper geometry against factory specifications. Don’t delay if air leaks, radar or camera sensors are implicated, or if you encounter water intrusion behind the fascia. Trust a concise, objective evaluation to determine whether remediation requires part replacement, precise alignment, or a complete reassembly.
Preventive Tips to Avoid Future Loose Bumper Issues
To prevent future loose bumper issues, start with a systematic inspection of mounting hardware and fasteners routine maintenance. You’ll verify alignment, torque specs, and condition of brackets, clips, and plugs, documenting any wear or corrosion. This disciplined approach reduces risk and supports reliable lighting performance.
- bumper maintenance tips: schedule quarterly checks of all fasteners, re-torque where specified, and replace any worn components before failure.
- preventive inspections: inspect mounting points for cracks, looseness, or misalignment after exposure to impacts or road debris; correct immediately and re-test.
- proactive testing: perform a controlled bounce or gentle push test to confirm secure fit and proper clearance, then record results for trend analysis.
Keep a concise log, noting torque values, part numbers, and dates. By prioritizing maintenance and routine inspections, you maintain freedom from unexpected bumper movement while preserving lighting integrity and overall vehicle safety.
Frequently Asked Questions
Can Bumper Movement Affect Sensor-Alarm Reliability and Accuracy?
Yes, bumper movement can affect sensor-alarm reliability and accuracy. You should check sensor calibration after any looseness, because misalignment shifts detection fields and alters alarm sensitivity. Then verify with controlled tests, adjusting mounting torque to specification. If movement recurs, inspect brackets and fasteners for wear, replace damaged components, and re-calibrate. You’ll want consistent, deliberate adjustments, documenting results and ensuring the sensor’s response matches intended alarm thresholds under real-world conditions.
Do Aftermarket Bumpers Differ in Light Alignment and Fit Tolerance?
Yes, aftermarket bumpers can differ in light alignment and fit tolerance. You’ll find installation variations that affect mounting points, bumper curvature, and how snugly the panel sits against the body. Check aftermarket compatibility with your vehicle model, and measure gap consistency and light housing alignment before final bolts. Expect some shimming or adjustments. You’ll maximize reliability by verifying precise alignment, securing fasteners to spec, and testing signals after installation.
How Does Bumper Flex Impact Daytime Running Lights Performance?
Bumper flex can reduce daytime running light performance by misaligning the light, affecting bumper alignment and light intensity. You’ll notice dimmer illumination or uneven spread as the bumper flexes under load or temperature shifts. To diagnose, measure alignment at static and with mild vibration, then compare light intensity before and after flexing. If intensity drops, reinforce mounting, tighten fasteners, and guarantee proper clearance. Correcting alignment restores ideal light output and functional DRLs.
Are Bumper-Related Issues Covered Under Vehicle Warranty for Lighting?
Yes, bumper-related issues can be covered under a bumper warranty, but it depends on your policy and the cause of the problem. If a manufacturing defect causes lighting defects or the bumper’s mounting affects daytime running lights, you’re typically eligible for coverage. You’ll want to document evidence, confirm terms, and file promptly. Keep in mind exclusions for wear, impact damage, or improper repairs that may void the warranty.
Can UV Exposure or Heat Degrade Bumper Clips Over Time?
Yes, UV exposure and heat can degrade bumper clips over time. You should inspect for bumper material degradation and brittleness, especially where clips attach. Heat exposure effects may weaken mounting points, causing looseness. Rule out cracks, warping, or faded flex. If you notice brittle clips, replace them with OEM or equivalent sturdy parts. Keep temperatures moderate and avoid prolonged sun. Regular checks help you maintain a secure bumper and prevent further damage.