Preventive Checks to Extend Battery Life and Avoid Starter Clicks but Won’t Turn
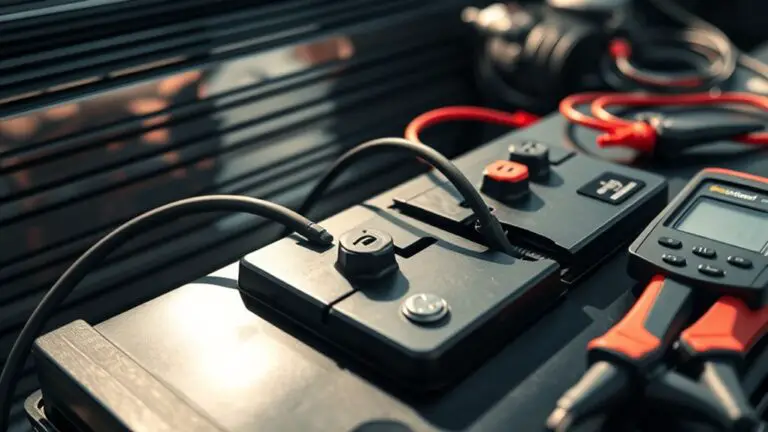
To prevent starter clicks, start with clean, tight terminals and corrode-free cables; inspect and snug every connection to the starter, alternator, and ground. Check voltage at idle (aim ~12.6V) and under load to catch sag, then assess state of charge using open-circuit voltage and under-load tests. Look for signs of weak cells like uneven sag, rising resistance, or hotspots, and perform regular impedance checks. Schedule maintenance to catch aging early—there’s more you can tighten up next.
Assessing Your Battery’s Immediate Health
Evaluating your battery’s immediate health starts with a quick, practical check of its current performance. You’ll gauge readiness by noting cranking speed, consistent voltage, and absence of slow starts. Use a multimeter to confirm around 12.6 volts when idle for a healthy 12V system; under load, drop should stay above about 9.6–10 volts in a motorized setup. Observe visible indicators: surface charge, clean terminals, and absence of bulging or leaks, which signal deteriorating battery lifespan. If you notice excessive cranking time, repeated dimming lights, or a voltage sag when accessories engage, consider the possibility of reduced battery performance. Temperature can skew readings, so compare results at similar ambient conditions. Record your findings and compare against manufacturer specs and prior data to track trends. Prioritize consistent maintenance habits, including cleaning minor corrosion and verifying alternator output periodically. This approach keeps you informed, supports reliable starts, and helps extend overall battery lifespan through informed, proactive actions.
Inspecting Terminals and Cables for Corrosion and Looseness
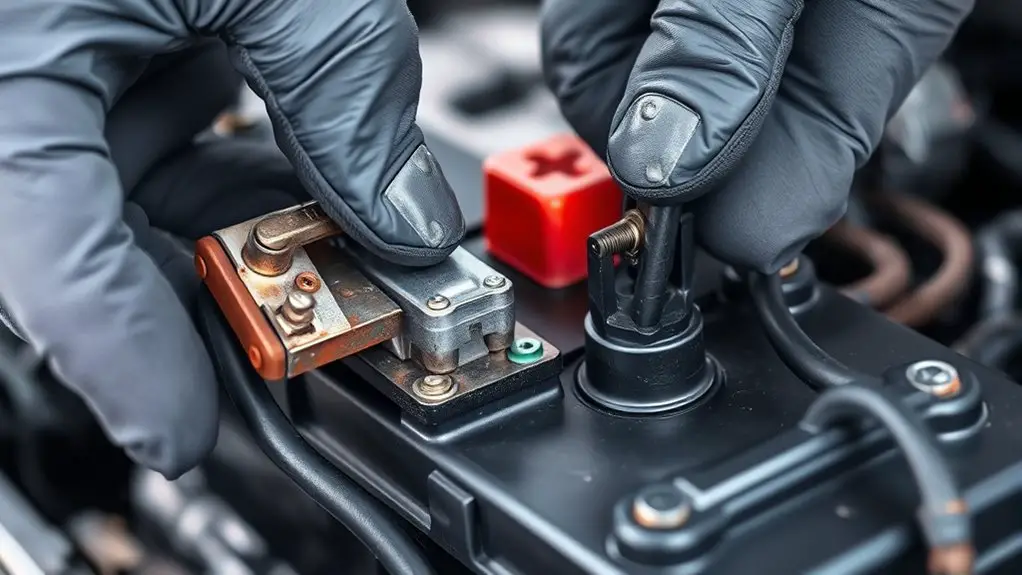
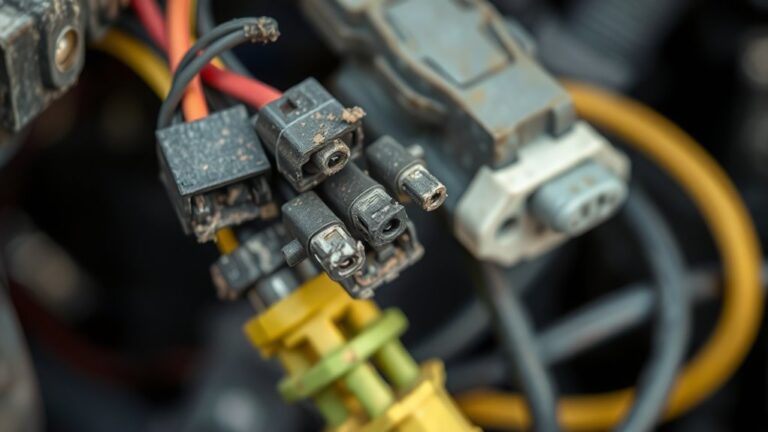
After checking immediate health, you’ll want to focus on the physical connections that power those readings: inspect the terminals and cables for corrosion and looseness.
- Examine battery terminals for greenish or white residue; note any corrosion buildup and clean as needed with terminal cleaning technique.
- Check cable ends for fraying, bends, or loose clamps; if looseness is present, perform controlled cable tightening to restore solid contact.
- Trace cables to the starter and alternator, verifying insulation is intact and connections are snug without over-tightening, which can damage components.
Tips: wear eye protection, disconnect the negative terminal first, and work in a dry environment. After cleaning, reseat clamps firmly and retighten to spec. Loose or corroded connections create resistance, heat, and intermittent starter behavior. Prioritize clean, tight, corrosion-free joints to guarantee reliable current flow and predictable cranking performance. This focus supports terminal cleaning and cable tightening as foundational, non-surprising maintenance steps for freedom-minded enthusiasts.
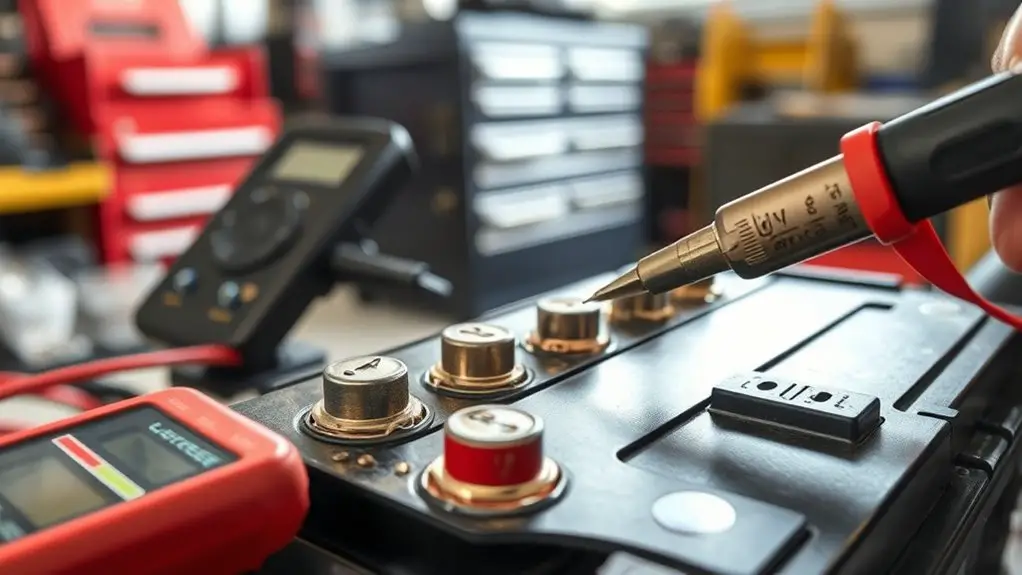
Checking Battery Voltage and State of Charge
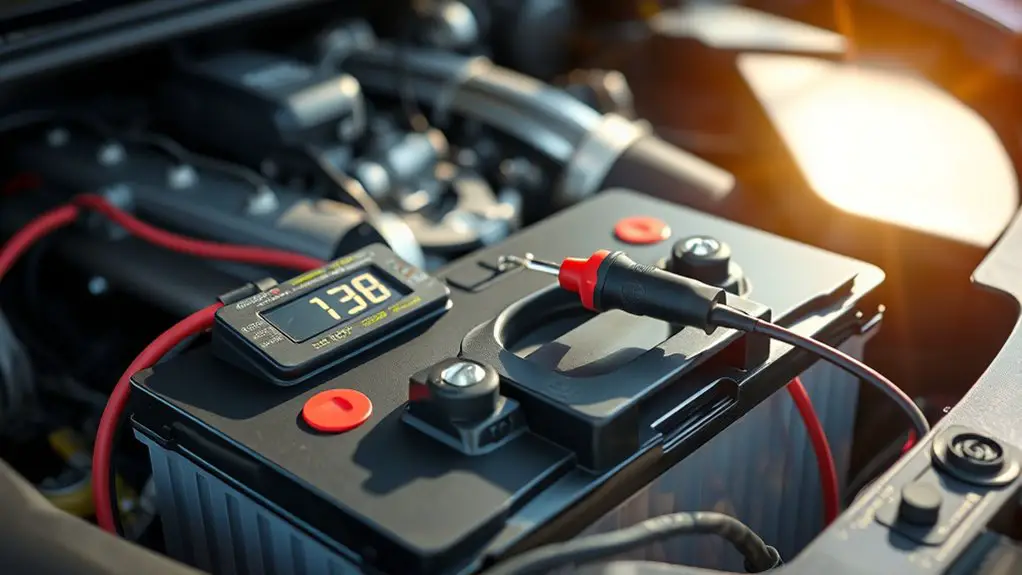
To start, you’ll measure the battery voltage with a calibrated multimeter to verify it meets your system’s specifications. Next, assess the state of charge by comparing the measured voltage to the expected SOC ranges for your battery type and temperature. Use this check as a baseline for further maintenance steps and to determine if charging or replacement is needed.
Measure Battery Voltage
Measuring battery voltage is the quickest way to gauge remaining capacity and overall health. You’ll use a multimeter or preinstalled readings to assess voltage and infer battery health, supporting clean voltage management. Don’t confuse voltage with state of charge; this is a snapshot that guides quick decisions and maintenance timing.
- Read steady voltage: note nominal voltage versus current value to spot degradation.
- Compare to spec: align your readings with manufacturer targets and seasonal expectations.
- Plan action: log trends, schedule top-offs, or service if a drop signals aging components.
This approach keeps you in control, streamlining checks without guesswork. You’ll preserve battery health and maintain freedom in usage, avoiding stealth losses. Avoid overthinking; precise measurements fuel reliable performance and safer operation.
Assess State of Charge
Evaluating the state of charge combines voltage readings with a clear SOC estimate to map remaining capacity. You’ll check open-circuit voltage, cross-check under load, and translate results into a practical SOC value, not guesses. This helps you gauge health across battery chemistry types and different charge cycles without guesswork.
| Parameter | Insight |
|---|---|
| Voltage under load | Reveals immediate sag and health trend |
| SOC estimate | Guides usable capacity for planning |
| Charge cycles impact | Indicates aging, capacity fade, and timing |
Diagnosing Starter and Electrical System Draw
Diagnosing starter and electrical system draw requires a systematic approach: identify abnormal parasitic loads, verify battery condition, and test the alternator and starter circuits. You’ll want a clear view of how your system behaves before you act, so keep measurements tight and decisions lean. Focus on symptoms like slow crank, dim lights, or unexpected battery drain, then trace to the source without chasing red herrings.
Diagnose starter and electrical draws methodically: identify drains, test battery and alternator, verify starter circuits.
- Locate parasitic loads: unplug fuses or disconnect accessories one by one to reveal steady drains, then quantify in milliamps.
- Validate battery and charging: perform a load test, check resting voltage, and verify alternator output at idle and high RPM to confirm consistency.
- Inspect starter circuit: test starter motor current draw, ignition switch, and relay operation, watching for high resistance or sticking contacts that stall engagement.
You’ll improve reliability by methodically ruling out electrical issues that cause starter problems, not guesswork.
Understanding and Interpreting Fault Codes Related to Power
Fault codes are a compact map of the vehicle’s power system health, translating complex sensor data into actionable meanings. You’ll use these codes as a quick diagnostic shorthand, not a full diagnosis, to pinpoint where power issues originate. Each code points to a subsystem: battery, alternator, cables, fuses, or grounds, guiding you toward likely failures rather than guesswork. Start with the code’s grade: high-priority faults often indicate immediate risk to starting or charging, while lower-priority ones point to intermittent or maintenance concerns. Cross-check the code against live data: voltage readings, current draw, and temperature, because context matters. When codes repeat, you’ve found a persistent issue worth deeper inspection. Don’t confuse a fault with a symptom; codes reveal causation pathways, not conclusions. Document the sequence, note any recent changes, and verify with a controlled test. Remember: systematic interpretation reduces guesswork, saving time and preserving power reliability. fault codes, power issues.
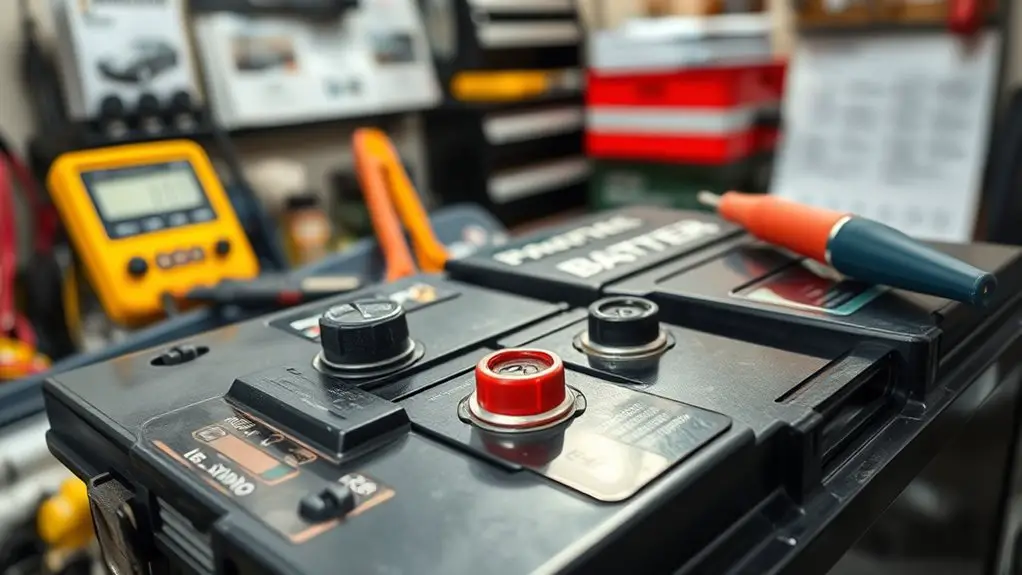
Maintenance Habits to Prolong Battery Life
Maintaining battery health starts with regular checks and disciplined habits; in particular, you should monitor charge levels, clean terminals, and limit heavy draws when the engine isn’t running.
You’ll apply three core maintenance habits:
1) Battery care discipline: check electrolyte levels if applicable, inspect for corrosion, and verify terminal tightness to avoid parasitic drains.
2) Charging habits precision: use a compatible charger, avoid extended low-voltage holds, and balance charging to prevent sulfation and capacity loss.
3) Use-optimized routines: minimize short trips, idle charging when possible, and store with a full or properly desulfated state in non-use periods.
These practices keep your system responsive and extend life without guesswork. Track numbers, such as resting voltage and charge time, to detect subtle deterioration early. Adopting these habits supports freedom from frequent failures, ensuring reliable starts and predictable performance while maintaining overall battery care and charging habits alignment.
When to Replace: Signs of Aging and Weak Cells
You’ll start to notice aging indicators like reduced capacity and shorter run times with each cycle. Watch for weak cell signs such as voltage sag under load, irregular charging, and heat buildup during operation. When these signs persist beyond typical tolerance, plan replacement to maintain performance and safety.
Aging Indicators
Aging indicators reveal when a battery’s capacity and performance have declined enough to justify replacement. You’ll notice battery aging as the baseline shifts: shorter run times, increased recharge cycles, and slower response under load. These signs point to reduced reserve and reliability, not just inconvenience.
- Battery aging becomes evident through consistently higher internal resistance and noticeable performance decline during high-demand starts.
- Capacity loss manifests as shorter operating windows, requiring more frequent charging and reduced peak output.
- Voltage sag under load persists, even after rest, indicating weakened cells and diminished ability to sustain voltage during peak draw.
Track these indicators with simple checks and stay proactive. When symptoms persist across cycles, prioritize replacement to maintain ideal performance and reliability.
Weak Cell Signs
Weak cell signs indicate when an individual cell or group of cells loses integrity and can no longer sustain proper performance. You’ll notice reduced capacity under load, unexpected voltage sag, and uneven discharge across strings. Weak cell indicators include rising internal resistance, frequent recharges, and temperature hotspots during use or charging. These symptoms correlate with diminished battery performance, slower recovery after bursts of demand, and inconsistent start torque. If ignored, thermal stress accelerates degradation, risking sudden failure or complete inability to turn over. When you detect these indicators, plan for proactive replacement or reconditioning per manufacturer guidance. Regular balance checks, impedance testing, and cell-by-cell monitoring help you verify health. Prioritize timely action to preserve overall system reliability and maintain freedom from unexpected downtime.
Preventive Scheduling: Timelines for Checks and Replacements
Regular preventive scheduling sets clear timelines for battery checks and component replacements to minimize unexpected failures. You’ll set intervals that align with performance data, usage patterns, and manufacturer recommendations. By framing each task as a fixed milestone, you gain predictability and reduce downtime.
- Visualize the calendar: mark battery health evaluation, electrolyte checks, and terminal cleaning on recurring dates to maintain ideal contact and charge transfer.
- Define replacement windows: specify the earliest safe age for a node, the expected wear threshold, and a latest feasible date to prevent sudden outages.
- Implement reminders: keep proactive notifications visible, linking to diagnostic runouts and maintenance logs so you act before chemistry shifts.
This approach relies on preventive maintenance and scheduling reminders to stay ahead of degradation. You preserve freedom by avoiding reactive scrambles, maintaining reliability without overhauling your routine.
Frequently Asked Questions
Can Temperature Affect Battery Life and Starter Performance?
Yes, temperature affects battery life and starter performance. When battery temperature drops, chemical reactions slow, reducing cranking amperage and increasing resistance. In cold weather, battery capacity and power decline, causing slower starts or no turn. Warmer conditions generally improve performance, while excessive heat can accelerate wear. Monitor battery temperature and cold weather effects, maintain charge, and replace aging units promptly to minimize starter click issues and maximize longevity.
Do All Batteries Require Periodic Load Testing?
In short: no, not all batteries require periodic load testing. You should, however, follow the manufacturer’s guidance and monitor for symptoms like sagging voltage or hard starts. For critical or high-use systems, periodic load testing is a prudent part of battery maintenance. You’ll want to balance test frequency with risk tolerance, temperature exposure, and usage patterns to keep performance reliable. Use results to decide on conditioning, replacement, or system adjustments.
How Do Alternator Issues Mimic a Bad Battery?
Alternator issues mimic a bad battery when the charging system fails, causing the battery to drop fast and headlights to dim. You’ll notice slow cranks, surging gauges, or intermittent starts. Do alternator diagnostics by checking the alternator output with a voltmeter, and inspect belt tension and wiring for faults. Prioritize battery maintenance as you test, since a weak battery can fool readings. Address faults promptly, then re-test to confirm the actual culprit.
Can a Healthy Battery Still Cause Starter Clicks?
Ever wonder if a healthy battery can still cause starter clicks? Yes, it can—if the connections are loose, corroded, or the starter solenoid is failing, the battery itself may be fine but won’t deliver sufficient current. Focus on battery maintenance, clean terminals, and secure grounding. If you hear rapid clicks, test the starter circuit and voltage drop. Poor wiring or a weak alternator can mimic issues, so verify all components before replacing the battery.
Are OEM Vs Aftermarket Batteries Interchangeable Long-Term?
OEM and aftermarket batteries can be interchangeable long-term for many vehicles, but there are caveats. You’ll need to match battery type, CCA rating, and physical fit. Replacement considerations include terminal orientation, warranty terms, and vehicle programming if needed. Check battery compatibility with your starter and electrical systems, and ascertain OEM specs aren’t required for warranties. If in doubt, verify fitment data and seek professional installation to preserve performance and reliability.