Step-By-Step: Replacing AGM Battery to Solve Battery Swelling
Start by moving to a well-ventilated area and turning everything off. Inspect the swollen AGM battery for bulges or leaks, don safety gear, and disconnect the negative terminal first to prevent arcing. Remove the old pack carefully, then verify the replacement is AGM and matches your specs. Clean terminals, connect in the correct order, and test critical systems for normal operation. Seal, dispose of the old battery properly, and you’ll be ready for the next step that further optimizes safety and performance.
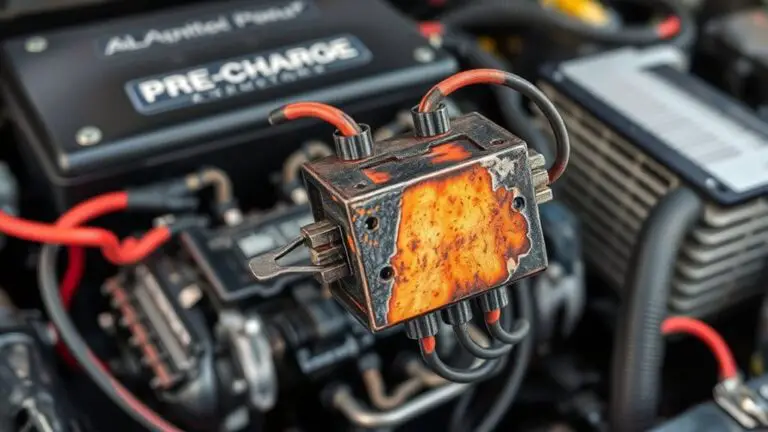
Inspect the Swollen AGM Battery Safely
When you inspect a swollen AGM battery, start by moving the vehicle or device to a well-ventilated area and turning off all power. You approach with calm precision, checklist in hand, protecting yourself and others. Observe swelling indicators: bulging case, dome-shaped top, or fluids visible at seams. Note any unusual odors, heat, or leaking electrolyte, and avoid squeezing or puncturing the casing. Wear eye protection, gloves, and avoid bare skin contact with any residue. Keep ignition sources distant and metal tools away from terminals to prevent short circuits. Disconnect negative terminal only after confirming no heat buildup, using insulated tools and a steady, deliberate touch. Mark the battery’s condition for later assessment, and document swelling indicators with time stamps. Do not attempt to recharge or disassemble the unit in place; arrange safe disposal and replacement. Prioritize battery safety, then proceed to the replacement steps with confidence and caution.
Identify Causes of Battery Swelling
Swelling in a battery usually stems from internal gas buildup, caused by factors like overcharging, deep discharge, or internal damage that creates gas pockets. In this section, you’ll identify the root causes to prevent recurrence. First, examine charging habits: overcharging accelerates electrolyte breakdown and gas formation, while improper charging can stress cells. Next, assess usage patterns: deep discharge repeatedly forces cells into dangerous voltage ranges, increasing swelling risk. Consider internal faults: damaged separators, cell mismatches, or manufacturing defects can generate uneven gas buildup. Temperature plays a role too; excessive heat speeds gas generation and accelerates swelling. Battery chemistry matters; different chemistries react differently under stress, so what triggers swelling in AGM packs may differ from other types. Routine checks and maintenance tips help you stay ahead: monitor voltage, avoid prolonged high-charge states, store at stable temperatures, and replace aging packs promptly. By understanding these factors, you apply effective maintenance tips to preserve safety and performance.
Gather Necessary Tools and Safety Gear
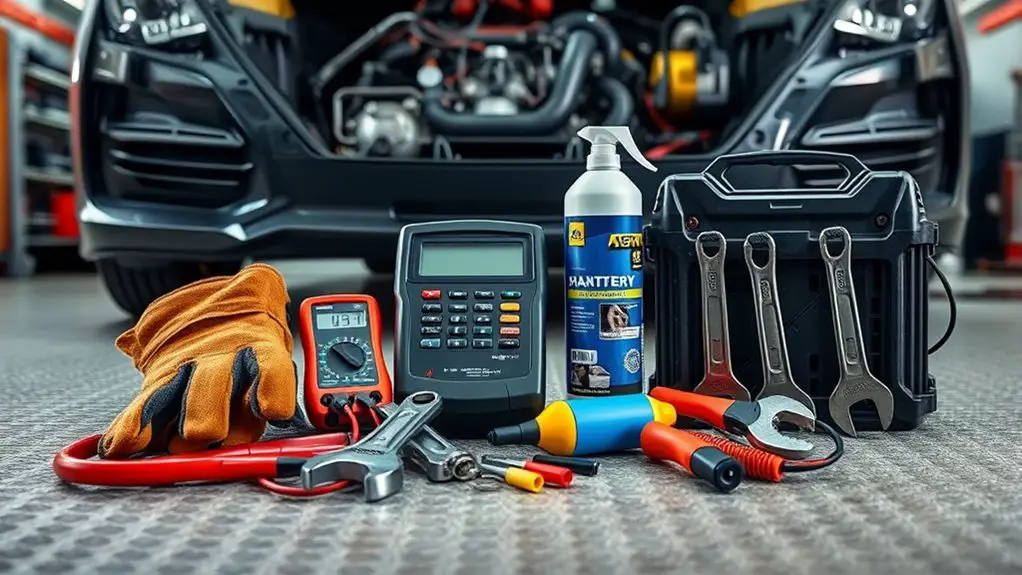
Gather the right tools and PPE before you begin. You’ll want a tool checklist to keep everything organized, and you’ll keep momentum by laying items out within reach. Start with personal safety gear: gloves rated for chemical exposure, safety glasses, and a flame-resistant sleeve or apron. Add a face shield if you anticipate splashes, and guarantee you have non-slip footwear. For tools, assemble an insulated socket set, wrenches, pliers, wire cutters, and a voltage tester. Include a battery terminal puller and a torque wrench for proper reassembly. Have sealed, labeled bags for screws and fasteners, plus zip ties for tidy routing. Prepare a fire-safe mat or tray and a metal container for hazardous materials. Keep a first-aid kit nearby and a fire extinguisher within reach. Review safety precautions before you start, and verify that your workspace is well-ventilated and free of ignition sources.
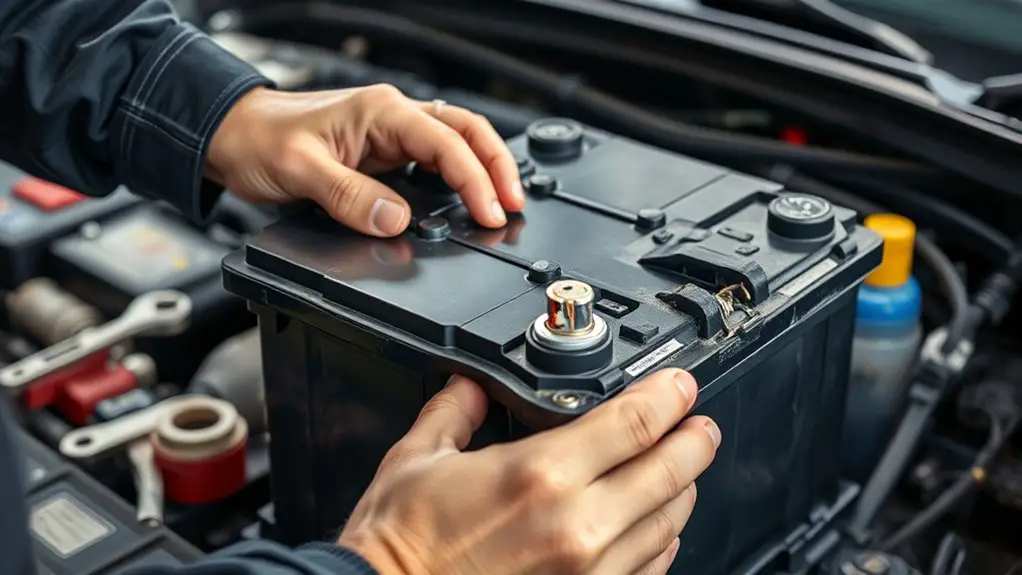
Disconnect and Remove the Old Battery
You’ll start by safely disconnecting the battery, ensuring the terminal clamps are free of contact before you begin any removal. Next, you’ll detach the old pack, keeping track of hardware and orientation so you can reuse or replace components accurately. This steps you through to the point where the old battery is fully removed and the system is ready for the new pack.
Disconnecting the Battery
Before you touch anything, turn off the vehicle and remove the keys, then locate the negative and positive terminals of the AGM battery. You’ll proceed with calm, deliberate steps to minimize risk. Begin by wearing eye protection and gloves as part of safety precautions. Identify the battery terminals clearly, noting polarity to avoid mix-ups. Disconnect the negative terminal first to prevent short circuits, then loosen the positive terminal. Keep any metal tools away from the terminals to prevent arcing. Verify there’s no residual charge in the system before continuing. Rest the disconnected cables where they won’t contact metal. Document terminal positions for reference. This careful sequence protects you and the vehicle while preparing for the next phase of removal. Safety remains your guiding principle.
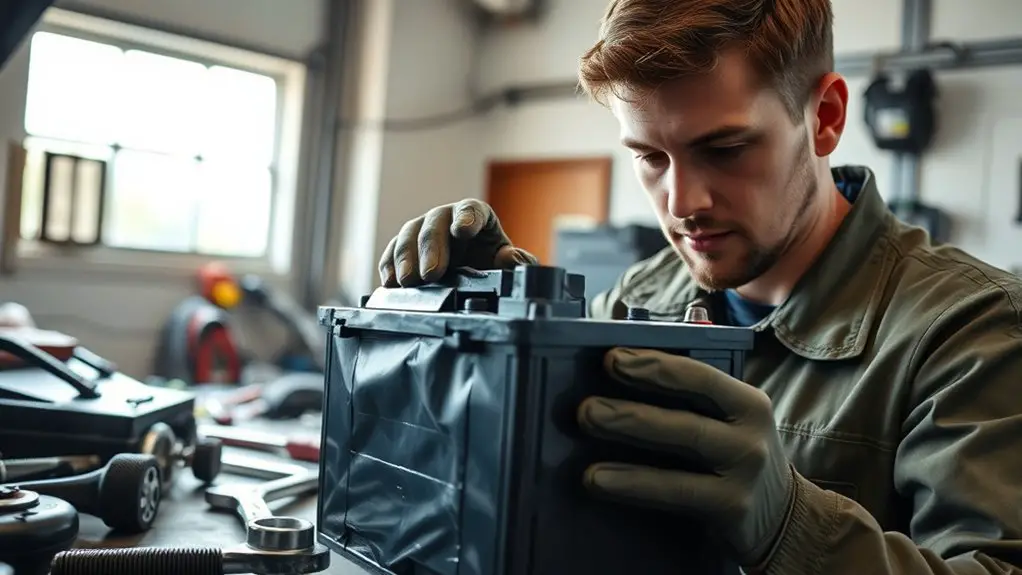
Removing the Old Pack
Carefully unplug and detach the old pack by following a clear sequence: confirm the vehicle is off and keys are out, then disconnect any safety systems tied to the battery. You proceed with intent, not haste, isolating the pack to prevent accidental currents. Begin at the main disconnect or fuse block, noting the exact position of each switch before removal. Next, detach any auxiliary harnesses, labels, and ground straps with deliberate, steady motions. Remove mounting hardware in a logical order, keeping fasteners organized. Lift the pack straight up where feasible, using proper body mechanics to avoid strain. Throughout, observe safety precautions and battery handling guidelines to minimize sparks or exposure. When freed, place the old pack on a nonconductive surface, ready for proper disposal or recycling.
Prepare the Replacement AGM Battery
To prepare the replacement AGM battery, start by inspecting the new unit for any signs of damage, and verify that its specifications match your vehicle’s requirements. Next, confirm the battery type is AGM and note its capacity, voltage, and cold-cranking amps. Check for corrosion on terminals and ascertain the case is intact. If any discrepancy is found, don’t use it—return or replace. Record the battery specifications for your installation guide and future reference. Clean terminals if needed, using a non-metal brush, and wipe away any residue. Store the replacement on a non-conductive surface away from moisture until you’re ready to install. Handle with care to avoid puncture or impact damage. Use gloves and eye protection. Confirm the packing materials are disposed of properly. Table below highlights essential data before installation.
| Parameter | Value |
|---|---|
| Type | AGM |
| Capacity | 60 Ah |
| Voltage | 12V |
| Weight | 14 kg |
Install the New AGM Battery Correctly
Securely mount the new AGM battery in its tray, ensuring it sits flat and aligns with the terminals. You’ll want the battery oriented so the positive and negative posts line up with the vehicle’s bus bars, preventing movement during operation. Check that the tray supports full contact without warping, and use any supplied retainers or straps to keep it immobile. Before making connections, inspect the terminal enclosure for corrosion or debris, and wipe clean as needed. When you connect, start with the negative terminal, then the positive, to minimize sparks and reduce risk to components. Tighten fasteners to the manufacturer’s specified torque, avoiding overtightening that could crack case seals. Reattach any protective caps, covers, or foam spacers to maintain vibration dampening. Confirm clear labeling matches the battery orientation, and verify there’s no clearance issue with hoses or wiring harnesses. Finally, route cables neatly and secure with zip ties to prevent chafing during road use.
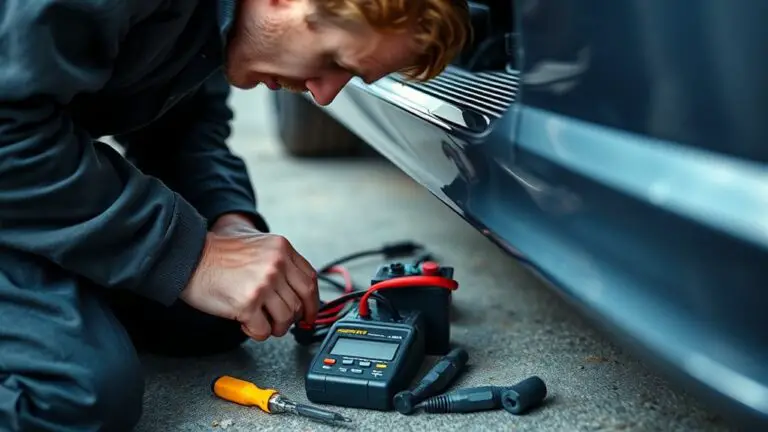
Test the System and Troubleshoot Potential Issues
Once the AGM battery is installed, power up the vehicle and verify that the system recognizes the new battery, then run a diagnostic check to confirm proper voltage, charging status, and absence of fault codes; if issues appear, document them and proceed with targeted troubleshooting steps. Start with a calm baseline: compare live data to factory specs, noting any deviations in voltage under load and at rest. If voltage sags or the charging system doesn’t engage, verify connections, fuses, and alternator output before escalating. Check battery performance across key subsystems: infotainment, ECU, and lighting, observing response times and any dimming behavior. Use sequential tests to isolate faults, recording timestamps and measured values. When anomalies persist, implement concise troubleshooting techniques like reseating terminals, cleaning corrosion, and replacing questionable cables. Maintain a clear log for follow-up, ensuring the system remains responsive, safe, and aligned with the vehicle’s intended performance goals.
Dispose of the Old Battery Responsibly
You’ll want to choose safe disposal methods and explore recycling options available for an AGM battery. Start by following local regulations for hazardous waste and drop-off sites, then check with retailers or municipalities for recycling programs. This discussion should establish clear steps for responsible handling of the old battery and identifying practical options for reuse or recycling.
Safe Disposal Methods
When disposing of an old AGM battery, do so in a safe, responsible manner by following local regulations and using recognized recycling or disposal programs. You’ll find clear steps: seal the battery terminals to prevent short circuits, transport it in a nonconductive container, and avoid mixing with other materials. Contact your municipality or a certified recycler to confirm accepted battery types and drop-off hours. Use only approved transport methods to minimize spill risk, and document the disposal for your records. Understand that improper handling creates hazards for people and the environment. Emphasize battery recycling whenever possible, and treat the unit as hazardous waste until proper processing occurs. By choosing compliant outlets, you protect freedom and safety for tomorrow.
Recycling Options Available
There are several recycling options available to dispose of an old AGM battery responsibly, and choosing the right path helps protect people and the environment. You’ll find organized pathways that minimize risk and maximize material recovery. First, use local recycling programs that accept automotive AGM batteries; they typically provide safe drop-off and may offer rewards or incentives. Next, participate in battery collection events or retailer take-back programs, which streamline processing and guarantee proper handling. Finally, consider a certified recycler if no convenient option exists, assuring compliance with regulations. Table below highlights common choices:
| Option | Benefit | How to participate |
|---|---|---|
| recycling programs | environmental protection | locate via municipal site |
| battery collection | convenient drop-off | check events or store programs |
| certified recycler | maximum safety | verify certification |
Frequently Asked Questions
Will Replacing the AGM Battery Void Any Warranties?
Replacing the answer is yes, but it depends on your warranty terms. About 70% of manufacturers require professional service or documented battery specifications to preserve coverage, so replacing it yourself can risk warranty implications if not done properly. You’re keeping informed: an average lithium-ion cycle count shows performance drops after 500–1,000 cycles, so confirm battery specifications and service records. If you adhere to approved procedures, your warranty implications stay favorable, and you’ll protect the battery’s integrity.
How Long Should the Replacement Process Take?
Replacement duration typically takes 30 to 60 minutes, depending on your setup and access. You’ll prep tools, disconnect safely, and remove the old battery before performing battery installation with care. You’ll verify terminals, reseal, and test systems once complete. If you’ve got routing or space constraints, set aside extra time for tweaks. Stay methodical, document any recalls or warranty notes, and don’t rush the process—ensuring solid connections and safe disposal matters as you proceed.
Can I Reuse Any Existing Mounting Hardware?
Like lightning asking permission to strike, you can’t reuse mounting hardware unless it’s rated for the new battery and size. Check mounting brackets for fit, corrosion, and thickness, then confirm battery compatibility with the device and wiring. If any doubt remains, replace with purpose-made brackets. You deserve freedom in your setup, but safety comes first: don’t force mismatched parts—verify fit, use the correct mounting brackets, and ascertain battery compatibility before powering up.
What Signs Indicate the Replacement Failed?
You’ll know the replacement failed if you observe sudden capacity loss, rapid voltage drop under load, or excessive heat near the case. Look for swollen or leaking cells, unusual smells, or unexpected fusing of safety components. Replacement indicators include declining battery performance, persistent fault codes, and battery not holding charge. If you notice these signs, stop using the pack and re-evaluate installation and safety measures. You deserve reliability, so verify tests and re-check specs before continuing.
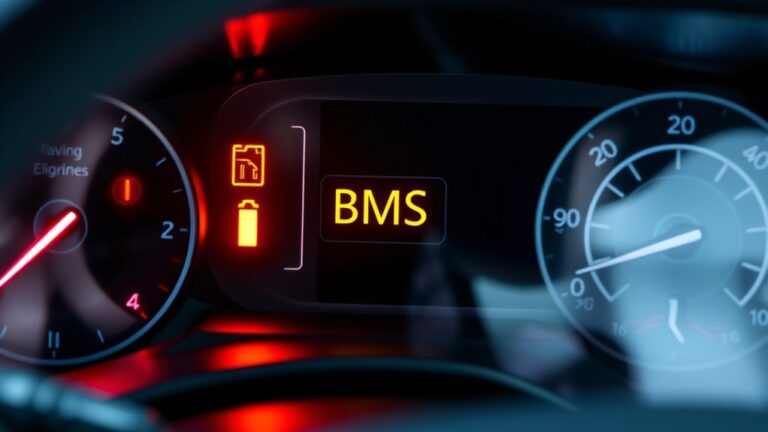
Are There Post-Install Calibration Steps Required?
Yes, you’ll usually need a post-install calibration process. After fitting the AGM, perform a calibration process to confirm the alternator and battery gauge read correctly, then verify battery performance across typical loads. Check system voltage, monitor charging current, and run a controlled discharge-recharge cycle if advised by your manufacturer. Keep an eye on temperature and balance cells during the first few cycles; subtle discrepancies may indicate calibration tweaks are needed for peak battery performance.