Step-By-Step: Replacing a Bad Power Window Motor That Causes Parasitic Drain
To replace a bad power window motor causing parasitic drain, start by diagnosing symptoms like unusual noises or intermittent operation. Gather tools such as a ratchet set and multimeter, then disconnect the car battery. Remove the door panel carefully, detach the old motor, and install the new one, ensuring proper alignment and connections. Reassemble the door panel, reconnect the battery, and test the motor’s functionality. You’ll uncover more about troubleshooting and installation nuances as you proceed.
Understanding the Symptoms of a Faulty Power Window Motor
Have you noticed your power window acting strangely? Proper symptom recognition is essential for understanding potential motor malfunction. If your window hesitates when moving up or down, that could indicate a weakening motor. You might also hear unusual noises, like grinding or buzzing, suggesting internal wear or failure. Sometimes, the window may refuse to move entirely, which is a clear sign of electrical issues or a failed motor.
Additionally, intermittent operation—where the window works sporadically—can signal a deeper problem, possibly linked to the window switch or wiring. If you find the window drops unexpectedly while driving, that’s another red flag. Always pay attention to these symptoms; they’re your first indicators of a failing power window motor. Recognizing these signs early not only helps in maintaining your vehicle’s integrity but also guarantees your freedom and safety on the road.
Diagnosing the Power Window Issue
To diagnose the power window issue, start by identifying the symptoms of failure, such as unusual noises or inconsistent movement. Next, test the electrical components, including the switch and wiring, to pinpoint where the malfunction occurs. With these steps, you’ll establish a clearer understanding of whether the motor needs replacement or if another issue is at play.
Identifying Symptoms of Failure
How can you tell if your power window motor is failing? Start with symptom recognition; if your window operates sluggishly or hesitates, that’s a sign of potential motor malfunction. Listen for unusual noises like grinding or clicking—these may indicate internal damage. If your window doesn’t respond at all, it could mean the motor has completely failed. Pay attention to any intermittent issues where the window works sporadically; this can also suggest a failing motor. Additionally, if you notice a parasitic drain on your battery, it might be related to a stuck or malfunctioning motor drawing power even when the vehicle is off. Recognizing these symptoms early can save you time and money on repairs.
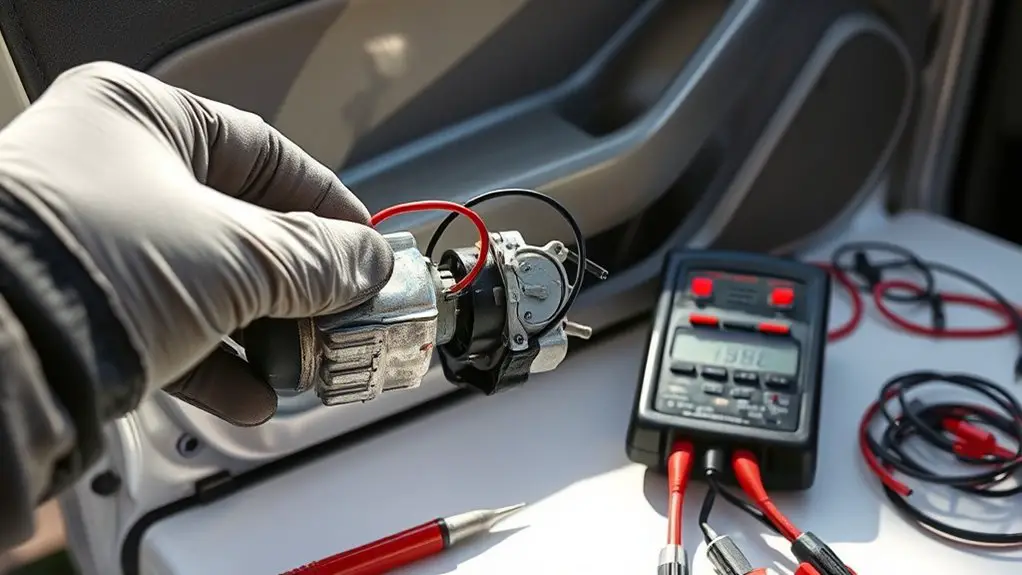
Testing Electrical Components
Once you’ve identified symptoms that suggest a failing power window motor, it’s important to test the electrical components to pinpoint the issue. Begin with voltage testing to ascertain the motor receives adequate power. Check for electrical continuity in the wiring and connectors, as interruptions can lead to failures. Follow these steps:
- Use a multimeter: Set it to measure voltage and check the power at the motor connector.
- Inspect wiring: Look for frayed or damaged wires that could cause a short circuit.
- Test continuity: With the multimeter set to continuity mode, verify that all connections are intact.
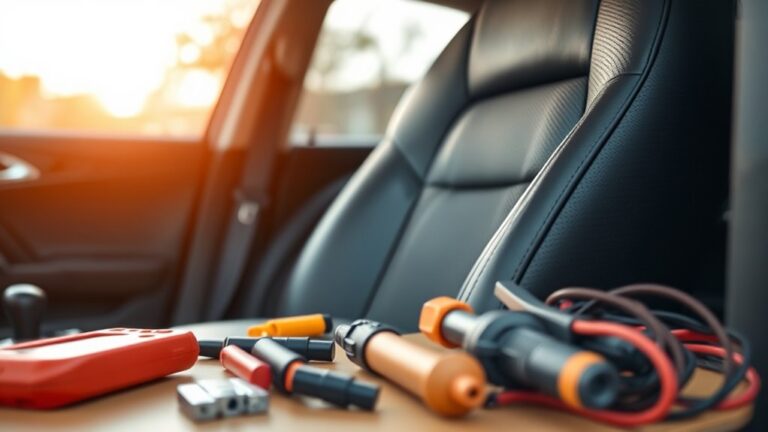
Gathering the Necessary Tools and Materials
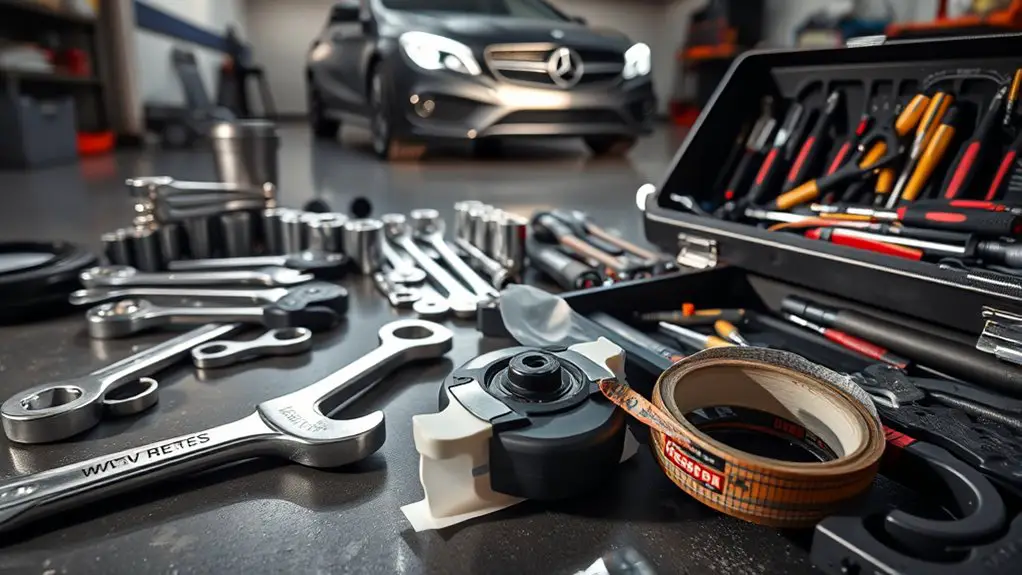
Gathering the necessary tools and materials is vital for successfully replacing a bad power window motor. You’ll need a few power tools to make this job easier, including a ratchet set, socket extensions, and possibly a drill for stubborn screws. Material types will vary depending on your vehicle, but generally, you’ll require a replacement power window motor specifically designed for your make and model. A wiring harness might also be necessary if the existing one is damaged.
Don’t forget a multimeter to check connections and verify everything is functioning correctly after installation. Safety gear like gloves and goggles is important, too. A flathead screwdriver and a trim removal tool can help you access the window assembly without damaging any interior panels. Having everything organized and ready before starting will save you time and frustration, allowing you to focus on the process of replacing that motor efficiently.
Disconnecting the Car Battery
Before you start working on the power window motor, it’s important to disconnect the car battery to guarantee safety and prevent any electrical shock or short circuits during the repair. Maintaining battery safety and achieving electrical isolation is vital in this process. Here’s how to do it effectively:
Disconnecting the car battery is essential for safety before working on the power window motor to prevent electrical shock.
- Turn off the ignition: Always make sure the car is off to minimize the risk of any electrical discharge.
- Locate the battery: Identify the battery compartment, usually found under the hood, and locate the negative terminal, which is typically marked.
- Disconnect the negative terminal: Using a wrench, carefully remove the cable from the negative terminal first. This step guarantees that the electrical system is isolated, preventing any accidental short circuits.
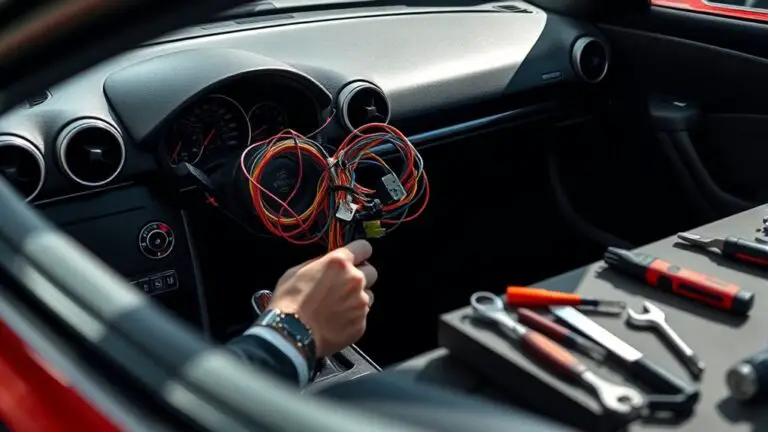
Removing the Door Panel
To remove the door panel, you’ll need specific tools, including a flathead screwdriver and a panel removal tool. Start by locating the panel fasteners, which are typically hidden behind trim pieces and inside the handle. Carefully remove these fasteners to avoid damaging the panel or the door.
Tools Required
When tackling the removal of the door panel to access the power window motor, you’ll need a specific set of tools to guarantee the job goes smoothly. Having the right tools not only simplifies the process but also helps you avoid potential electrical issues. Here’s what you’ll need:
- Screwdriver Set: A flathead and a Phillips screwdriver for removing screws and clips.
- Trim Removal Tool: Essential for safely prying off the door panel without causing damage.
- Socket Wrench: Necessary for loosening bolts that secure the power window motor.
With these tools in hand, you’re well-equipped to tackle the door panel removal, paving the way to address your power window’s motor issues efficiently.
Panel Fasteners Location
As you prepare to remove the door panel, locating the panel fasteners is essential for a smooth disassembly. Different panel types may use various fastener materials, including plastic clips, screws, or metal brackets. Begin by inspecting the edges and underside of the panel for visible screws. Often, you’ll find them hidden beneath trim pieces or fabric. Use a trim removal tool to gently pry off any covers concealing the fasteners. Additionally, check for any fasteners located near the door handle or window switch; these are common locations. Once you’ve identified and removed all fasteners, you’ll be ready to carefully detach the panel from the door, ensuring no clips are left behind that could hinder the process.
Accessing the Power Window Motor
Accessing the power window motor typically requires removing several components to reach the assembly safely. Start by ensuring your vehicle’s battery is disconnected to avoid any electrical mishaps. Next, you’ll need to focus on removing fasteners that secure the door panel and any trim pieces obstructing access. Follow these steps:
- Remove the Door Panel: Carefully detach the panel by unscrewing the fasteners and gently prying it away, avoiding damage to clips.
- Access Wiring: Once the panel is off, locate the wiring harness connecting to the power window motor. You may need to disconnect additional connectors for a clear pathway.
- Inspect for Obstructions: Check for any remaining components blocking access to the motor, including moisture barriers, and remove them as needed.
With these steps, you’ll efficiently access the power window motor, paving the way for a smooth replacement process.
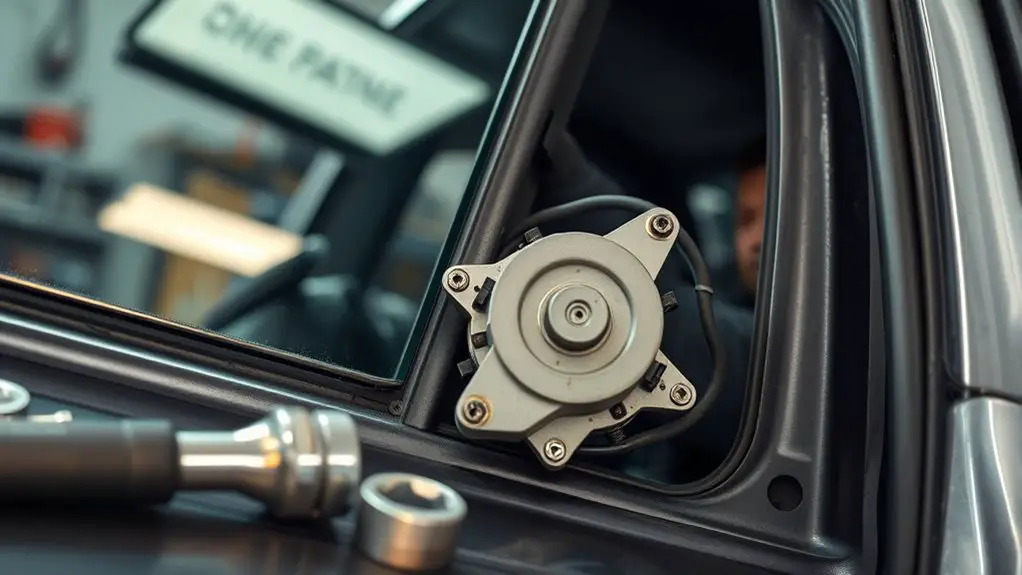
Detaching the Old Power Window Motor
With the power window motor now exposed, you can begin detaching the old unit. Start by carefully removing the connectors attached to the motor. Use a flathead screwdriver to pry off any clips holding the connectors in place, ensuring you don’t damage the wiring. Once the connectors are free, inspect the wiring for any signs of wear or corrosion. This step is essential, as it could indicate further electrical issues.
Next, locate the mounting screws securing the motor to the door frame. Use a socket wrench to remove these screws, keeping them in a safe place for future use. After the screws are out, gently pull the motor away from the mounting bracket. Take your time during this process to avoid damaging any components. Once detached, set the old motor aside, and you’re ready to move on to the next steps in your power window repair.
Installing the New Power Window Motor
Begin by positioning the new power window motor into the mounting bracket, confirming it aligns correctly with the screw holes. Verify that the motor compatibility matches your vehicle’s specifications to avoid any issues during installation. Use these installation techniques for a secure fit:
- Align the Motor: Make sure the motor’s gears mesh properly with the window regulator.
- Secure the Screws: Tighten the screws in a crisscross pattern to distribute pressure evenly, preventing damage.
- Reconnect Wiring: Carefully connect the motor’s wiring harness, confirming a snug fit to maintain a reliable electrical connection.
Once everything’s in place, double-check that the motor operates smoothly by testing it before reassembling any panels. This confirms the installation was successful, providing you with a fully functional power window and restoring your freedom on the road.
Reassembling the Door Panel
After guaranteeing the new power window motor is securely installed, reassembling the door panel is the next essential step. Begin by positioning the door panel against the door frame, making sure to align it properly with the clips and mounting points. You’ll want to confirm that the wiring harness is routed correctly and not pinched.
Once everything’s in place, gently press the panel into the clips until you hear a click, indicating proper door panel alignment. Next, install any sound dampening materials if applicable, guaranteeing they cover any exposed areas to minimize noise and vibrations.
Finally, replace the screws and fasteners, tightening them in a crisscross pattern to guarantee even pressure across the panel. Don’t forget to reconnect any switches or components you removed earlier. With everything securely in place, your door panel should now be ready for the final test.
Testing the New Power Window Motor
Once the door panel is securely reassembled, it’s time to test the new power window motor to verify it functions correctly. This step is essential to confirm proper motor functionality and smooth window operation. Follow these steps:
After reassembling the door panel, testing the new power window motor is crucial for ensuring smooth operation.
- Reconnect the Battery: Confirm the vehicle’s battery is reconnected before proceeding.
- Activate the Window Switch: Press the window switch to raise and lower the window. Observe the motor’s response.
- Listen for Noises: While operating the window, listen for any unusual sounds, which might indicate a problem.
If the window moves smoothly and the motor operates quietly, you’ve successfully installed the new unit. However, if you encounter issues, double-check the connections and wiring to confirm everything is secure. Proper testing guarantees that your power window motor is not only functional but also free from parasitic drain, allowing you to enjoy a fully operational window system.
Frequently Asked Questions
Can I Replace the Power Window Motor Without Professional Help?
Yes, you can replace the power window motor without professional help. If you’re comfortable with DIY repairs, gather the necessary tools and a replacement motor specific to your vehicle. Start by removing the door panel to access the motor, disconnect the wiring harness, and unscrew the old motor. Install the new motor, reconnect everything, and test the window. With patience and attention to detail, you’ll achieve a successful motor replacement and save on labor costs.
How Do I Know if My Window Switch Is Faulty?
To determine if your window switch is faulty, look for window switch symptoms like the window not moving at all or only operating intermittently. You might notice that the switch feels sticky or doesn’t return to its normal position. Additionally, faulty switch indicators include unusual noises or burning smells when you attempt to operate the window. If these issues arise, it’s likely you’ll need to replace the switch to restore functionality.
What if the New Motor Doesn’T Work After Installation?
If the new motor doesn’t work post-installation, start with some troubleshooting steps. First, double-check the motor compatibility; verify it matches your vehicle’s specifications. Next, inspect all connections and wiring for any damage or loose connections. Test the window switch to confirm it’s functioning properly. If everything seems fine but the motor still doesn’t operate, you might need to contemplate a defective replacement motor or further electrical issues in the system.
Are There Any Safety Precautions I Should Take?
When working on vehicles, about 20% of injuries occur due to electrical hazards. To guarantee your safety, always wear appropriate safety gear including gloves and protective eyewear. Before you start, disconnect the battery to prevent electrical shocks. Be cautious of sharp edges and moving parts while working. Additionally, use insulated tools to further enhance your electrical safety. Taking these precautions not only protects you but also promotes a more secure work environment.
How Can I Prevent Future Parasitic Drain Issues?
To prevent future parasitic drain issues, guarantee regular preventive maintenance on your vehicle. Keep an eye on the battery’s voltage and connections, cleaning them as needed. Disconnect any aftermarket electronics when they’re not in use, as they can draw power. Additionally, consider investing in a battery maintainer to keep your battery in peak condition. By practicing diligent battery care, you’ll reduce the risk of unexpected drains and enjoy greater freedom on the road.