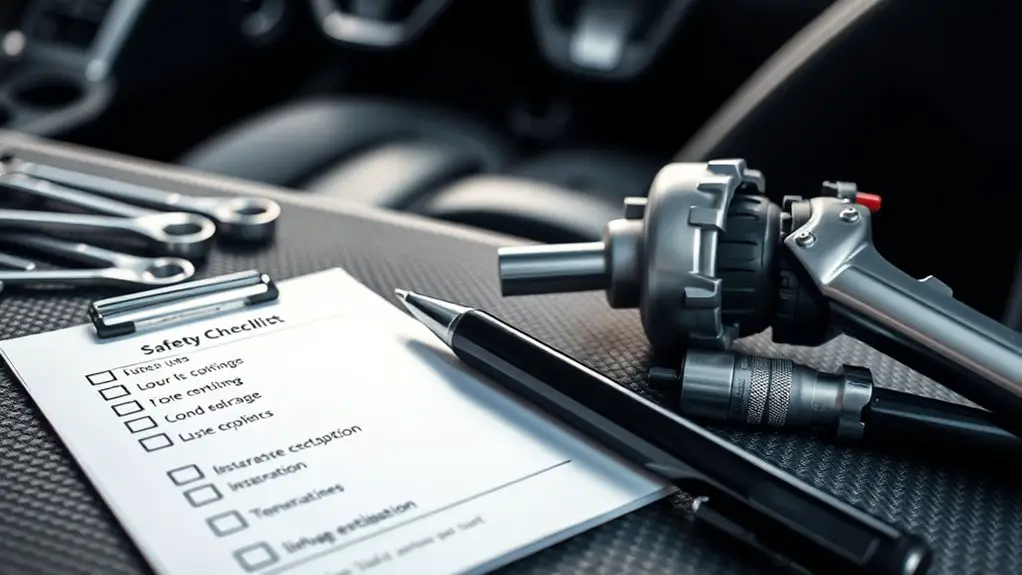
Safety Checklist After Repairing Airbag Inflator
After you finish replacing an airbag inflator, confirm the replacement parts match your vehicle’s specs and part numbers, then verify proper installation with mounting points, fasteners, and protective brackets. Establish a documented baseline by noting serial or batch codes and aligning them with the repair order. Perform leak tests with a calibrated pressure source, read and clear fault codes only after confirming no active faults, and conduct a structured diagnostic drive to validate system readiness. More steps await, guiding you toward complete safety compliance.
Verifying Correct Part Installation and System Communication

When confirming the repair, you should first verify that the replacement airbag parts match the vehicle’s exact specifications and part numbers, and that all connectors and harnesses are properly seated. You’ll then assess part compatibility by cross-checking the new components against the vehicle’s service data, BOM, and any aftermarket documentation. Document each part’s serial or batch code and confirm it aligns with the repair order. Next, perform installation verification by inspecting mounting points, fasteners, and protective brackets for proper torque and seating, ensuring no interference with nearby modules or cables. Verify system communication by inspecting the airbag control module fault codes, legitimate readiness indicators, and correct sensor calibration procedures. Confirm that all harnesses are routed according to manufacturer guidance, with no chafing risks or pinched wires. Finally, record all results in the vehicle’s repair log and prepare the system for a controlled, test-friendly diagnostic sequence.
Performing Leak Tests and Pressure Checks

You’ll start with a structured pressure test procedure to confirm seal integrity and system stability. Use validated leak detection methods to identify any ingress or egress, and document readings at specified points with consistent timing. Follow safe handling protocols to prevent accidental deployment and guarantee pressure checks are performed only with all safety gear and procedures in place.
Pressure Test Procedures
Pressure test procedures for leak testing and pressure checks should be performed systematically to verify airbag system integrity after repair. You begin with securing the vehicle and isolating the inflator circuit, then assemble the test apparatus. Use a calibrated pressure source and a accurate pressure gauge to monitor results. Apply a controlled ramp to the system, recording baseline readings at specified intervals. Look for stable pressure decay within defined tolerance over the test duration. If readings drift, re-check connections, seals, and fittings for leaks before proceeding. Document all values meticulously and compare against the airbag calibration specifications from the manufacturer. Maintain a calm, methodical approach, and suspend tests if unexpected fluctuations occur. Conclude with a final, verified pressure hold and a clear pass/fail determination.
Leak Detection Methods
Leak testing is performed by applying a controlled load to the airbag system and monitoring for pressure decay or flow indications that exceed defined thresholds, using calibrated equipment and a methodical sequence to pinpoint leaks. You’ll conduct a structured sequence: establish baseline pressures, apply the load, observe for stability, and record any deviations. Employ leak detection techniques such as pressurized drop tests, tracer gas if permitted, and flow-based analyses to localize sources without compromising airbag system integrity. Maintain rigorous documentation of test conditions, equipment calibration, and results. Interpret findings with conservative criteria, repeating tests to confirm repeatability. This approach supports evidence-based decision making while preserving safety margins. You value freedom, yet you demand precision, consistency, and defensible conclusions about system reliability.
Safe Handling Protocols
Safe handling of leak tests and pressure checks requires a disciplined, stepwise approach to protect personnel and preserve airbag integrity. You perform leak tests only after confirming system isolation and proper seating of all connectors. Use calibrated tools, verify pressure baselines, and document readings vigilantly. Before testing, don your safety gear, establish a safe work zone, and alert nearby staff to potential hazards. Conduct progressive pressure tests within manufacturer-specified limits, observing for gradual changes and no rapid fluctuations. If a leak is detected, halt, re-seat components, and re-test; record findings and follow escalation procedures. Maintain traceability of every test cycle, and dispose of test media according to regulations. This practice supports airbag deployment reliability while honoring safety gear and professional autonomy.
Clearing and Verifying Fault Codes
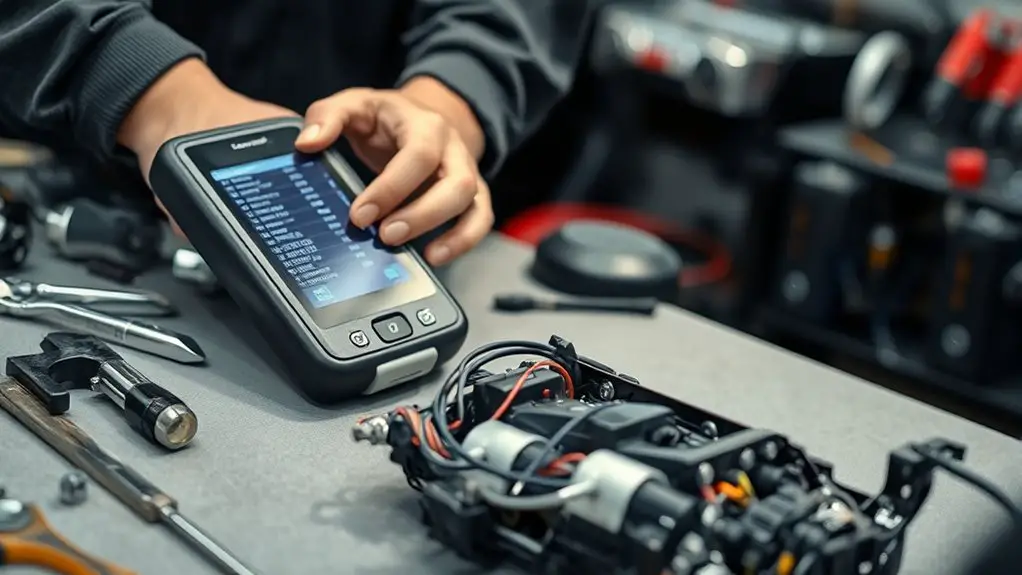
Clearing and verifying fault codes is the essential first step after airbag repair to confirm that the system is communicating correctly and that no new faults were introduced. You’ll use diagnostic tools to read stored and pending codes, then interpret what they mean against fault code definitions. This guarantees you’re not guessing about system readiness and helps you baseline performance before road tests.
- Read all codes with your diagnostic tools, including freeze-frame data, to capture the exact operating context at failure detection.
- Cross-check each code against fault code definitions, documenting acceptable ranges and any manufacturer-specific notes for your vehicle.
- Clear codes only after confirming there are no active faults, then recheck to verify codes don’t recur and that the system is communicating normally.
This process emphasizes reliability and safety while preserving your freedom to verify results with evidence-based steps, rather than assumptions.
Post-Repair Diagnostic Drive and System Validation
After completing the repair, perform a structured diagnostic drive to validate system integrity and real-world performance. You’ll begin with a calm, steady road test, recording baseline responses from the airbag control module. Use diagnostic tools to monitor key subsystems: sensor feedback, crash sensor integrity, and inflator readiness flags. Validate that fault codes are suppressed and that no new codes illuminate during throttle, braking, and steering maneuvers. Observe airbag deployment algorithms under simulated low-speed impact scenarios, if your tools permit, ensuring no unexpected restraint behavior occurs. Confirm that seatbelt pretensioners engage appropriately and that the system returns to a safe sleep state when conditions normalize. Document hydrocarbon, moisture, or corrosion indicators that could affect signal integrity, and verify that wake-up sequences align with vehicle prompts. Conclude with a concise report of results, noting any anomalies requiring re-inspection. Prioritize thoroughness, using post repair inspections and diagnostic tools to support evidence-based conclusions.
Handling Hazardous Materials and Documentation
Handling hazardous materials and documentation is a key follow-up to the repair work, ensuring that any residual risks are managed and records accurately reflect the process. You’ll handle hazardous waste and material safety with disciplined care, documenting every step, valve, container, and disposal method to meet regulatory and manufacturer standards. Precision in labeling, storage, and transport reduces exposure and supports traceability.
- Identify and segregate waste streams for hazardous waste disposal, using approved containers and secondary containment.
- Maintain complete material safety data sheets, incident logs, and disposal receipts to support ongoing risk assessment.
- Verify training credentials, confirm PPE requirements, and review site-specific procedures before any handling or transfer.
This approach protects people and the environment, while ensuring your documentation supports future audits and maintenance. You’ll read the data, follow the protocol, and act with transparency and accountability to preserve freedom from avoidable hazards.
What to Do If the Airbag System Flags a Warning
When the airbag warning lights, you should interpret the codes using the vehicle’s manual or a scan tool to identify the specific fault. After noting the code, follow the manufacturer’s recommended next steps and document actions taken, then plan a recheck after any service. Recheck timing depends on the fault type, but you should retest soon after repairs to confirm the system is ready.
Interpreting Warning Codes
If the airbag system flags a warning, start by pulling the vehicle to a safe location and turning off the engine, then consult the owner’s manual for the specific warning—codes can indicate anything from a sensor fault to a deployable component needing service. Knowing warning light meanings helps you triage calmly and avoid unnecessary repairs.
- Read the code’s exact digits, then compare to the manual’s code deciphering table to identify whether it’s a sensor, module, or squib issue.
- Prioritize immediate safety fixes, such as securing loose connectors, and document any visible damage for professional follow-up.
- Schedule a professional diagnostic if ambiguous, ensuring replacements meet OEM specifications and testing restores proper deployment readiness.
Next Steps After Check
After you’ve completed the initial check and identified the warning code, the next steps focus on securing safety and confirming the system’s status before proceeding with repairs. You should perform post repair inspections to verify sensor outputs, wiring integrity, and module readiness. Record the exact code, flash status, and any related data for traceability. With the vehicle’s power isolated as needed, recheck connections and ascertain no loose harnesses or corrosion exist. Collect driver feedback on warning behavior, noting whether warnings persist, abate, or recur after a controlled test. Validate that the airbag clock spring, crash sensor, and control unit acknowledge a safe state. If uncertainty remains, pause further work and consult manufacturer diagnostics guidance before resuming. Documentation supports accountability and future safety decisions.
When to Recheck System
Once a warning is detected, pause any nonessential work and initiate a controlled recheck of the key system signals. You’ll verify fault codes, confirm sensor integrity, and guarantee the diagnostic link communicates reliably before proceeding. This guarantees you don’t overlook a live fault or false reading. Follow a disciplined sequence to guard safety and accuracy.
1) Inspect fault codes and cross-check with airbag recall notifications to distinguish true faults from recalls or software quirks.
2) Perform system reset procedures only after confirming data integrity, then validate once more with a secondary scanner.
3) Document results, schedule re-evaluation, and relate findings to vehicle history, noting any pending recalls or updates.
Frequently Asked Questions
How Long Until the Airbag Light Resets After Repair?
The airbag light typically resets within a few minutes to an hour after you complete the repair and you’ve cleared codes. If it stays on, run a full diagnostic using diagnostic tools, check for persistent fault codes, and re-check connections. You should verify there’s no stored fault or intermittent issue before retesting. If the light doesn’t reset, don’t drive; consult a professional. Use airbag reset procedures and diagnostic tools to confirm system readiness.
Can I Drive the Vehicle Immediately After Repair?
No. You shouldn’t drive immediately after repair. Think of the dashboard as a quiet lighthouse: you need the beacon steady before setting sail. Follow repair guidelines and confirm the airbag system is fully reset and the warning light stays off. Check for any fault codes, confirm the light remains dark after a key cycle, and verify driving safety with a qualified technician. Rushing defeats freedom; precision guarantees safe, confident miles ahead.
Are There Any Post-Repair Recall Notifications to Watch For?
Yes—watch for post-repair recall notifications. You should monitor recall management updates from manufacturers and regulatory bodies, and understand notification processes, so you don’t miss important safety actions. Stay vigilant for service bulletins, safety advisories, or voluntary recalls tied to the airbag inflator. If anything appears, follow the prescribed steps precisely. You’ll want to document timelines, contact points, and any required inspections, tests, or replacements, then confirm completion with your technician.
What Are the Signs of a Failed Inflator After Installation?
Did you know airbags deploy correctly in about 95% of tests, but a failed inflator still causes serious injury risk? Signs of a failed inflator after installation include inflator leaks, unexpected airbag deployment delays, or the airbag not deploying at all when needed. You’ll notice warning indicators on the dash, unusual smells, or hissing sounds. If any of these occur, stop driving, inspect promptly, and consult a qualified technician to prevent catastrophe.
Do I Need Special Training to Inspect Repaired Systems?
Yes, you do need specialized training to inspect repaired systems, because safety-critical components demand careful, evidence-based assessment. You should understand certification requirements and applicable standards, perform methodical inspections, document findings, and recognize limitations. With freedom to act, you’ll pursue recognized programs, maintain current credentials, and apply validated test procedures. Trust established guidelines over intuition, and guarantee ongoing education to meet evolving certification requirements while you uphold high, precise inspection quality.