Step-By-Step: Replacing Clutch to Fix Hard Shifting
To replace a worn clutch and fix hard shifting, you’ll need to gather essential tools like a socket set, torque wrench, and clutch alignment tool. First, prepare your vehicle by securing it and disconnecting the battery. Remove the transmission carefully, then take out the old clutch and install the new one using the alignment tool. After reassembling the transmission, test the clutch engagement and adjust if necessary for smooth operation. There’s more to guarantee a successful replacement.
Understanding the Symptoms of a Worn Clutch
When you notice difficulty shifting gears, it might be a sign that your clutch is worn. Recognizing clutch symptoms early can save you from more extensive repairs down the line. Common shifting issues include a spongy or loose clutch pedal, which may indicate air in the hydraulic system or a failing master/slave cylinder. If you find the pedal sticking or not fully disengaging, it’s essential to assess your clutch’s condition. Additionally, if you hear grinding noises during gear changes, this could signal that the clutch is failing to engage properly. Slipping gears, where the engine revs without a corresponding increase in speed, is another clear indication of clutch wear. Understanding these symptoms empowers you to take action, ensuring your vehicle remains reliable and responsive. Addressing these issues promptly can enhance your driving experience and maintain the freedom you cherish on the road.
Gathering the Necessary Tools and Materials
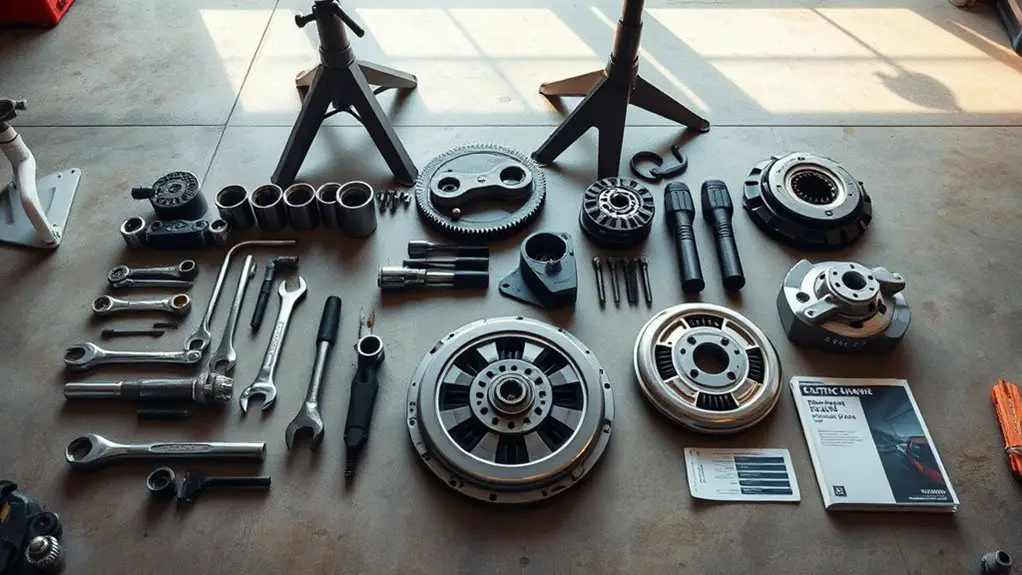
Successful clutch replacement requires a specific set of tools and materials to guarantee the job is done efficiently and correctly. Before diving into the replacement process, verify you have everything you need. Depending on your vehicle’s clutch types, it’s essential to choose the right replacement kits tailored for your make and model.
Here’s a quick list of must-have items:
- Socket set: For removing and securing bolts.
- Torque wrench: To verify you’re applying the correct torque specifications.
- Clutch alignment tool: For proper alignment during installation.
Having these tools on hand not only speeds up the process but also minimizes the risk of errors. With the right materials, including your selected replacement kits, you’ll be well-prepared to tackle the clutch replacement and achieve smoother shifting once again.
Preparing Your Vehicle for Clutch Replacement
Before starting the clutch replacement process, gather all necessary tools to avoid interruptions. Confirm you’ve implemented safety measures, such as wearing protective gear and securing the vehicle properly. Finally, disconnect the battery to prevent any electrical issues while you work.
Gather Necessary Tools
To guarantee a smooth clutch replacement process, it’s essential to gather the right tools before you start. This not only guarantees efficiency but also keeps your tool maintenance in check. Different clutch types may require specific tools, so be prepared.
Here’s a quick list of what you’ll need:
- Socket set: For removing and securing bolts.
- Torque wrench: To apply the correct torque on fasteners, guaranteeing your clutch is properly installed.
- Clutch alignment tool: Essential for aligning the new clutch with the flywheel.
Having these tools on hand will make your clutch replacement much smoother, allowing you to focus on the task at hand and enjoy the freedom of working on your vehicle.
Ensure Safety Measures
Ensuring safety measures is essential when preparing your vehicle for clutch replacement. Start by donning appropriate safety gear, including gloves and goggles, to protect yourself from sharp objects and debris. Next, organize your workspace; a clean, clutter-free area can prevent accidental injuries and make the process more efficient. Make sure you have ample lighting to clearly see all components. Additionally, use jack stands to secure the vehicle while it’s elevated, ensuring it won’t shift unexpectedly during the procedure. Keep all tools within reach to avoid unnecessary movements that could lead to accidents. Following these safety protocols not only protects you but also enhances your freedom to work confidently on your vehicle without unnecessary risks.
Disconnect Battery First
Since disconnecting the battery is a crucial step in preparing for clutch replacement, it’s important to confirm that all electrical systems are powered down. This not only protects your vehicle’s electronics but also guarantees your safety during the process. Follow these disconnecting procedures to maintain battery health and avoid electrical mishaps:
- Always wear safety gloves to prevent accidental shocks.
- Use a wrench to disconnect the negative terminal first, then the positive.
- Store battery cables away from any metal surfaces to avoid short circuits.
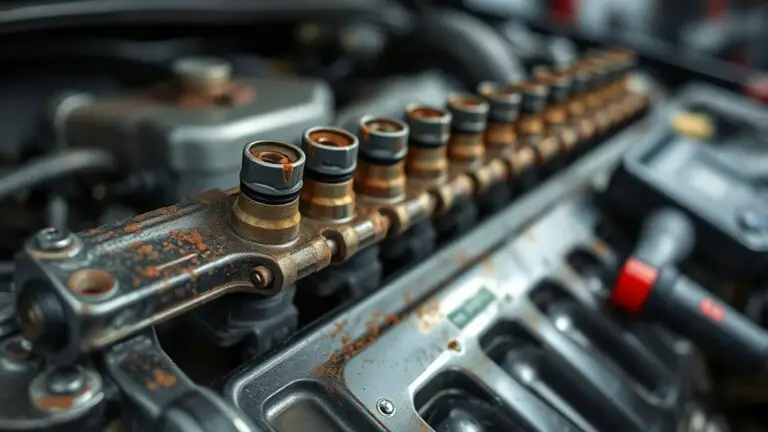
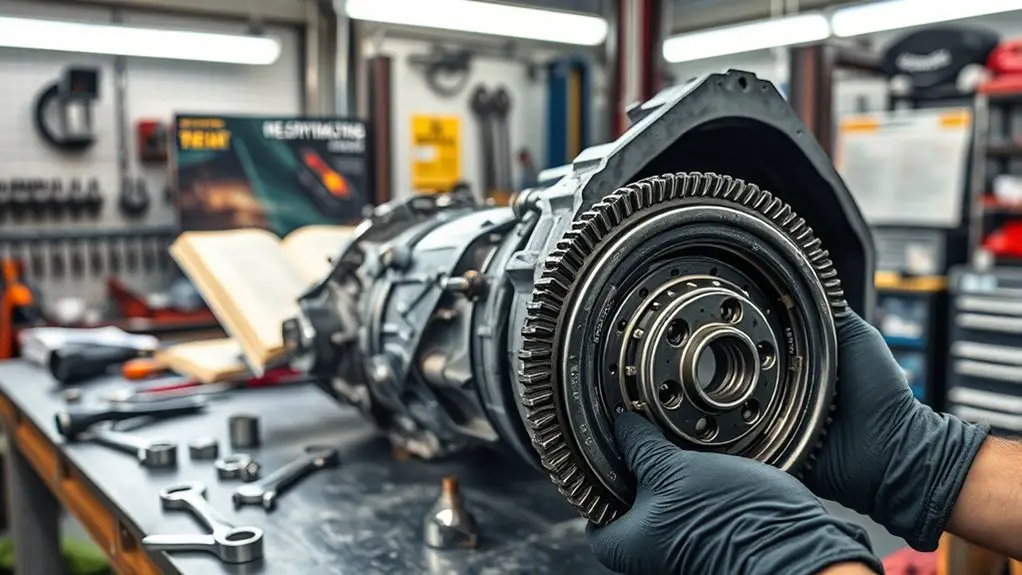
Removing the Transmission
Before you start removing the transmission, verify you’ve taken the necessary safety precautions and prepared your workspace. Having the right tools on hand is vital for a smooth removal process. This section will guide you through both the preparation and the tools required for effective transmission removal.
Preparation and Safety Measures
When tackling the removal of a transmission, proper preparation and safety measures are essential to guaranteeing a smooth process. Start by setting up a clean, organized work area to minimize distractions and risks. Always prioritize safety gear; wearing gloves and safety glasses can protect you from injuries.
- Guarantee your vehicle is on a level surface to prevent slips.
- Disconnect the battery to avoid any electrical issues.
- Use jack stands to securely support the vehicle while you work.
Tools Required for Removal
With your workspace prepared and safety measures in place, gathering the right tools is the next step for removing the transmission. You’ll need a socket set, wrenches, and screwdrivers to disconnect various components. A clutch alignment tool is essential for ensuring proper placement during reassembly. Don’t forget a transmission jack to safely lower the transmission once it’s unbolted. A hydraulic system bleeder kit is also vital if your vehicle uses a hydraulic clutch; this will help you avoid air bubbles during the reinstallation process. Finally, have a torque wrench ready for correctly tightening bolts when you put everything back together. Efficient organization of your tools will streamline the removal process, giving you the freedom to work confidently.
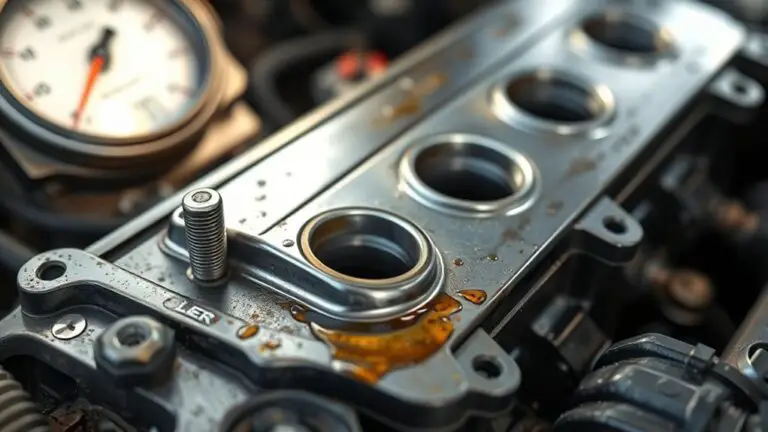
Taking Out the Old Clutch
To successfully remove the old clutch, you’ll need to follow a systematic approach that guarantees all components are properly disengaged. Start by ensuring you’ve disconnected the battery and removed any obstructions. Next, identify the specific clutch types in your vehicle, as different configurations may require unique steps. Pay close attention to the clutch maintenance history, as any wear can complicate removal.
- Use a torque wrench to avoid damaging bolts.
- Keep track of all parts and fasteners for easy reassembly.
- Inspect the flywheel and pressure plate for any signs of damage.
With everything prepared, carefully detach the clutch assembly from the transmission. Make sure to support the transmission properly during this process. Once the old clutch is out, you’ll be one step closer to achieving smooth shifting once again.
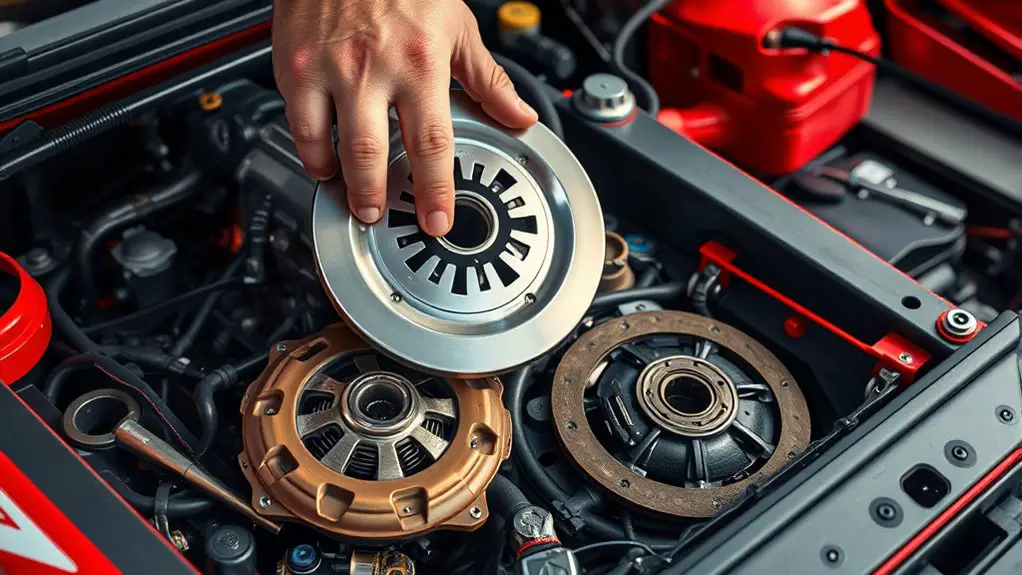
Installing the New Clutch
Before you begin installing the new clutch, make sure you have all necessary tools and components at hand. First, identify the clutch type compatible with your vehicle, as this affects installation. Lay the new clutch disc in the correct orientation on the flywheel, aligning it properly with the pilot bearing. Use an alignment tool to guarantee everything is centered; this step is essential for smooth operation.
Next, carefully position the pressure plate over the clutch disc, confirming alignment with the flywheel holes. Tighten the pressure plate bolts in a crisscross pattern to distribute pressure evenly. This prevents warping and guarantees longevity.
As you install, take note of installation tips such as torque specifications for the bolts, which you’ll find in the service manual. Finally, double-check all connections and clearances before moving on to the next steps in your clutch replacement process.
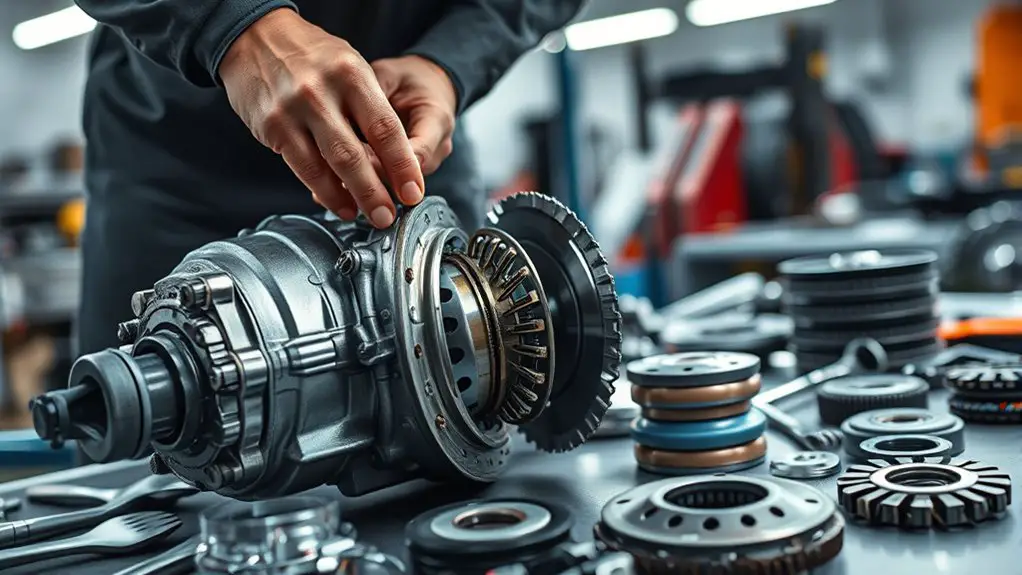
Reassembling the Transmission
Once you’ve installed the new clutch, reassembling the transmission is essential for guaranteeing proper functionality. Start by carefully aligning the transmission with the engine. Misalignment can lead to severe issues down the line, so take your time here. Next, follow the manufacturer’s torque specifications to secure all bolts. This guarantees that everything is tightened correctly and prevents any potential leaks or failures.
- Double-check the transmission alignment before tightening anything.
- Make sure to use a torque wrench for accuracy.
- Keep a detailed checklist of all components you’ve reattached.
Finally, verify that all sensors and connections are secure. This step is critical as any loose connections can cause operational failures. Once everything is in place, you’ll be ready to move on to the next phase of your clutch replacement project!
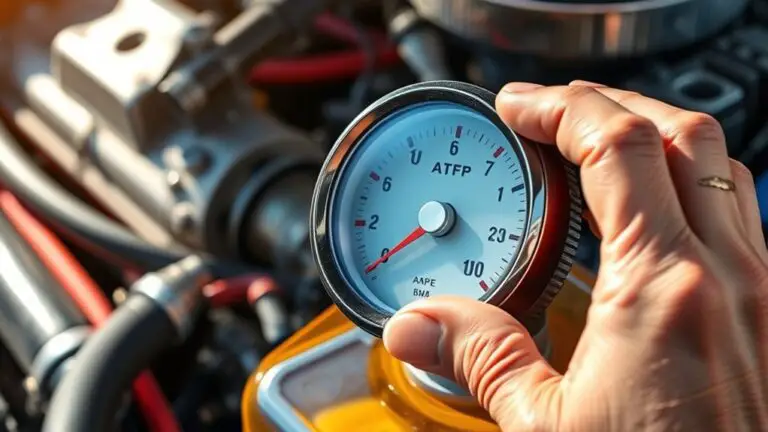
Testing Your New Clutch and Final Adjustments
After reassembling the transmission, it’s crucial to test your new clutch to confirm it’s functioning properly. Start the engine and engage the clutch pedal. Pay attention to the clutch engagement point; it should occur smoothly without any grinding or difficulty. If you notice a high engagement point, it might indicate that the clutch is not fully disengaging, requiring adjustment.
Next, assess the pedal feel. It should be firm and responsive, not too soft or spongy. If the pedal feels off, check the hydraulic system for leaks or air bubbles. Bleeding the system may be necessary to achieve peak performance.
Finally, take the vehicle for a short test drive. Shift through all gears, confirming that each interchange is smooth and without resistance. If any issues arise, revisit your adjustments until the clutch operates as intended. A properly functioning clutch enhances your driving experience and guarantees your vehicle’s freedom on the road.
Frequently Asked Questions
How Long Does It Take to Replace a Clutch?
Replacing a clutch is like orchestrating a delicate symphony, with the duration varying from three to five hours. Factors affecting the time include the vehicle’s make and model, accessibility to the clutch assembly, and your level of experience. If you’re a seasoned mechanic, you might breeze through it, but if you’re new to the process, it could take a bit longer. Ultimately, patience and precision lead to a successful clutch replacement.
Can I Replace the Clutch Without Special Tools?
You can replace the clutch without special tools, but it’s not easy. Basic tools like wrenches, sockets, and a jack will suffice for most tasks. However, clutch replacement tips recommend having a torque wrench for precise tightening. You might also need a clutch alignment tool to guarantee proper fitment. While it’s doable, investing in or borrowing specialized tools can make the job smoother and make sure everything’s done right.
What Are the Signs of a Failing Throw-Out Bearing?
Imagine a ship’s sail fraying in the wind; it’s a warning sign of trouble. When it comes to your vehicle, failing throw-out bearing symptoms include grinding or squealing noises when you engage the clutch, and difficulty shifting gears. You might also notice a rattling sound when the clutch pedal’s pressed. These clutch noise indicators can signal that it’s time to address the issue before it leads to further damage and loss of freedom on the road.
Is It Necessary to Replace the Flywheel With the Clutch?
It’s not strictly necessary to replace the flywheel with the clutch, but doing so offers significant benefits. A new flywheel can enhance clutch performance, ensuring smoother engagement and longer clutch lifespan. If your flywheel shows signs of wear or damage, replacing it alongside the clutch can prevent future issues. Ultimately, this proactive approach helps maintain your vehicle’s overall performance and reliability, granting you the freedom to drive without unexpected problems.
Can I Drive With a Worn Clutch Temporarily?
You can drive with a worn clutch temporarily, but it’s like sailing with a torn sail—possible, yet risky. The clutch symptoms may include slipping, difficulty shifting, or unusual noises, which can escalate into more severe issues. While you might enjoy the freedom of the road, it’s essential to keep in mind that prolonging this can lead to costly repairs. Addressing the problem promptly will restore your vehicle’s performance and reliability.