Top 10 Causes of Coolant Leak and How to Troubleshoot Them
Coolant leaks can stem from several issues. Check for worn or damaged hoses, a faulty radiator, or a leaking water pump as common culprits. A blown head gasket or cracked engine block may indicate more serious problems. Don’t overlook loose or damaged radiator caps and corroded components. Improperly sealed gaskets and evaporative loss from the overflow tank can also occur. Identifying these issues early can prevent severe engine damage, and there’s more to explore on each cause.
Worn or Damaged Hoses
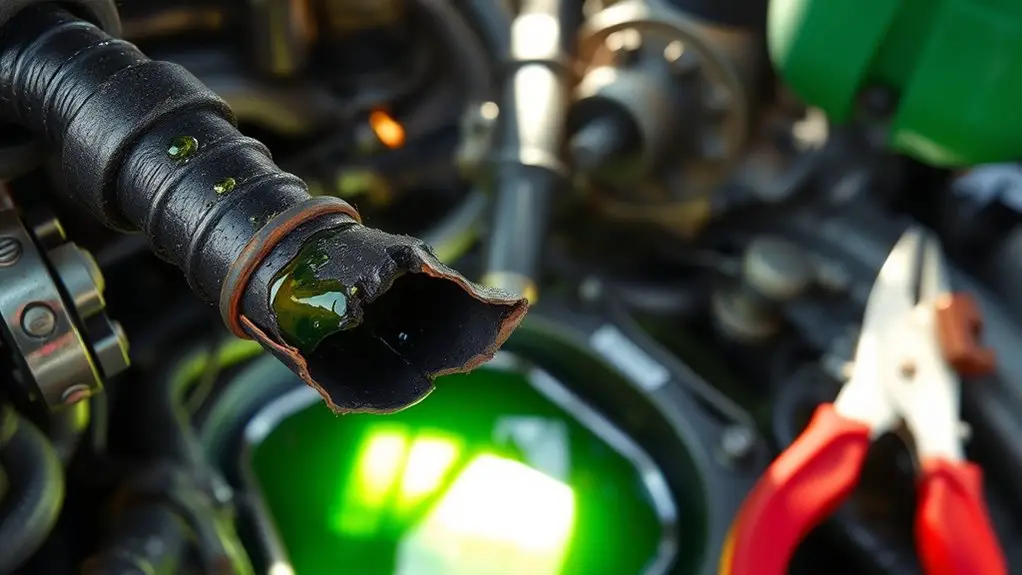
When you’re dealing with coolant leaks, one of the first culprits to investigate is worn or damaged hoses. These hoses, responsible for transporting coolant throughout your engine, can deteriorate over time due to heat exposure, age, or chemical corrosion. Start with a thorough hose inspection; look for cracks, bulges, or signs of leakage. It’s essential to check both the upper and lower radiator hoses as well as any connecting lines.
If you notice any defects during your inspection, hose replacement is imperative. Ignoring these issues can lead to larger problems, such as engine overheating or complete coolant loss. Always use high-quality hoses designed for your specific vehicle to guarantee proper fit and durability. By regularly inspecting and replacing worn hoses, you’ll maintain your engine’s cooling system effectively, allowing you the freedom to drive without worry. Keep your vehicle reliable and safe by prioritizing these maintenance checks.
Faulty Radiator
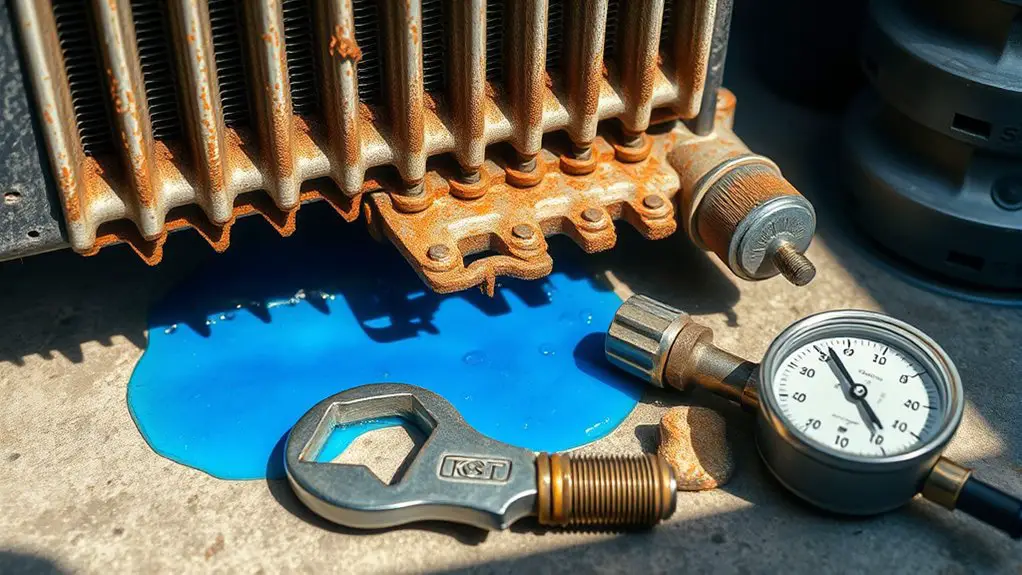
A faulty radiator can be a significant source of coolant leaks, as it plays an indispensable role in regulating engine temperature. Over time, corrosion, damage, or wear can compromise the radiator’s integrity, leading to leaks that can affect your vehicle’s performance. To troubleshoot this issue, you should regularly inspect the radiator for signs of rust, cracks, or loose connections.
Be certain to monitor your coolant levels frequently; a drop can indicate a leak. If you find your coolant levels are consistently low, it’s vital to address the radiator promptly. Regular radiator maintenance, such as flushing and cleaning, can help prevent buildup and prolong its lifespan. If you notice any leaks during your inspection, replacing the radiator may be necessary to guarantee your engine operates efficiently. By being proactive, you can maintain your car’s health and enjoy the freedom of the open road without unexpected breakdowns.
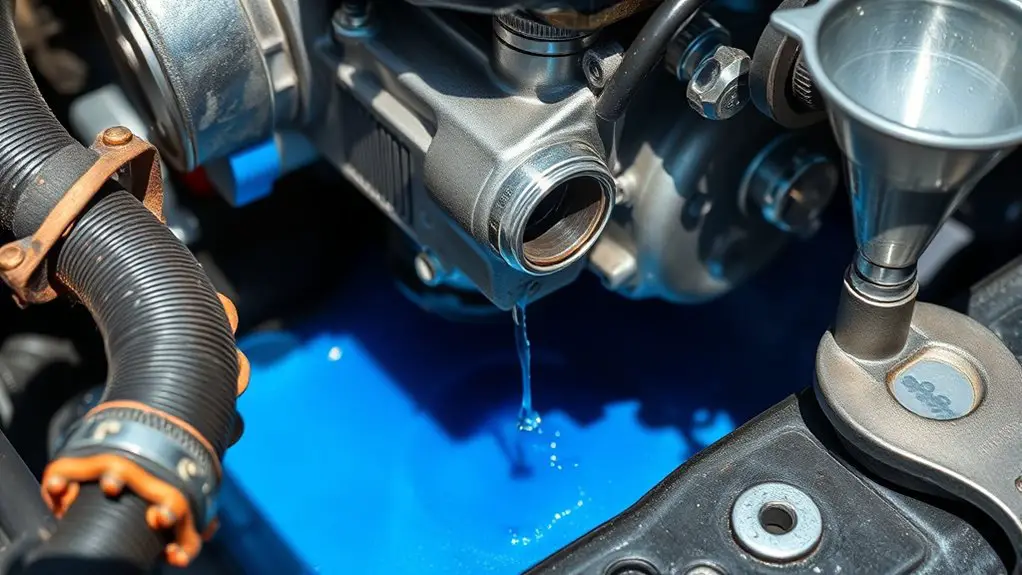
Leaking Water Pump
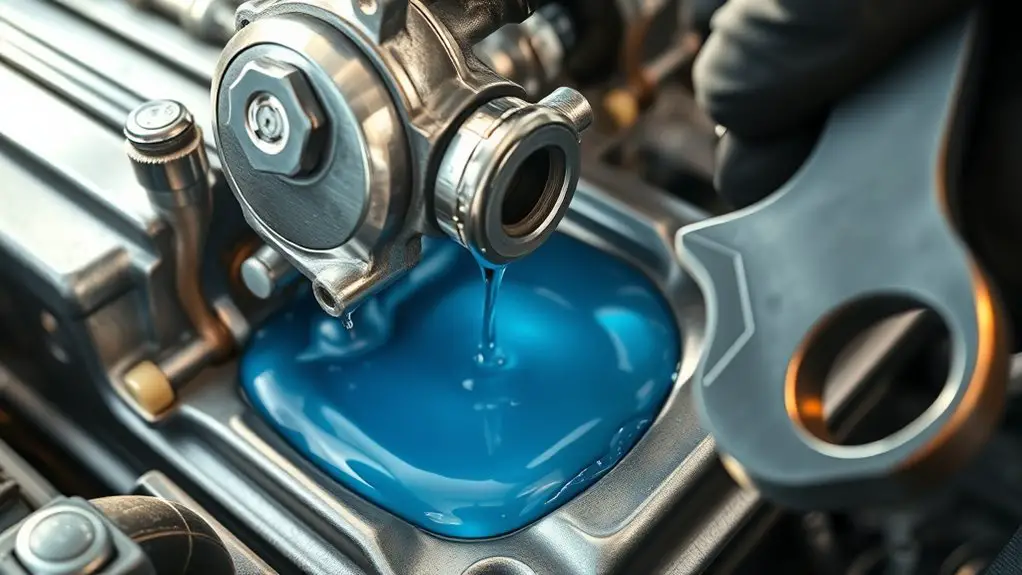
While you may not immediately notice it, a leaking water pump can lead to significant coolant loss and engine overheating. Regular water pump maintenance is essential for preventing leaks. If you spot coolant pooling under your vehicle or hear unusual noises, it might be time to inspect your water pump closely.
Here’s a quick reference table to help you identify signs of a leaking water pump:
| Symptoms | Possible Causes | Next Steps |
|---|---|---|
| Coolant puddles under car | Worn seals or gaskets | Check and replace seals |
| Overheating engine | Failed water pump | Consider coolant pump replacement |
| Unusual noises | Loose or corroded fittings | Tighten or replace fittings |
Addressing these issues promptly can save you from costly repairs and guarantee your engine runs efficiently. Always consult a professional if you’re unsure about your findings.
Blown Head Gasket
If coolant leaks are left unchecked, one potential culprit could be a blown head gasket, which often leads to severe engine damage. A blown gasket can result from overheating, improper installation, or age-related wear. You’ll notice blown gasket symptoms such as white smoke from the exhaust, loss of power, or coolant mixing with engine oil. These indicators are crucial; ignoring them can escalate the problem.
To troubleshoot, check your coolant levels and inspect for external leaks. A compression test can reveal internal leaks, while a chemical test can identify exhaust gases in the coolant. Additionally, monitor your engine temperature closely; excessive heat can exacerbate gasket failure. If you suspect a blown head gasket, it’s essential to address it immediately to prevent catastrophic engine failure. Repairing or replacing a blown gasket can be complex, but it’s necessary to restore your engine’s performance and guarantee your vehicle’s longevity.
Cracked Engine Block
If you notice coolant pooling under your vehicle or an unexplained drop in coolant levels, it could indicate a cracked engine block. Common signs include engine overheating, visible cracks, or white smoke from the exhaust. Understanding the available repair options is vital for addressing this serious issue effectively.
Signs of Cracks
When a coolant leak occurs, one potential culprit could be a cracked engine block, which often presents specific signs that alert you to the issue. You’ll want to perform regular coolant inspections to catch any problems early. Look for symptoms like a rising engine temperature, visible coolant puddles under the vehicle, or white exhaust smoke. These can indicate cracks in your engine block. For effective crack detection, monitoring these signs is essential.
| Sign of Crack | Description |
|---|---|
| Rising Temperature | Engine overheats during operation |
| Coolant Puddles | Fluid pooling under the vehicle |
| White Smoke | Smoke emitting from the exhaust |
| Bubbling Coolant | Bubbles in the coolant reservoir |
| Oil-Coolant Mix | Contaminated oil in the engine |
Repair Options Available
Although a cracked engine block can be a serious issue, several repair options are available to restore your vehicle’s functionality. First, you could consider using epoxy or sealants specifically designed for engine repairs; these can effectively seal minor cracks. For more severe damage, a complete engine rebuild might be necessary, which involves removing the engine, repairing the block, and reassembling. Alternatively, if the damage is irreparable, replacing the engine block with a new or refurbished one could be your best solution. Whichever route you take, it’s vital to employ proper troubleshooting techniques to identify the extent of the damage. Always consult a professional mechanic to guarantee the repair options chosen are suitable for your vehicle’s needs.
Damaged Heater Core
If you’re experiencing a sweet smell inside your vehicle or noticing wet spots on the passenger side floor, your heater core might be damaged. Common causes of heater core leaks include corrosion and physical impacts, which can lead to significant coolant loss. Understanding the symptoms and repair options for a faulty heater core is essential for maintaining your vehicle’s cooling system.
Symptoms of Heater Core Damage
How can you tell if your vehicle’s heater core is damaged? You’ll notice several heater core symptoms that indicate a problem. First, look for a sweet coolant odor inside the cabin; this can signal a coolant leak. Second, if your vehicle’s heater isn’t producing warm air as it should, that’s a major red flag. Third, check for foggy windows, which can occur when coolant leaks onto the windshield. Finally, puddles of coolant under your vehicle may indicate a failing heater core.
| Symptom | Description | Action Required |
|---|---|---|
| Coolant Odor | Sweet smell in cabin | Inspect heater core |
| No Warm Air | Heater fails to warm the cabin | Check coolant levels |
| Foggy Windows | Moisture accumulation on glass | Inspect for leaks |
| Puddles Under Car | Coolant leaks on the ground | Seek immediate repair |
Causes of Heater Core Leaks
When it comes to heater core leaks, several factors can lead to damage and subsequent coolant loss. The most common cause is corrosion, which can compromise the heater core’s functionality over time. This corrosion often results from the presence of contaminants in the coolant, disrupting proper coolant flow. Additionally, physical damage from road debris or improper installation can create leaks, allowing coolant to escape. Excessive pressure due to a malfunctioning radiator cap can also strain the heater core, leading to cracks. Finally, age and wear can weaken the core’s material, making it susceptible to leaks. Addressing these issues promptly can prevent further coolant loss and maintain ideal heating performance in your vehicle.
Repairing or Replacing Heater Core
Repairing or replacing a damaged heater core is crucial for maintaining your vehicle’s heating system and preventing further coolant leaks. You’ll have several repair options depending on the severity of the damage.
| Repair Options | Description |
|---|---|
| Sealant | Temporary fix for minor leaks. |
| Flush and Repair | Cleans out debris before patching. |
| Core Replacement | Complete replacement for severe damage. |
| Professional Service | Recommended for complex issues. |
| DIY Repair | For those comfortable with hands-on work. |
Evaluate your situation carefully. If the heater core’s integrity is compromised, consider opting for a complete replacement to guarantee reliable heating performance and avoid future coolant issues.
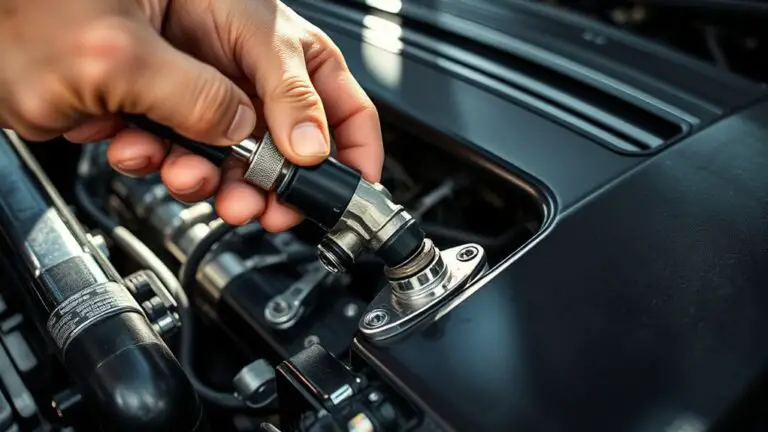
Loose or Damaged Radiator Cap
Although it may seem minor, a loose or damaged radiator cap can lead to significant coolant leaks and overheating issues in your vehicle. The radiator cap plays an essential role in maintaining pressure within the cooling system. When it’s not functioning correctly, your engine could face severe damage.
Here are some key points to take into account:
- A loose cap can cause coolant to boil over, leading to leaks.
- Cracks or wear on the cap can disrupt pressure regulation.
- Regular radiator maintenance helps identify potential cap issues early.
- If needed, cap replacement should be done promptly to avoid overheating.
Always inspect your radiator cap during routine checks. If you notice any signs of wear or find it’s not sealing properly, don’t hesitate to replace it. This small component can help guarantee your engine runs smoothly and efficiently, giving you the freedom to drive without worry.
Corroded or Rusted Components
Corroded or rusted components can greatly compromise your cooling system’s integrity, leading to coolant leaks. You’ll want to identify signs of corrosion, such as discoloration or pitting on metal surfaces, to address issues early. Implementing regular preventive maintenance, including inspections and fluid changes, can help mitigate corrosion and extend the lifespan of your vehicle’s components.
Identifying Corrosion Signs
When you’re inspecting your vehicle for potential coolant leaks, identifying corrosion signs on components is essential for maintaining ideal engine performance. Corrosion can lead to metal fatigue, weakening critical parts and causing leaks. Look for these indicators:
- Pitting: Small, localized holes on metal surfaces.
- Flaking: Loss of material or paint, revealing rust underneath.
- Discoloration: Unusual color changes, often indicating rust formation.
- Cracking: Visible fractures that compromise structural integrity.
Preventive Maintenance Tips
Regular maintenance is essential for preventing corrosion and rust on your vehicle’s components, as neglect can lead to costly repairs. To keep your engine in top shape, prioritize coolant maintenance by checking fluid levels regularly and replacing coolant as recommended by the manufacturer. Conduct preventive checks on hoses and clamps for wear, ensuring they’re secure and free from leaks. Inspect metal components for rust and treat any signs immediately to avoid further deterioration. Using high-quality coolant designed for your vehicle can help minimize corrosion. Additionally, consider flushing the cooling system periodically to remove deposits. Adopting these practices not only extends the life of your vehicle but also keeps you on the road without unexpected breakdowns.
Improperly Sealed Gaskets
Improperly sealed gaskets can lead to significant coolant leaks, compromising your engine’s performance and longevity. Gaskets are essential components that guarantee a tight seal between various engine parts. When they’re not sealed correctly, you might experience leaks that can cause overheating and costly repairs.
- Common gasket materials include rubber, cork, and metal.
- Sealing techniques vary, from adhesive application to torque specifications.
- Improper installation can lead to misalignment or inadequate compression.
- Regular inspections can help catch issues before they escalate.
To tackle gasket issues, always use high-quality materials specific to your vehicle’s requirements. Familiarize yourself with the proper sealing techniques, and pay attention to the installation process. If you’re unsure, consulting a professional can save you from potential damage. Remember, a well-sealed gasket not only prevents leaks but also contributes to the overall efficiency of your engine.
Evaporative Loss From Overflow Tank
Although it may seem minor, evaporative loss from the overflow tank can greatly contribute to coolant depletion in your engine. This issue often arises from poor overflow tank maintenance, leading to cracks or improperly sealed caps. Regular coolant reservoir inspection is essential to identify and address these problems promptly.
Here’s a quick reference table to help you understand the causes and solutions:
| Cause | Symptoms | Solution |
|---|---|---|
| Cracked Overflow Tank | Coolant low after refills | Replace tank |
| Loose Cap | Coolant odor, visible steam | Tighten or replace cap |
| High Temperatures | Overheating engine | Check for cooling system issues |
| Contaminated Coolant | Sludge in overflow tank | Flush and refill system |
Frequently Asked Questions
How Can I Detect Coolant Leaks Early?
To detect coolant leaks early, you should regularly inspect your vehicle for early signs like puddles under the engine or a sweet smell inside the cabin. Monitor your coolant levels frequently, and check hoses and connections for wear or cracks. Using a coolant detection dye can also help identify leaks. If you notice any of these symptoms, addressing them promptly can prevent more serious engine issues down the line.
What Are the Symptoms of a Coolant Leak?
When a coolant leak strikes, it’s like a whispering warning in your engine’s heart. You might notice coolant leak symptoms such as puddles under your vehicle or a sweet smell in the air. Pay attention to engine overheating signs—your temperature gauge may spike, indicating trouble brewing inside. If you hear gurgling noises or see steam, it’s time to act, lest you let your engine suffer from the heat of neglect.
Can I Drive With a Coolant Leak?
You shouldn’t drive with a coolant leak. Doing so can lead to severe engine damage due to overheating. Regular coolant maintenance is essential for peak performance, and ignoring a leak can compromise your vehicle’s reliability. To guarantee leak prevention, always check coolant levels and inspect hoses for wear. If you notice any signs of leaking, it’s best to address the issue immediately to maintain your freedom on the road without worry.
How Often Should I Check My Coolant Levels?
You should check your coolant levels at least once a month, and more frequently during seasonal changes. This regular coolant maintenance helps guarantee your engine runs smoothly and prevents overheating. During seasonal checks, inspect the coolant reservoir for proper levels and any signs of leaks. Keeping an eye on your coolant not only extends your vehicle’s lifespan but also gives you the freedom to drive confidently, knowing your engine’s protected.
What Coolant Types Are Compatible With My Vehicle?
To determine coolant compatibility for your vehicle, you need to consult your owner’s manual or vehicle specifications. Most manufacturers specify a particular coolant type, often based on chemical formulations like ethylene glycol or propylene glycol. Using the wrong coolant can lead to engine damage, so it’s vital to stick to what’s recommended. If you’re unsure, consider reaching out to a dealership or a trusted mechanic for guidance tailored to your specific model.