Top Causes of Fuse Box Draw and Long-Term Fixes
Common causes of fuse box draws include overloads from high-draw devices, short circuits, and ground faults, plus aging components and faulty or sticking breakers. You’ll want to map each circuit, label breakers, and monitor loads with wattmeters or smart plugs. Address loose connections and overheated outlets, replace aging parts, and plan for panel upgrades when limits are reached. For long-term safety, pursue professional assessments, proper wiring upgrades, and documented maintenance to prevent future faults; more details await.
Common Reasons for Fuse Box Draw Trips
Common reasons for a fuse box to trip include overloading circuits, short circuits, and ground faults. You’ll notice trips when demand exceeds available capacity, when a fault creates a low-impedance path, or when a neutral and hot are misconnected. Understanding fuse box functionality helps you pinpoint risk without panic. When a circuit trips, you restore balance by inspecting connected devices, noting that power flows through breakers to protect wiring. Power surges, though brief, can push a circuit beyond its design, triggering a shutdown to prevent damage. You should map circuits to outlets and appliances, labeling each breaker clearly, so you can operate with intent rather than guesswork. Maintain clean enclosures and avoid extension cords as permanent solutions. If a breaker repeatedly trips on a single circuit, treat it as a fault signal and investigate downstream loads first, then assess the panel’s health. Your goal is safe, reliable power with deliberate, minimal interruptions.
Overloaded Circuits: How They Happen and How to Prevent Them
Overloaded circuits happen when more devices draw power than a single circuit can safely carry, causing the breaker to trip or the wiring to overheat. You prevent this by understanding circuit capacity and monitoring electrical load before adding appliances. Start with a diagram of your outlets, branch circuits, and available amperage, then compare real usage to the circuit’s rated capacity. High-draw items—space heaters, air conditioners, and heaters—should be grouped on dedicated circuits or spread across multiple circuits to maintain a balanced load. Use a wattmeter or smart plug to quantify ongoing demand and identify phantom loads that quietly consume power. Regularly inspect for signs of stress, such as warm outlet boxes or dimming lights during startup. Establish clear limits on continuous loads, avoid daisy-chaining adapters, and consider upgrading service or adding circuits if your electrical load consistently nears capacity. This disciplined approach reduces nuisance trips and promotes safer, freer operation.
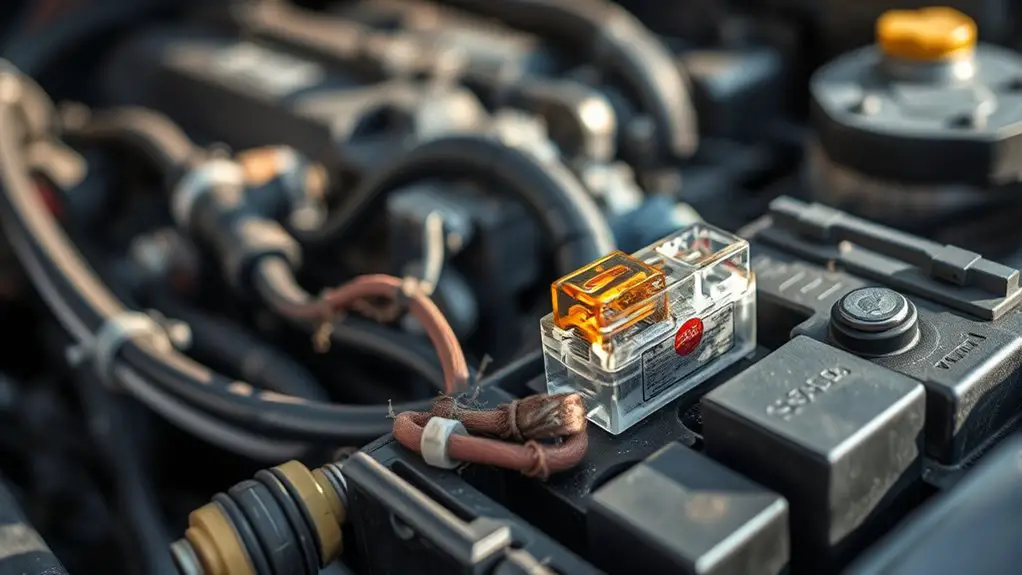
Loose Connections and Their Impact on Safety
You should inspect fuse box connections for loose terminals, as these pose immediate risk to circuit integrity. Heat generation, accelerated wear, and arcing can result from looseness, so you must tighten and reseat affected links to maintain safe operation. Follow a methodical inspection and tightening routine, documenting findings and corrective actions for each connection point.
Loose Terminals Risks
Loose terminals create heat and arcing, compromising both insulation and connection integrity. You’ll find risks rise when terminations aren’t seated, screws loosen, or conductors are damaged. Common causes include overloading circuits, vibration, corrosion, and improper torque during installation. As these faults develop, resistance climbs, heat builds, and arcing can occur at the terminal face, threatening insulation and surrounding components. Regular inspection targets loose hardware, discoloration, and signs of oxidation to prevent sudden faults. Terminal maintenance should follow a disciplined routine: inspect, clean contacts, retorque to manufacturer specs, and replace worn lugs or damaged conductors. Document findings, correct wiring configurations, and test continuity after any adjustment. By staying proactive, you reduce fuse box draw risks without sacrificing your sense of independence.
Heat and Wear Effects
Heat and wear from loose connections accelerate insulation degradation and raise arc-fault risk, especially where conductors are hot, discolored, or show signs of insulation margin loss. You’ll notice thermal expansion stressing contact points as heat cycles occur, gradually loosening terminals and loosening clamps. This mechanical drift increases resistance, elevating local heating and promoting insulation breakdown over time. The result is subtle performance decline, potential arcing, and heightened fire risk in a panel you rely on for safety. You should monitor for abnormal warmth, buzzing, or discoloration, and track any changes in terminal torque. Long-term reliability hinges on addressing the root cause: secure, clean connections, compatible components, and materials resistant to wear, so insulation stays intact and system safety remains intact.
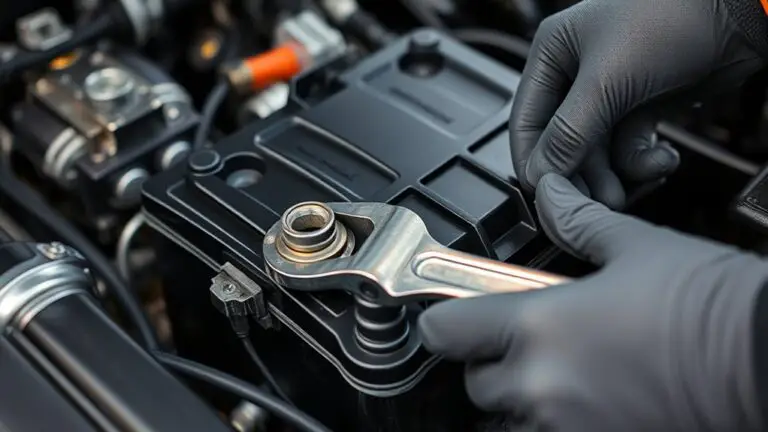
Inspection and Tightening Steps
Inspection and tightening steps begin with identifying signs of looseness and evaluating component torque to establish a safe baseline. You methodically inspect outlets, lugs, and breakers for corrosion, discoloration, or arcing indicators, then verify connections are mechanically firm. Record torque targets from manufacturer specifications and compare them to measured values, adjusting only with appropriate tools. Prioritize critical conductors, ensuring seals and enclosures remain intact to prevent moisture ingress. When tightening, apply steady, even torque to avoid thread damage or overcompression. Confirm fuse ratings align with circuit loads and device ratings, and recheck after any load changes or servicing. Document results, including loosened fasteners, torque values, and any abnormal readings. This disciplined approach reduces heat buildup, mitigates intermittent draws, and sustains safe, flexible operation under diverse electrical demands.
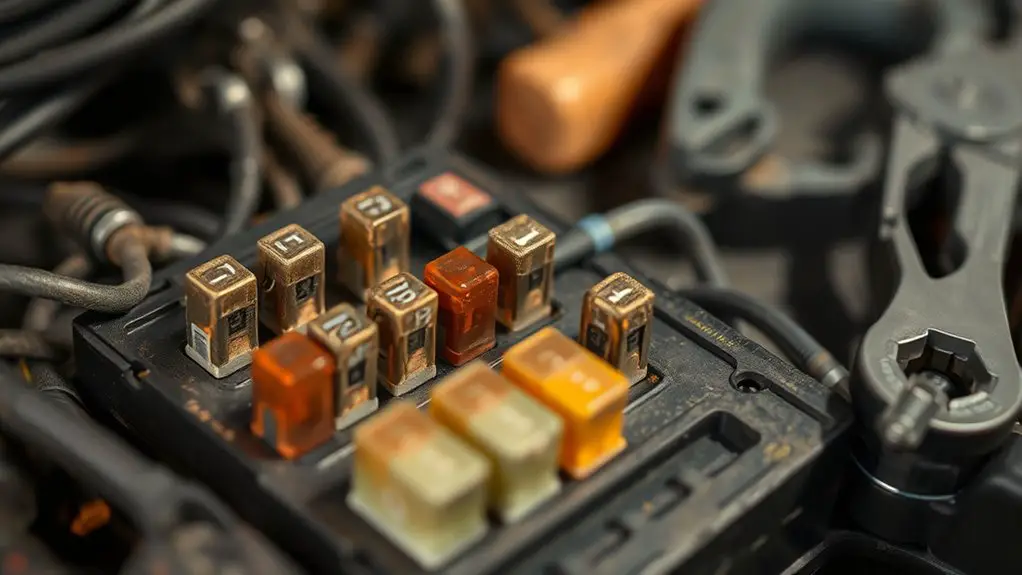
Aging Electrical Components: When to Replace
Aging electrical components can degrade performance and safety, so you should recognize signs like frequent tripping, scorching smells, or swollen or discolored parts that indicate weakening. Establish a safe replacement timeline by evaluating component age, load history, and maintenance records, then plan preemptive swaps before failure risks escalate. This discussion centers on recognizing aging parts warnings and determining safe replacement timing to minimize fuse box draw hazards.
Aging Parts Warnings
As electrical components age, warning signs emerge that can indicate impending failure or hazardous conditions; recognizing them early helps prevent outages and safety risks. You’ll notice warmer surfaces, dimmer lights, and intermittent tripping, all signaling fuse degradation and stressed connections. Material embrittlement, discoloration, or a burnt odor indicate lubricant or insulation breakdown, shortening component lifespan. Do not ignore buzzing, crackling, or sparking at panels, which warrant immediate inspection. Regular visual checks and heat testing help quantify risk and guide replacement timing within your maintenance plan. Prioritize critical circuits and document each finding to track trends. Maintain a conservative threshold: replace when warning signs exceed expected aging. Use the table below to summarize observations and actions.
| Symptom | Likely Cause | Recommended Action |
|---|---|---|
| Warm surface | Fuse degradation | Monitor; schedule replacement |
| Intermittent | Loose connections | Tighten or re-seat components |
| Odor/burnt | Insulation damage | Replace affected parts |
| Noise/pops | Arcing | Immediate shutdown and replacement |
Safe Replacement Timing
Safe replacement timing hinges on objective, measurable indicators rather than guesses. You’ll align decisions with observed, verifiable data about fuse lifespan and system integrity to define a practical replacement schedule.
- Monitor for signs of increased nuisance trips or thermal discoloration around fuse blocks.
- Track insulation degradation, corrosion, or loosened connections during inspections.
- Record arc-fault indicators or abnormal resistance changes in circuit paths.
- Schedule replacements when preventive metrics exceed manufacturer or code-based thresholds.
This approach preserves safety and reliability without unnecessary downtime. You aim for a disciplined cadence, not reactive fixes, and you’ll document findings to justify the replacement schedule. By treating aging components as measurable assets, you maintain performance while reducing risk of unexpected outages and fire hazards.
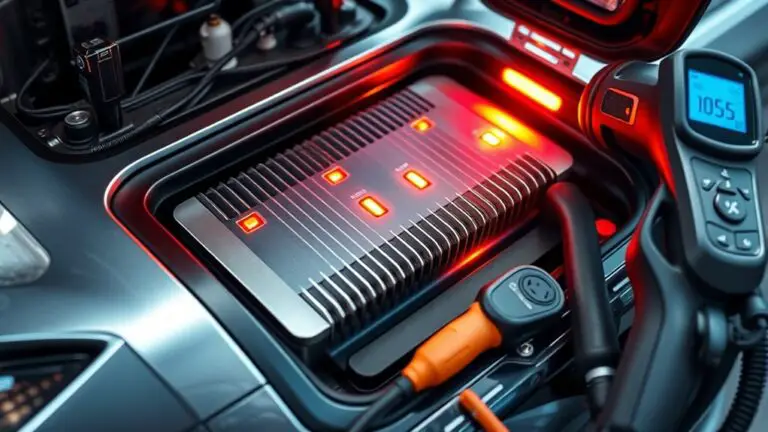
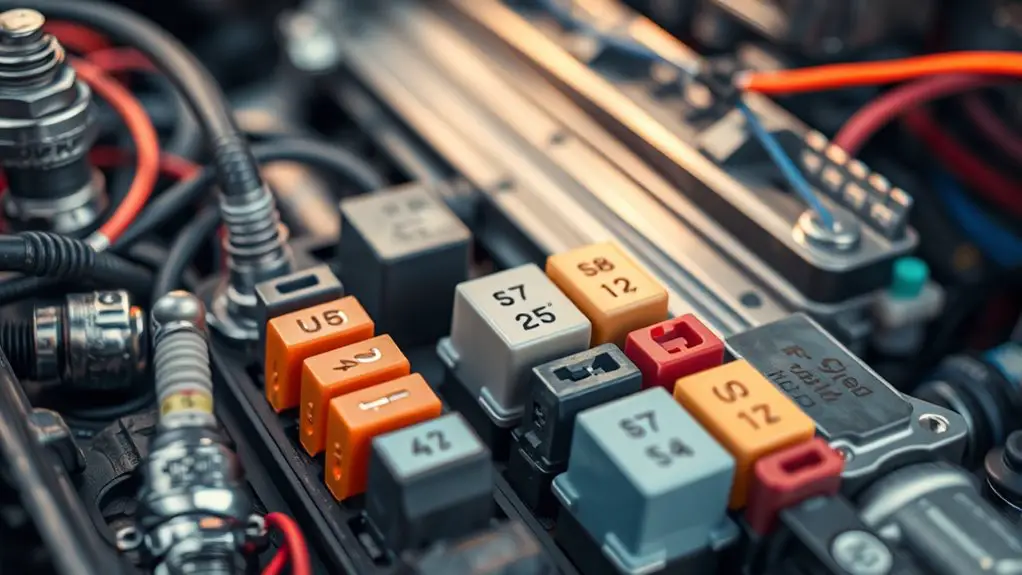
Faulty or Sticking Breakers: Signs and Solutions
Faulty or sticking breakers manifest as intermittent trips, repeated nuisance trips, or a breaker that feels warm to the touch. You’ll notice signs that point to an internal contact or coil problem, not a failed appliance. Begin with systematic observation: note which circuits trip, under what load, and whether trips occur with startup surges or light use. Conduct safe, non-invasive checks—verify panel labeling, tighten accessible screws within torque specifications, and inspect for corrosion or bent terminals. If a breaker feels warm after load, power down and replace it rather than attempt a reset. Document patterns to aid professional assessment. For preventive control, perform routine breaker maintenance tips, including periodic insulation checks and clean terminal contacts to maintain reliable contact pressure. When identifying breaker issues, compare symptoms against your panel’s history and manufacturer guidance. Do not bypass protection; replace defective units promptly and test after reassembly to confirm stable operation and freedom from nuisance trips.
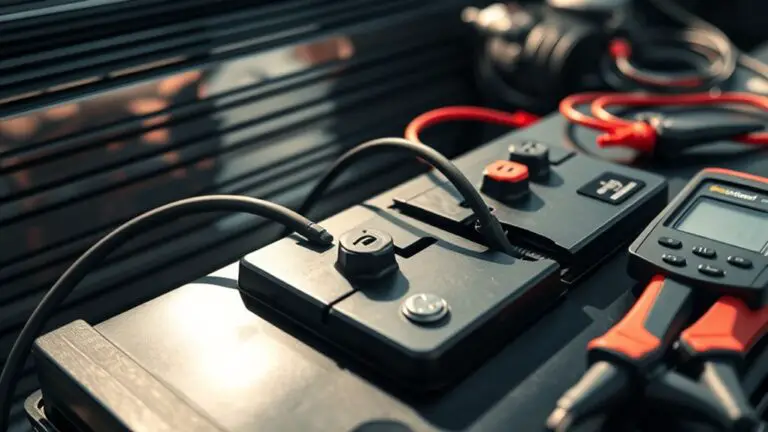
Electrical Sparks and Hot Panels: Immediate Actions
Electrical sparks and hot panels demand immediate, methodical action. You’re evaluating danger, not symptoms, so you act with precision and calm. Prioritize safety, then containment, then prevention through documented steps. Focus on spark detection and panel maintenance to avert fire risk and equipment damage.
Electrical sparks and hot panels demand calm, precise action—prioritize safety, containment, and documented prevention.
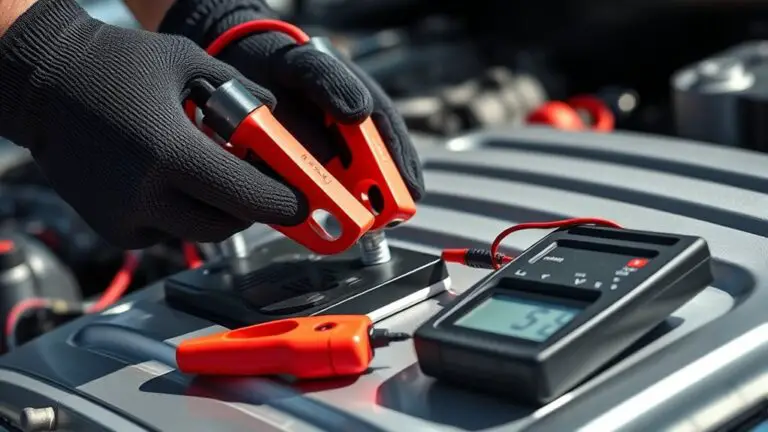
- Power down the affected circuit if safe to do so, then isolate the panel and wear PPE before inspection.
- Visually inspect for melted insulation, arcing marks, or scorch odors; document findings and avoid touching energized components.
- Perform non-contact checks, note any abnormal heat sources, and schedule professional service for a thorough test and cleaning.
- Implement a temporary shutdown protocol if fault indicators persist, and update maintenance logs with time, location, and observed signs.
Trust your evaluation, not assumptions. Immediate actions reduce exposure, framing long-term fixes. Seek professional evaluation for robust spark detection and panel maintenance strategies.
Hidden Wiring Issues: Tracing Complex Faults
Hidden wiring issues can quietly undermine system reliability, so tracing complex faults demands a methodical, evidence-driven approach. You’ll isolate symptoms, not assume causes, by mapping circuits, loads, and timing. Begin with a structured inventory: panel labels, breaker ratings, and breaker trips tied to specific loads. Next, perform wiring diagnostics with a multimeter, infrared camera, and clamp meter to detect loose connections, corrosion, or intermittent contact. Look for hidden connections at junctions, splices, and back-stabged terminals, then assess insulation integrity and hidden damage behind walls or enclosures. Document every anomaly, logs showing voltage drop, or sustained heat patterns. Use a process of elimination: isolate suspected branches, then re-test under representative loads. Maintain clarity with conservative fixes: tighten, reseal, or replace components only after confirming fault loci. Finally, verify continuity and polarity, re-energize circuits, and monitor for residual heat. This disciplined approach minimizes risk and supports durable, reliable performance.
Grounding and Bonding: Why It Matters for Trips
Grounding and bonding are essential for guaranteeing safety and reliable trips: they create a defined path for fault currents and help makeup the reference potential so breakers trip predictably. You’ll implement straightforward grounding techniques and robust bonding methods to minimize shock risk and nuisance trips while maintaining system integrity.
Grounding and bonding guide safe, reliable trips through solid connections and clear fault paths.
1) Verify grounding electrode system continuity and impedance, guaranteeing a low-resistance path to earth.
2) Inspect bonding connections across metallic enclosures, subpanels, and exposed conductive parts for corrosion-free integrity.
3) Confirm proper neutral-to-ground bonding only at the main service disconnect to avoid circulating currents.
4) Document conductor sizing, color coding, and clear labeling to support predictable fault clearing and future maintenance.
Precision matters: maintain clean joints, secure clamps, and compliant terminations. You’ll reduce arcing potential and guarantee fault currents reach the trip threshold quickly. This approach supports reliable operation without compromising freedom to upgrade or modify your setup later.
Appliance Load Management: Smart Practices
Smart appliance load management starts with a clear, data-driven approach to allocation and sequencing. You map peak demand by reviewing circuit-level loads, then prioritize essential devices and stagger nonessential draw. Use a baseline inventory: name, amperage, startup surge, and typical runtime. With that data, design a load-shedding plan that preserves critical circuits while maintaining comfort and safety. Implement smart scheduling where possible—dishwashers, motors, and heating elements should run off-peak or after startup surges subside. Document constraints, such as maximum continuous load per circuit, and enforce guardrails to prevent overloads. Regularly assess appliance efficiency and adjust sequencing as devices age or usage patterns shift. This disciplined approach supports energy conservation without sacrificing reliability. You’ll achieve smoother operation, reduced nuisance trips, and better insight into electrical behavior. Informed decisions promote appliance efficiency and empower you to balance convenience with responsible energy use.
Long-Term Fixes: Upgrading Panels and Professional Help
Upgrading your electrical panel is a long-term fix that can handle higher loads safely and reliably. You should hire a qualified electrician to assess panel condition, compatibility, and any required service upgrades. This approach enhances overall system safety by addressing capacity limits, breaker quality, and proper enclosure installation.
Upgrading Electrical Panels
Upgrading an electrical panel is a long-term fix that guarantees your home can safely handle increased electrical demand and reduces the risk of nuisance trips and fires. You’ll approach this upgrade methodically, focusing on capacity and reliable protection. Plan around panel capacity and confirm current load calculations guide the upgrade. The result: clearer headroom for future circuits and safer operation.
- Assess existing loads to quantify demand
- Choose a panel with appropriate capacity and compatible circuit breakers
- Verify feeder size and grounding meets code standards
- Install with a focus on clean labeling and accessibility
This upgrade enables sustainable freedom: power where you need it, when you need it, with dependable protection.
Hire Qualified Electrician
Hiring a qualified electrician is essential for safely implementing long-term fixes, including panel upgrades and professional help. You’ll gain reliable electrical safety and precise circuit maintenance, reducing risk from improper work. A licensed pro assesses load demands, routes, and grounding with documented checks, ensuring code compliance and predictable performance. By delegating, you preserve system integrity while planning future expansions.
| Item | Benefit | Result |
|---|---|---|
| Assessment | Codes met | Safety baseline |
| Upgrades | Proper wiring | Capacity growth |
| Testing | Fault detection | Reliable operation |
With this approach, you maintain freedom to focus on design and function, knowing critical tasks are executed to standard. Ask for certifications, written warranties, and post-work follow-up. Prioritize transparent estimates and safety records over speed. Remember: electrical safety, circuit maintenance.
Long-Term System Safety
If you’re aiming for lasting safety, start with a structured plan: assess current load, identify panel limitations, and outline upgrades with professional input. To maintain long-term system safety, you’ll align work with safety standards and implement dependable changes that support future demand. Focused steps guarantee reliable operation and reduced risk of faults.
- Assess load patterns and peak demand to determine capacity needs
- Document panel condition, clearances, and compatibility with upgrades
- Plan panel upgrades or subpanel additions to meet safety standards
- Engage licensed electricians for install, testing, and commissioning
Frequently Asked Questions
Can Fuse Box Trips Indicate a Whole-House Electrical Problem?
Yes, fuse box trips can signal broader electrical issues. You might be experiencing overloaded circuits, wiring faults, or a failing panel, all pointing to potential electrical issues beyond a single outlet. You should investigate amperage loads, circuit distribution, and the main service entry. If trips recur, don’t bypass safeguards—call a licensed electrician to diagnose, test grounding, and verify panel health before proceeding with repairs or upgrades. Safety, reliability, and code compliance depend on it.
How Do I Know if a Panel Upgrade Is Required?
You’ll know a panel upgrade is needed when your panel can’t safely handle your load or you’ve tripped breakers repeatedly, and you notice aging or corrosion. Check panel capacity against current and planned additions; if it’s undersized, upgrade is advisable. Prioritize electrical safety by consulting a licensed electrician who can assess service entrance capacity, conductor sizes, and main breaker ratings. A proper upgrade improves reliability, minimizes nuisance trips, and aligns with modern electrical safety standards.
Are Surge Protectors Enough to Protect Circuits?
Surge protectors alone aren’t enough for full circuit protection; study shows devices fail ~1 in 10 surges. You should view surge protector effectiveness as one layer in a multi-step strategy. For robust circuit protection methods, use whole-panel protection, proper grounding, and per-circuit breakers. You’ll combine devices with correct electrical service, regular testing, and adherence to code. Rely on a methodical approach to reduce nuisance trips, fires, and equipment damage.
What Maintenance Should I Perform Annually?
You should perform an annual fuse inspection and circuit testing. Start by visually inspecting the panel for corrosion, loose connections, and signs of overheating. Tighten terminations to manufacturer specs, and replace any damaged fuses or breakers. Test circuits with a multimeter, verify grounding, and confirm the service panel is clean and accessible. Document findings, schedule repairs for any abnormalities, and guarantee it remains up to code. Regular maintenance sustains safety and reliable operation.
How Long Does a Panel Replacement Typically Take?
A panel replacement runs typically 1 to 2 days, depending on work scope and access. You’ll prepare the space, shut off service, and verify continuity with meter checks. You’ll install the new panel, transfer circuits, and test all connections for proper torque and labeling. This is about electrical safety and precision. You should expect inspections and potential permit steps. You’ll need a licensed pro for panel installation and to guarantee ongoing electrical safety.