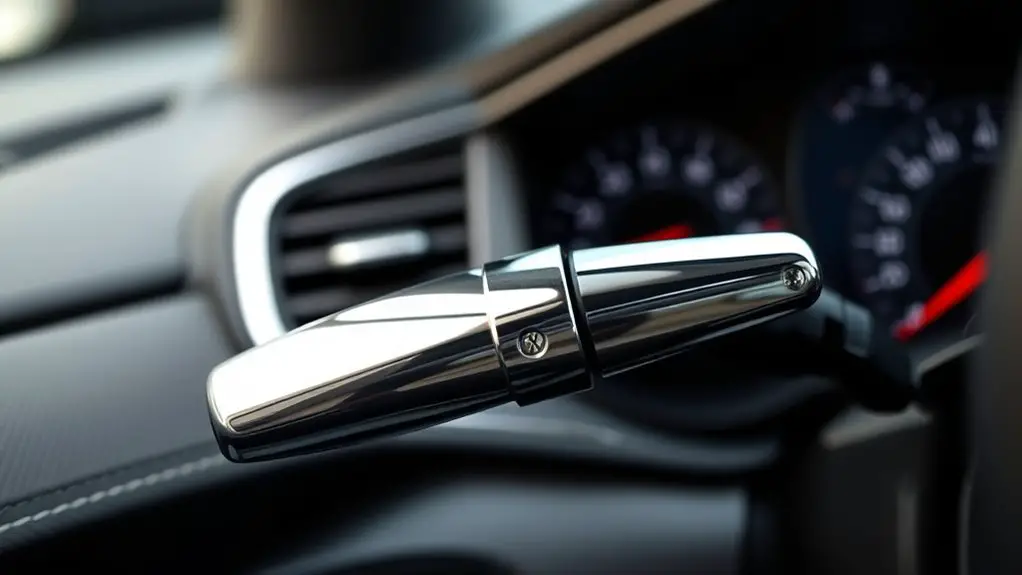
Upgrading Old Parking Brake Lever to Improve Reliability and Reduce Dashboard Heater Vents Blocked
Upgrading your aging parking brake lever can boost reliability and help keep dashboard heater vents clear. Start by checking for stiffness, excess play, or strange noises, then confirm compatibility with your vehicle’s mounting points and cable routing. Choose a higher-quality lever and linkage to reduce play and improve feel, then adjust tension in small increments. After installation, test smooth engagement and consistent return. If you keep tuning, you’ll gain steadier operation and steadier cabin airflow benefits, with more to discover.
Signs Your Parking Brake Lever Is Aging

If your parking brake lever feels stiff or returns slowly after you engage it, that’s a telltale sign it’s aging. You’ll notice resistance during pull and a firmer, less responsive engagement when you apply it. These cues point to worn components and stretched cables, rather than a simple misalignment. Performance indicators include a lever that sits higher than normal or one that won’t hold the vehicle on an incline consistently. You may also hear creaks or grinding as internal parts rub against each other. Check for excessive play when you test the lever—if you can move it several inches without meaningful engagement, it’s time to inspect. Don’t overlook reduced braking effectiveness or uneven parking behavior, which suggest the system isn’t locking as reliably as it should. Addressing the issue early keeps maintenance simple, predictable, and aligned with your freedom to drive confidently.
Why Upgrading Can Boost Reliability and Comfort
Upgrading your parking brake setup directly addresses the wear you’ve felt and translates into steadier, more predictable performance. By selecting a higher-quality lever and linkage, you reduce play, minimize slack, and improve tactile feedback during engagements. This translates into lever performance that feels purposeful rather than vague, so you can trust the system under load and at unexpected angles. The upgrade also supports comfort enhancement, since smoother operation lowers driver distraction and reduces the need to wrestle with the lever in tight spaces. You’ll experience quieter, more confident releases, especially in cooler weather when tired components tend to stiffen. Overall reliability improves as components resist looseness and corrosion longer, preserving your in-vehicle workflow and safety-critical timing. Plan iterations with consistent mounting and return spring behavior to maintain predictable travel and bite.
- Improved lever performance through tighter tolerances
- Smoother engagement for comfort enhancement
- Longer-term reliability with corrosion resistance
Assessing Compatibility With Your Vehicle

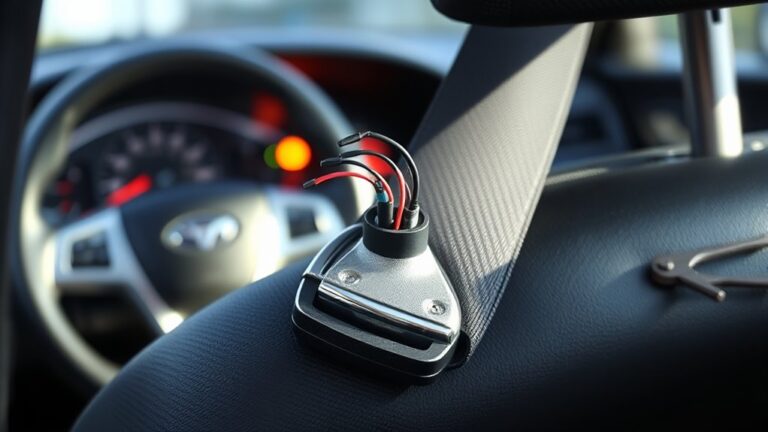
How do you guarantee your upgraded parking brake lever fits and works as intended? Begin by identifying compatibility factors for your setup. Check your vehicle models’ original lever mounting points, travel distance, and actuation feel to determine if the new lever can replicate or improve the same behavior. Compare mounting hardware, lever length, and cable routing with the factory configuration to avoid interference with surrounding components, dashboard vents, or console trim. Confirm the cable diameter, latch mechanism, and release spring tension align with the lever’s design specs. Review braking system type, pedal-to-lever ratio, and any electronic integration if present in your vehicle models. Consult the manufacturer’s compatibility notes and seek feedback from owners with similar configurations. Finally, verify any required sensor or switch positions won’t trigger warning codes. Document a test plan and record results to guarantee reliable, repeatable operation.
Tools and Materials You’ll Need
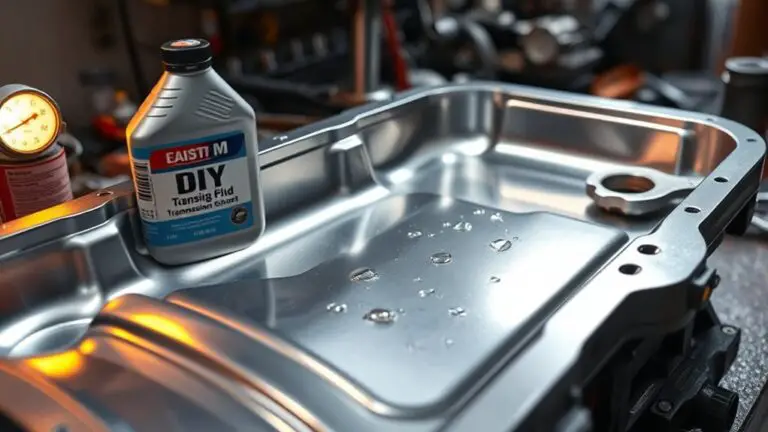
To equip yourself for upgrading the parking brake lever, gather all essential tools and materials ahead of time. You’ll want a small socket set, trimmed to the fasteners you’ll encounter, plus a thread locker and a mat to protect surfaces. Have a pry tool and small pliers ready for discreet clips, and a flashlight to illuminate tight spots. Choose the right lever types for your model, and verify compatibility before you begin. Gather installation tips from manuals or reputable guides to avoid surprises. Keep clean rags handy and a container to hold screws so nothing gets lost. The aim is a solid, reliable toggle that doesn’t crowd the heater vents or rattle.
- Tools that fit your fasteners and space
- Clean workspace and organized fasteners
- Reference installation tips for your lever types
Step-by-Step: Replacing the Parking Brake Lever
You’ll start with a clear replacement procedure overview and the exact steps to follow, so you know what to expect before you touch anything. Gather the right tools and observe safety precautions to prevent damage or injury, then proceed with each step in order and verify each connection as you go. This section sets the groundwork for a safe, efficient swap, highlighting essential actions and any precautions you must take.
Replacement Procedure Overview
Replacing a parking brake lever is a straightforward, step-by-step process you can follow with basic tools. You’ll verify fit, align components, and confirm operation before finishing. Focus on clean joints, proper torque, and clearances to guarantee reliable engagement. Throughout, consider lever materials and installation techniques to optimize feel and longevity. Plan your approach, then proceed with measured, deliberate steps to avoid rework. Keep components organized and test the lever’s return and hold before reassembly.
- Emphasize clean mating surfaces and correct fastener torque
- Prioritize compatible lever materials and proven installation techniques
- Verify full range of motion and parking brake engagement after assembly
Tools and Safety Precautions
Before you begin, gather the required tools and set safety controls to minimize risk. You’ll work with the parking brake components, fasteners, and wiring, so choose tools that fit snugly and won’t slip. Safety gear matters: wear eye protection, gloves, and a dust mask if you’ll create debris or brake dust. Clear the area and disconnect the battery to avoid shorts. Tool selection should emphasize quality over quantity; use metric sockets, wrenches, a pry tool, torque wrench, and pliers calibrated for precision. Keep a magnetic tray for small parts and a container for fasteners. Follow the manual’s torque specs, keep the workspace dry, and never force fittings. Label connectors, document steps, and test the lever’s travel before reassembly.
Adjusting Tension for Smooth Engagement
To guarantee smooth engagement, start by checking the cable tension and lever travel, then adjust only enough to remove play without causing binding. You’re aiming for steady activation without jerky release, so make small, measured turns and test after each tweak. If the lever feels loose, tighten in tiny increments and recheck travel. If binding occurs, back off slightly and confirm the lever reaches full throw without snagging on housing or firewall. Document each adjustment so you can reproduce the exact feel later. Prioritize engagement smoothness over raw tension; too much tension causes stiff action and early wear, while too little invites slip or ineffective parking. Keep the system clean and dry during adjustment to avoid creep from debris. Your goal is reliable holding with predictable release, not brute force.
- Fine-tune in small steps and verify after each change
- Favor consistent lever travel over aggressive tension
- Recheck linkage alignment to prevent binding
Testing Performance and Safety After Upgrade
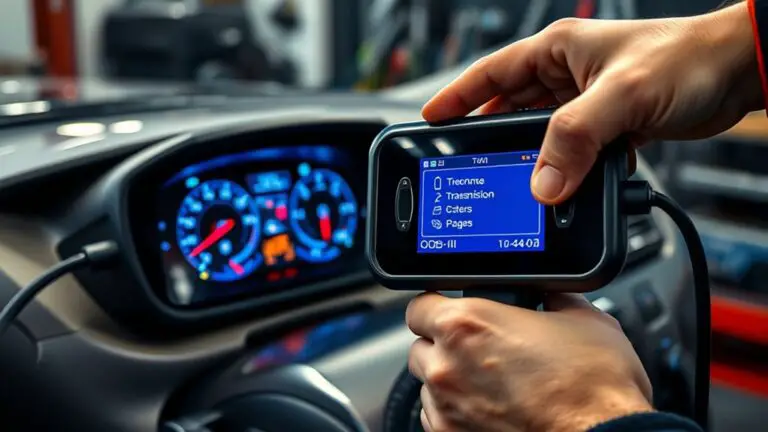
After upgrading the parking brake lever, you’ll want a controlled test plan to verify performance and safety. You’ll establish objective criteria before tests, then run repeatable procedures to minimize variability. Start with documented performance metrics: engagement force, holding power, pedal travel, and release timing. Use calibrated gauges and a stopwatch to capture repeatable data across three trials per condition. Compare results against OEM benchmarks and your upgrade goals, noting any deviations and feasible adjustments. For safety standards, inspect components for cracks, looseness, and excessive play after each cycle, and verify full system isolation when engaged. Conduct brake-light and interlock checks to guarantee no unintended release occurs under load. Document environmental conditions, load levels, and test durations for traceability. Analyze data trend lines to identify improvements and any regression. Conclude with a concise verdict on reliability gains and any residual risks, guiding future maintenance or further refinements.
Preventive Tips to Extend Lever Lifespan
Regular inspection and proactive upkeep are key to extending the lever’s life, especially under frequent use. You’ll reduce wear by scheduling simple checks, cleaning junctions, and applying targeted care. Focus on preventive maintenance to catch corrosion, looseness, and misalignment before they escalate. Use a clean, dry cloth to remove dust, and inspect the pivot joint for smooth action. If stiffness appears, apply a light lubricant to the lever pivot—avoid over-greasing, which attracts grit. Validate return spring tension and guarantee the lever doesn’t bind during travel. Document findings and timing to build a durable habit you can trust.
- Prioritize regular pivot lubrication and wipe-downs to maintain smooth motion
- Check attachment points and springs for wear, replacing as needed
- Maintain a simple log of inspections and any adjustments for consistent performance
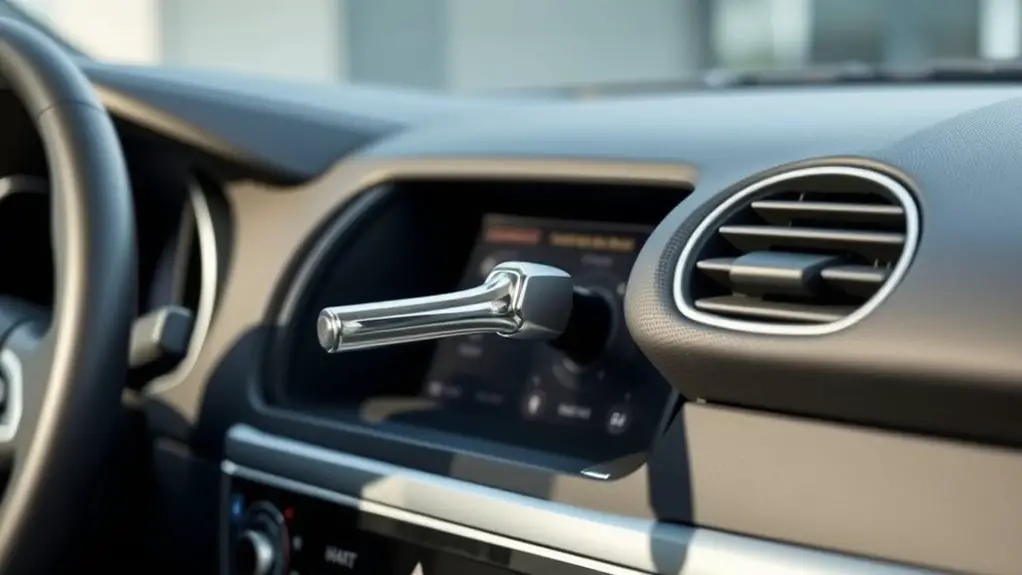
Real-World Benefits: Cabin Comfort and Vent Flow Preservation
When the parking brake lever remains well-tuned, cabin comfort improves because you don’t fight resistance or misalignment during use, and vent flow stays consistent for a steady climate. Real-world benefits show up as steadier cabin airflow, especially on long drives when you rely on the system to distribute heat or cooling evenly. With a reliable lever, you avoid premature wear on dash vents and reduce the need to compensate with the climate controls, boosting comfort enhancement overall. You’ll notice fewer drafts at shoulder level and a more predictable temperature gradient, since vent blocks are less likely to form from lever-induced vibrations. The result is calmer, more controlled airflow that supports focus and enjoyment. In practical terms, this means fewer adjustments, less noise, and a simpler path to sustained comfort, empowering you to ride with greater freedom. cabin airflow, comfort enhancement.
Frequently Asked Questions
Will an Upgraded Lever Affect Warranty Coverage?
You’ll want to know that an upgraded lever can affect warranty coverage. Warranty implications depend on your manufacturer and whether the modification voids or limits support. If you install a non-recommended, aftermarket lever, coverage limitations may apply, especially for related systems. To stay protected, document the part and installation, and maintain receipts. Check your warranty terms, and consult the dealer or manufacturer for specifics on coverage implications before proceeding.
Can This Upgrade Affect Your Vehicle’s HVAC Efficiency?
Yes, this upgrade can affect HVAC efficiency, but only modestly and mainly during installation. When you perform lever installation, you might momentarily disrupt airflow paths, causing brief airflow changes. If done cleanly, the hvac airflow remains stable and restores quickly. The key is precise mounting and avoiding obstructions near ducts. Expect minor gains if the lever frees up space that was previously blocked; otherwise, effects are negligible. Focus on proper alignment and testing before sealing.
Is OEM Replacement Preferred Over Aftermarket Levers?
OEM replacement is preferable. You’ll gain consistency, fit, and long-term reliability, reducing maintenance surprises. OEM advantages include precise tolerances and guaranteed compatibility, while aftermarket drawbacks can include variable quality and inconsistent performance. You’ll avoid compatibility guesswork and potential warranty issues. By choosing OEM, you preserve system integration and steering where needed, keeping your HVAC unobstructed and dependable. If you value freedom and reliability, go OEM and skip the aftermarket compromises.
How Long Does the Upgrade Typically Take?
“Time is money.” You’ll typically see a straightforward installation time of about 1–2 hours, depending on your setup. The upgrade complexity stays moderate: remove the old lever, attach the new one, and test for proper engagement. You’ll want basic hand tools and a clean workspace. If you pace yourself, you’ll minimize vibe issues and dashboard squeaks. Stay methodical, double-check fasteners, and you’ll preserve freedom while ensuring reliable operation.
Are There Risks of Triggering Airbag or Sensor Issues?
Yes, there are risks of triggering airbag or sensor issues if you don’t follow procedures precisely. You should plan for careful sensor calibration after installation and verify correct airbag deployment signals before road use. Use OEM specs, avoid forcing components, and test in a controlled environment. If any anomaly appears, halt and recheck connections. Document steps, keep fault codes clear, and consult a professional for final verification to guarantee safe operation.