Common Mistakes When Replacing Drum
When replacing drum brakes, don’t ignore manufacturer specifications, as this could lead to misalignment and safety risks. Always inspect other brake components for wear and leaks, and choose compatible parts to guarantee peak performance. Neglecting proper cleaning, skipping brake adjustments, or using incorrect torque settings can also compromise functionality. Confirm lubrication is applied where needed and test the brakes after installation. Addressing these common mistakes will enhance safety, and there’s more to explore on this topic.
Ignoring Manufacturer Specifications

When you replace a drum, it’s vital not to ignore the manufacturer specifications, as doing so can lead to improper fit and performance issues. Manufacturer guidelines are designed to guarantee peak braking performance and safety. You need to pay close attention to the specified dimensions, materials, and design features. If you deviate from these specifications, you risk creating a misalignment that could compromise the entire braking system.
Specification adherence also affects the lifespan of your new drum; using incompatible parts can lead to premature wear and costly repairs. It’s important to consult your vehicle’s manual or a trusted source for the exact specifications before purchasing replacement parts. By following these guidelines, you empower yourself with the knowledge to make informed decisions, maintaining both your vehicle’s reliability and your freedom on the road. So, always prioritize manufacturer recommendations to guarantee a successful drum replacement.
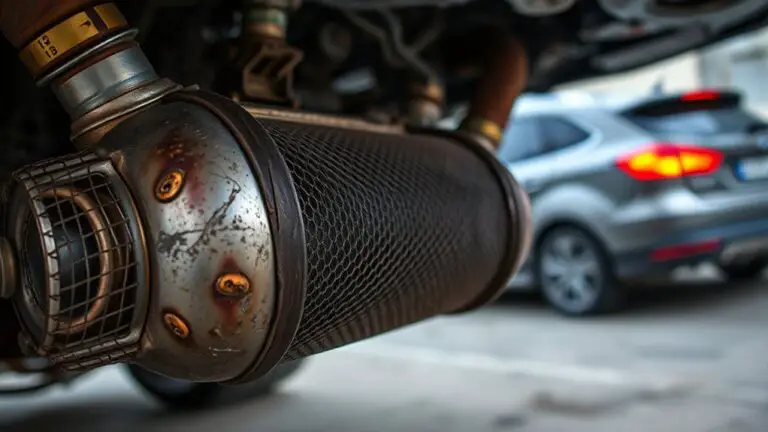
Failing to Inspect Other Brake Components
When replacing drum brakes, you shouldn’t overlook the condition of the brake shoes and the wheel cylinder. Inspecting these components is essential, as worn shoes or a leaking cylinder can compromise braking performance. Additionally, always assess whether you need to replace any hardware to guarantee a complete and effective repair.
Brake Shoes Condition
Inspecting the condition of brake shoes is vital when replacing drum brakes, yet many overlook the importance of examining other brake components. Start by evaluating the brake shoe materials; they should be intact and free of cracks or excessive wear. Look for shoe wear patterns as they can indicate issues with alignment or the drum itself. Uneven wear suggests that the shoes aren’t making proper contact, which can lead to decreased braking efficiency. If you notice abnormal wear, it’s important to investigate further. Failing to inspect these components might lead to premature failure or unsafe driving conditions. Always verify that the entire braking system is in peak condition to maintain your vehicle’s performance and your freedom on the road.
Wheel Cylinder Inspection
While addressing the drum brake replacement, neglecting the wheel cylinder can lead to significant issues. The wheel cylinder’s functionality is vital for effective braking. Without proper inspection, you risk hydraulic fluid leaks or cylinder failure, which can compromise your vehicle’s safety.
- Inspect the wheel cylinder for signs of wear or leaks.
- Conduct a thorough hydraulic fluid inspection to guarantee it’s clean and at the correct level.
- Verify that the cylinder operates smoothly without binding or sticking.
Ignoring these components can lead to uneven braking, reduced performance, and costly repairs down the line. Make wheel cylinder inspection a priority during your drum brake replacement to maintain peak braking efficiency and safety.
Hardware Replacement Necessity
Neglecting to replace worn or damaged hardware during drum brake replacement can lead to serious braking issues. You must guarantee all components are in good condition, as old hardware can compromise performance and safety. Always check for hardware compatibility with the new drum and follow proper installation techniques to avoid complications.
| Component | Signs of Wear | Replacement Action |
|---|---|---|
| Springs | Cracks or corrosion | Replace with new springs |
| Retaining Clips | Deformation | Install fresh clips |
| Adjusters | Rust or stiffness | Replace if necessary |
| Shoes | Uneven wear | Replace with new shoes |
Incorporating new hardware not only enhances safety but also improves overall braking efficiency.
Choosing Incompatible Parts

When you opt for parts that aren’t compatible with your drum system, you risk not only performance issues but also potential damage to the equipment. Confirming part compatibility is essential for maintaining ideal functionality and prolonging the lifespan of your drum. Always prioritize part quality to avoid costly repairs down the line.
- Verify specifications: Cross-check the manufacturer’s guidelines to confirm you’re selecting the right components.
- Assess material compatibility: Different materials can affect performance; verify that the parts are made from compatible materials.
- Seek expert advice: Consult with professionals or experienced technicians when in doubt about compatibility.
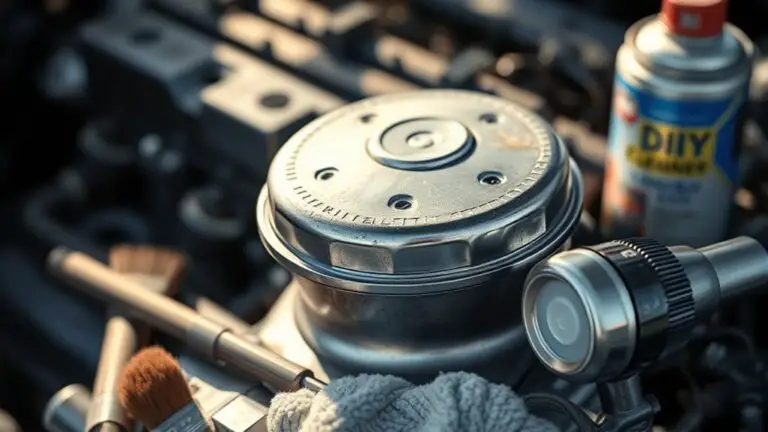
Neglecting Proper Cleaning
If you overlook proper cleaning of your drum components, you could face a range of performance issues and premature wear. Neglecting this essential step can result in debris accumulation, which interferes with the drum’s functionality. Implement effective cleaning techniques, such as using a brake cleaner and a soft brush, to remove dust and grime from the drum surface and other components.
Be diligent about your maintenance frequency; a regular cleaning schedule can greatly extend the lifespan of your drum assembly. Ideally, you should clean your drum components every time you replace the brake pads or at least every 10,000 miles, depending on your driving conditions.
Skipping the Brake Adjustment
Skipping brake adjustment can lead to uneven wear and reduced braking efficiency. When you replace your drum, it’s essential to guarantee the brake system is properly adjusted. Neglecting this step can result in compromised performance and safety. Here are some adjustment techniques to take into account:
Proper brake adjustment is crucial for safety and performance; neglecting it can lead to wear and inefficiency.
- Inspect the brake shoes: Verify they’re aligned correctly with the drum for ideal contact.
- Adjust the star wheel: Use this component to set the proper clearance between the shoes and drum, enhancing performance.
- Test the pedal feel: After adjustment, check that the brake pedal feels firm and responsive, indicating proper function.
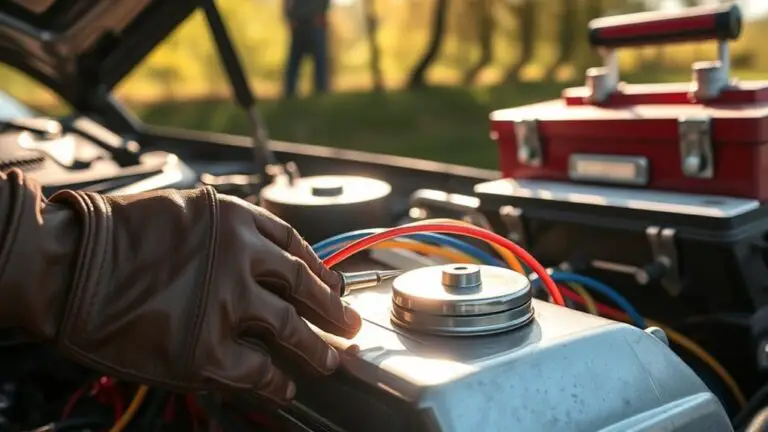
Improper Torque Settings
Although it may seem trivial, improper torque settings can considerably impact the performance and safety of your braking system. When replacing drum brakes, it’s vital to adhere to the manufacturer’s torque specifications. Failing to do so can lead to uneven wear, overheating, and even brake failure.
Using the correct torque tools is essential for achieving the right tightness. Digital torque wrenches or click-type tools guarantee you’re applying the precise amount of force. Remember, over-tightening can strip threads or warp components, while under-tightening may result in loose connections, compromising safety.
Always consult your vehicle’s service manual for specific torque values and double-check your work. Taking a few extra moments to verify you’re within the specified range can save you from costly repairs and enhance your driving experience. Prioritize proper torque settings, and you’ll enjoy a safer, more reliable braking system.
Overlooking the Importance of Lubrication
When you replace drum brakes, neglecting lubrication can lead to significant issues down the line. Proper lubrication is essential for ensuring smooth operation and longevity of your braking system. It helps reduce friction, prevents wear, and minimizes noise.
Here are some effective lubrication techniques to take into account:
- Use the right lubrication materials: Opt for high-temperature brake grease designed for drum brakes to withstand heat and pressure.
- Apply lubrication strategically: Focus on pivot points, backing plates, and contact surfaces where parts move against each other.
- Avoid over-lubrication: Too much grease can attract dirt and debris, leading to further complications.
Not Testing After Installation
Failing to test your drum brakes after installation can lead to serious safety hazards and performance issues. Once you’ve completed the installation, it’s vital to conduct thorough installation verification. This means checking that all components are secured, aligned, and functioning as intended. Without this step, you risk improper brake function, which could compromise your control over the vehicle.
Post installation testing is essential to guarantee your brakes engage smoothly and effectively. Start by gently applying the brakes at low speeds in a safe area to assess their responsiveness. Listen for unusual noises and feel for vibrations, as these can indicate installation issues. Additionally, check the brake pedal feel; it should be firm, not spongy.
Disregarding Safety Precautions
After verifying that your drum brakes are properly installed and tested, it’s imperative to prioritize safety precautions throughout the entire process. Disregarding safety measures can lead to serious accidents and injuries. Always equip yourself with the right safety gear, and maintain a high level of hazard awareness.
Prioritize safety precautions during drum brake installation to prevent serious accidents and injuries.
- Wear safety goggles to protect your eyes from debris.
- Use gloves to prevent cuts and chemical exposure.
- Verify your workspace is clear of obstructions to avoid trips and falls.
Frequently Asked Questions
How Do I Know When to Replace My Brake Drums?
You’ll know it’s time to replace your brake drums when you notice decreased brake performance, such as longer stopping distances or a spongy pedal feel. Inspect for drum wear by measuring the drum’s inner diameter; if it exceeds the manufacturer’s specifications, it needs replacing. Also, listen for unusual noises like grinding or squeaking during braking, which could signal worn drums. Regular checks help maintain ideal safety and performance in your vehicle.
Can I Use Refurbished Drums Instead of New Ones?
Yes, you can use refurbished drums instead of new ones, provided they meet safety and performance standards. Refurbished drums often offer significant cost benefits while still delivering reliable performance. However, you should thoroughly inspect them for wear and damage before installation. Always consider the specific requirements of your vehicle and driving conditions, as well as any warranties on refurbished parts. Balancing cost and quality is key to maintaining your vehicle’s safety and performance.
What Tools Are Necessary for Drum Replacement?
To replace a drum, you’ll need vital drum tools like a wrench, screwdriver, and a drum replacement kit tailored to your specific model. Make certain your kit includes new seals and hardware for a proper fit. A rubber mallet can help with adjustments without damaging components. Having a torque wrench is also essential to guarantee bolts are tightened to the manufacturer’s specifications, maintaining the integrity of your drum system.
How Often Should I Inspect My Brake System?
You should inspect your brake system at least every six months or 6,000 miles, whichever comes first. Regular inspections are essential for brake maintenance. Look for wear on pads and drums, listen for unusual noises, and check fluid levels. If you notice any signs of trouble, don’t wait. Staying proactive guarantees your safety and keeps your vehicle in top shape, allowing you to enjoy the freedom of the road without worry.
What Are the Signs of Drum Brake Failure?
If you’re hearing unusual brake noise, it could indicate drum brake failure. Statistically, about 30% of drivers ignore these sounds, risking safety. Look for signs like your brake pedal vibrating when pressed. This vibration often signals that the brake drums are warped or worn out. Don’t ignore these signs; they can lead to more severe issues. Regular inspections and addressing these symptoms promptly can help guarantee your driving freedom remains intact.