Cost/Time Estimate and Common Airbag Errors After Seat Swap for Winch
You’ll need a precise, phased plan to estimate costs and time for a winch-ready seat swap. Start with baseline measurements, compatible mounts, and airbag safety steps, then map parts, labor, and contingency buffers. Expect 10–20% hidden costs and downtime variance; budget for diagnostics, calibration, and rollback criteria. Common post-swap airbag issues include fault codes, sensor miscalibration, and wiring damage, all verifiable with diagnostics and re-zeroing. For deeper specifics, you’ll uncover more practical steps ahead.
Overview of the Seat Swap for Winch Setup
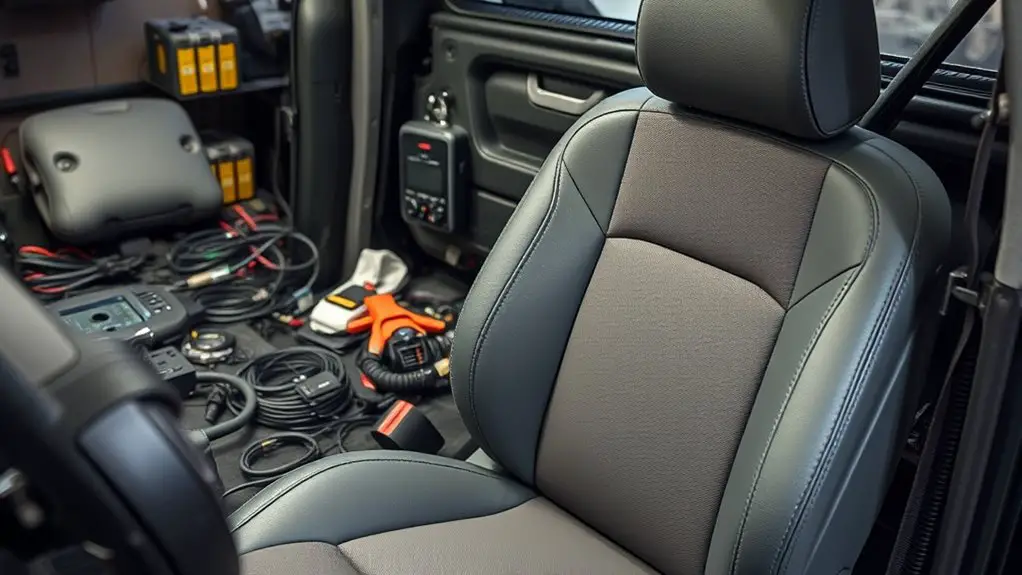
The seat swap for a winch setup is a deliberate, systematic modification that relocates the seat to optimize operator visibility and control. You’ll approach the task with a clear plan, mapping mounting points, adjustability range, and clearance for seating. Begin by verifying baseline measurements, then identify compatible rails, adapters, and locking mechanisms that preserve structural integrity. You’ll prioritize ergonomics, ensuring seat position supports natural reach, minimizes fatigue, and improves line-of-sight to winch controls. During installation, annotate torque specs and alignment checks, documenting each step for traceability. Consider seat comfort as a primary factor, selecting pad density and contouring that maintain long-ride usability without compromising safety features. Confirm electrical connectors and airbag systems remain isolated and functional; test recline, slide, and locking functions under load scenarios. Finally, conduct a brief operational drill to validate control responsiveness, maintaining readiness for contingency operations while honoring safety features and a freedom-minded approach to efficient setup.
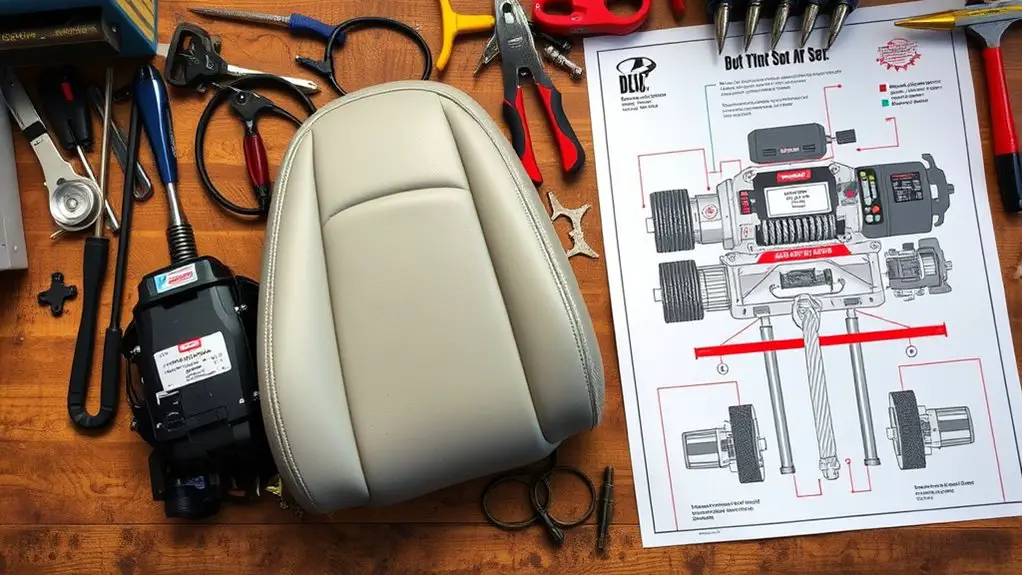
Key Components Involved in a Swap
You’ll review the key components involved in a swap, starting with how the Wiring Harness Roles connect sensors and controls. Next, consider Airbag Module Safety to guarantee proper power, grounding, and fault handling before any reassembly. Finally, assess Seat Frame Integration to confirm mounting compatibility and secure attachment throughout the system.
Wiring Harness Roles
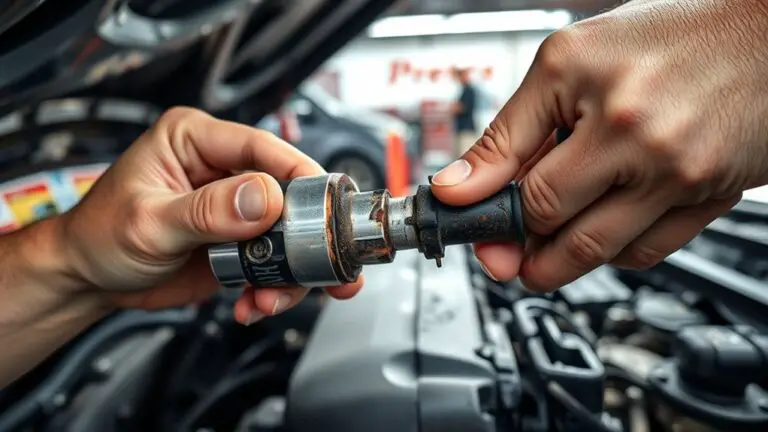
Wiring harnesses are the nervous system of a swapped vehicle, connecting sensors, modules, and power sources to guarantee coordinated operation. As you assess the swap, you’ll map harness routes, locate harness junctions, and verify that gauges, ECU inputs, and seat-mounted controls share common ground references. Your focus is on reliability: confirm that wiring standards are followed for harness routing, shielding, and strain relief, and note any deviations that could provoke intermittent faults. Identify connector types you encounter, from high-current power connectors to low-current signal plugs, and document mating compatibility, pinouts, and locking mechanisms. Plan for re-tuning or re-flashing if modules rely on reprogrammed vehicle constants. This approach keeps you precise, deliberate, and ready to address errors before they cascade.
Airbag Module Safety
With wiring considerations in mind, you’ll focus on the airbag system’s core modules and their interconnections to prevent unintended deployment or disabled protection. You’ll identify the crash sensors, the airbag control unit, and the power supply as the safety triad. Maintain separation between harness segments to avoid cross-talk and unintended activation during a seat swap. Prioritize airbag safety by confirming correct wiring topology, secure grounding, and appropriate fusing. Document circuit references, connector pinouts, and shielded paths to minimize EMI risk. For ongoing readiness, perform module diagnostics before and after work to verify UTC/diagnostic readiness, fault codes, and memory integrity. Use a systematic checklist to confirm communication with the restraint system and to guarantee no residual warnings remain.
Seat Frame Integration
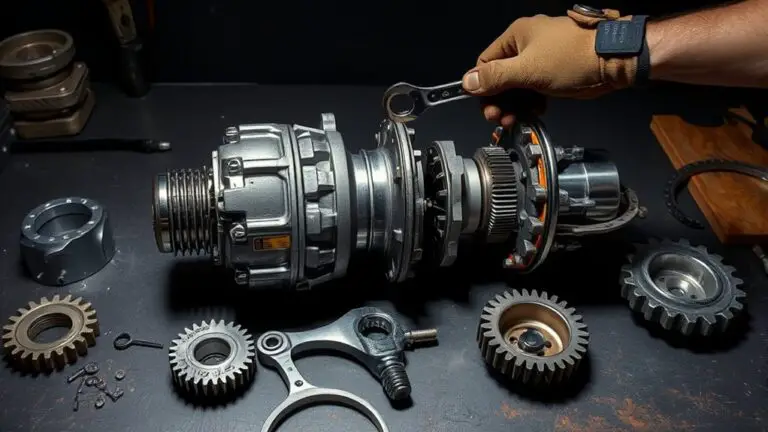
Seat frame integration hinges on aligning mounting points, track mechanisms, and seat belt anchors with the vehicle’s chassis. You’ll verify frame compatibility between the seat assembly and your car’s rails, mounting bosses, and bolt patterns before any fitment attempt. Systematically assess seat frame adjustments: length, height, fore-aft position, tilt, and cushion support, guaranteeing the frame sits square to the floor pan and clears interior components. Check track integrity, motorized or manual, for smooth travel and secure locking at endpoints. Confirm belt anchors align with existing anchors for proper pretensioning and retractor operation. Document deviations, source adapters if needed, and test-seat movement with the door closed. You’ll correct misalignments promptly to minimize rework and uphold airbag sensor integrity during future diagnostics.
Assessing Labor Time and Scheduling
Planning the labor time starts with a clear scope: identify all tasks required after the seat swap, estimate each task’s duration, and determine a feasible schedule that minimizes downtime.
You map tasks, estimate durations, and align them with constraints to maximize labor efficiency and implement effective scheduling strategies. You’ll sequence steps to avoid backtracking, assign responsible roles, and set milestones that track progress. Time estimates are grounded in prep, safety checks, test drives, and documentation, with buffers for unforeseen issues. The schedule prioritizes critical-path activities, minimizes tool changes, and reduces vehicle downtime. You measure adherence through simple, objective metrics and adjust as needed.
| Task category | Time estimate |
|---|---|
| Safety checks | 12–18 min |
| Seat reassembly | 20–30 min |
Parts and Hardware Cost Breakdown
A concise parts and hardware cost breakdown is essential to prevent budget overruns after the seat swap. You’ll map each item to a clear purpose: seat mounts, fasteners, wiring sleeves, connectors, and any replacement airbags or sensors. Start with a baseline quantity, then confirm lead times and currency. For parts sourcing, prioritize OEM or certified aftermarket equivalents that meet spec without inflating price. Document model numbers, batch codes, and compatible vehicle variants to avoid mismatches. Next, evaluate hardware quality by rating material type, corrosion resistance, and load ratings, then cross-check with manufacturer recommendations. Include estimated unit costs, potential bulk discounts, and shipping fees. Build a contingency line for unexpected replacements, typically 5–10% of total parts cost. Track provenance and warranty terms to protect against latent defects. Finally, assemble a running total with subtotals by category and a grand total, noting any nonstandard items that could alter timing or budget.
Tools, Equipment, and Facility Requirements
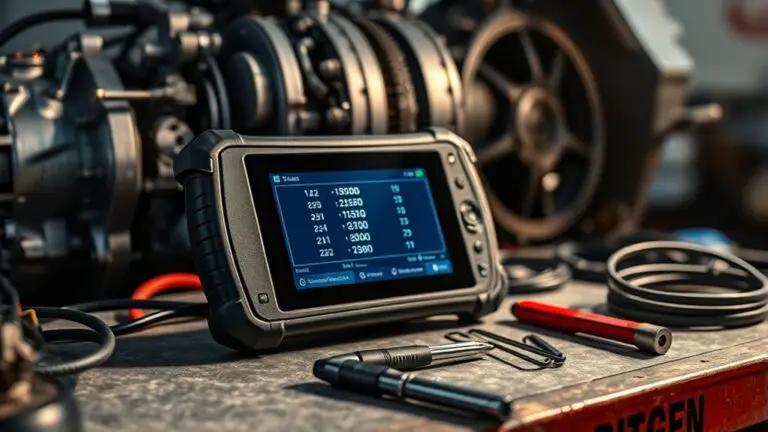
To perform the seat swap safely and efficiently, you’ll need a defined set of tools, equipment, and workspace requirements. Begin with tool selection that matches the fasteners and mounting points used in your winch system. Select metric and SAE wrenches, ratchets, socket sets, and a torque wrench with proper ranges. Include trim removal tools and a digital multimeter for electrical checks. Maintain a clean, well-lit work area with a stable bench, protective mats, and a ground fault circuit interrupter (GFCI) outlet. Have a magnetic tray for fasteners and labeled containers for hardware to prevent mixups. Equipment maintenance remains critical: inspect jack stands, lifting devices, and the winch’s mounting hardware for wear or corrosion before you lift. Ascertain a dedicated, unobstructed path for movement and a clear path to the vehicle’s seating area. Document tool calibration dates and replace any worn components promptly to sustain reliability and safety.
Downtime Estimation and Planning
You’ll start by establishing clear downtime range estimates for each stage of the airbag check and seat swap, based on historical data and current constraints. Plan contingencies for common variances in diagnostics, parts availability, and repair durations, with predefined triggers and rollback options. This structured approach sets the baseline for scheduling, communicates risk to stakeholders, and guides proactive adjustments as issues emerge.
Downtime Range Estimates
Downtime range estimates provide a structured expectation of how long system interruptions will last after an airbag error is detected following a seat swap. You’ll quantify spans from initial fault flag to full restoration, factoring variability in procedures and parts access. By aligning tasks with known timelines, you regain activity momentum without guessing. Key inputs include equipment readiness, diagnostic complexity, and crew proficiency. Use ranges rather than single points to reflect real-world uncertainty, while preserving actionable targets.
- downtime factors that influence duration
- alignment with maintenance schedules
- diagnostic steps and their typical timeframes
- contingency buffers for unexpected delays
Planning Contingencies
Planning contingencies for downtime estimation means outlining structured buffers and decision points that guard against schedule slippage after an airbag error surfaced post-seat swap. You identify critical paths, then assign buffers proportional to risk levels and uncertainty. Establish a formal risk assessment to quantify potential delays, failure modes, and rework time. Define trigger points to switch to alternative solutions without derailing the timeline, such as parallel work streams, off-shift labor, or pre-approved vendor escalation. Document rollback criteria and confirmation milestones to prevent scope creep. Maintain clear ownership and real-time visibility for stakeholders, so decisions remain rapid yet disciplined. Comfort with uncertainty grows when you frame contingency as a deliberate practice, not guesswork, ensuring you can adapt while preserving overall project momentum.
Airbag System Implications Post-Swap
Airbag behavior can be greatly affected after a seat swap, so it’s essential to verify system integrity before driving. You’ll face subtle shifts in deployment logic, sensor baselines, and calibration routines that live outside the seat hardware. Approach this with a methodical checklist to protect occupants and liability.
- Confirm airbag calibration with the vehicle’s diagnostic tool and document any updates to seat position data
- Verify sensor reset and re-zeroing of seat-mounted impact sensors to restore baseline readings
- Inspect wiring harnesses for pinched or dislodged connectors that could mimic a fault
- Validate airbag status indicators, ensuring no fault codes persist after reinstallation
Executing a controlled sensor reset and calibration early minimizes false positives and reduces post-swap downtime. Remain disciplined in re-testing the system after any adjustment, and avoid assuming compatibility without verification. Freedom here means accuracy, not guesswork.
Troubleshooting Common Airbag Errors
Troubleshooting common airbag errors requires a methodical approach: confirm fault codes, verify recalibration after any seat work, and isolate whether the issue is mechanical, electrical, or software-related. You’ll start with airbag diagnosis by pulling the vehicle’s diagnostic trouble codes and noting any persistent warnings. Distinguish between transient alerts and persistent failures; reset when safe to do so to verify persistence. Next, inspect the seat wiring harness, connectors, and ground points for damage, pinch injuries, or loose pins, since seat swapping often disturbs these paths. For electrical concerns, measure continuity and inspect for shorts or corrosion, replacing damaged harness segments as needed. If codes point to a module or sensor, verify proper calibration and seating recognition in the restraint system. Finally, cross-check software versions and recent updates that could affect fault reporting. Document findings clearly, retest, and only clear codes once faults are resolved.
Budgeting for Contingencies and Hidden Costs
When addressing the costs tied to fixing airbag issues after seat work, you should expect more than the obvious parts list and labor hours. You’ll need budgeting strategies that account for uncertainty and hidden expenses you can’t predict now. Approach this methodically: define a contingency range, then lock in a plan that remains flexible as you learn more.
Plan for airbag fixes with a flexible budget, reserving 10–20% for unforeseen costs.
- Identify likely overages beyond the quoted scope, such as diagnostic time, tool rental, or required rework.
- Allocate a dedicated contingency fund (roughly 10–20%) separate from the core budget to absorb hidden expenses.
- Track every cost detail, from small parts to soft costs like downtime, so you can adjust estimates in real time.
- Plan for failure modes: unexpected re-wiring, sensor resets, or reprogramming needs that emerge after bench testing.
This disciplined approach keeps you aligned with budgeting strategies and minimizes surprises while preserving freedom to adapt.
Frequently Asked Questions
How Long Is the Typical Airbag Diagnostic Window After a Seat Swap?
The typical airbag diagnostic window lasts about 15 to 30 minutes after a seat swap. During this period, you should avoid aggressive seat movement and power-off reseating. You’ll want to run airbag diagnostics while ensuring seat positioning is within factory tolerances. If errors persist, recheck connections and airbags modules. Plan for a thorough check at the end of the window to confirm system readiness and safety, especially for airbag diagnostics and seat positioning integrity.
Do Airbags Require Recalibration After Repositioning the Seat for Winch Use?
Yes, airbags don’t require full recalibration after seat repositioning for winch use, but you should verify system readiness. You’ll need to recheck airbag safety after any seat modifications, and run diagnostics to confirm no fault codes remain. Confirm the seat rails, connectors, and airbags are within spec, and recalibrate if your vehicle’s ECU flags an issue. Proceed with caution, document changes, and consult service documentation for exact procedures.
Are There Liability Implications for Airbags During Off-Road Modifications?
Yes, there are liability implications for airbags during off-road modifications. You should understand airbag liability applies if your changes increase injury risk or disable system functions. You’re responsible for maintaining seat positions, sensors, and deployment logic when you alter vehicle geometry for off-road use. Document modifications, conduct proper recalibration where required, and verify compliance with safety standards. You’ll protect yourself by testing, record-keeping, and ensuring any aftermarket work aligns with manufacturer guidance.
What Are the Signs of Hidden Airbag Module Faults Post-Swap?
There’s no guessing—you’re seeing signs of hidden airbag module faults: unexpected dash warnings, intermittent airbags, or ABS/airbag lights that won’t reset. To confirm, perform airbag module diagnostics with a trusted scanner, check fault codes, and verify wiring integrity. Look for hidden fault indicators like sporadic sensor reads or module memory errors. Systematically document faults, clear codes if safe, and re-test. If in doubt, consult a professional; your safety matters, not shortcuts.
Is Dual-Stage Deployment Affected by Aftermarket Seat Mounting?
Dual-stage deployment can be affected by aftermarket seat mounting. You’ll want to verify airbag compatibility with any aftermarket modifications before proceeding, because improper mounting can alter sensor alignment and timing. In some setups, dual-stage triggers may misfire or deploy at unexpected rates if brackets shift or cushions compress differently. Ascertain OEM interfaces remain intact, use proper harnesses, and confirm replacement components are rated for your system to maintain reliable, predictable deployment.