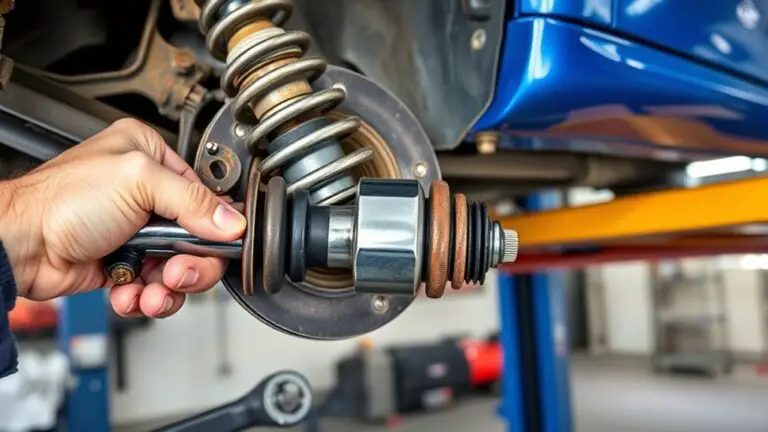
How Regular Wheel Bearings Service Prevents Ignoring Warning Lights
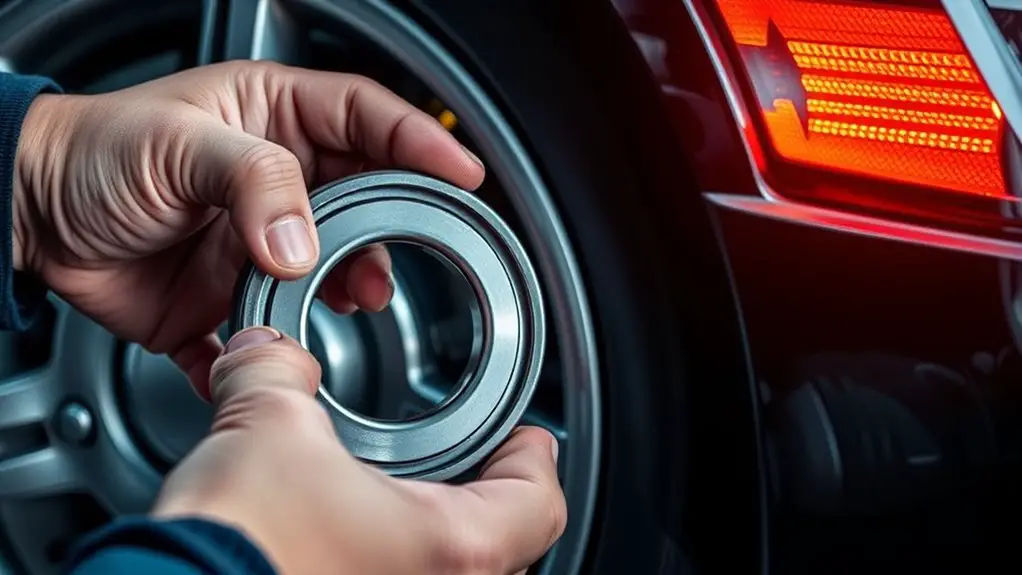
Regular wheel bearing service prevents warning lights by catching wear early—before codes form. Start with a baseline check of sounds, vibration, heat, and play, then verify tire, brake, and torque conditions. Routine lubrication, correct fit, and proper alignment reduce friction and load, slowing wear that triggers sensors. Track preload, seals, and runout to keep systems within spec. Absence of lights isn’t a guarantee, so set a proactive schedule to catch issues early; you’ll uncover more practical steps ahead.
Signs Your Wheel Bearings Need Attention
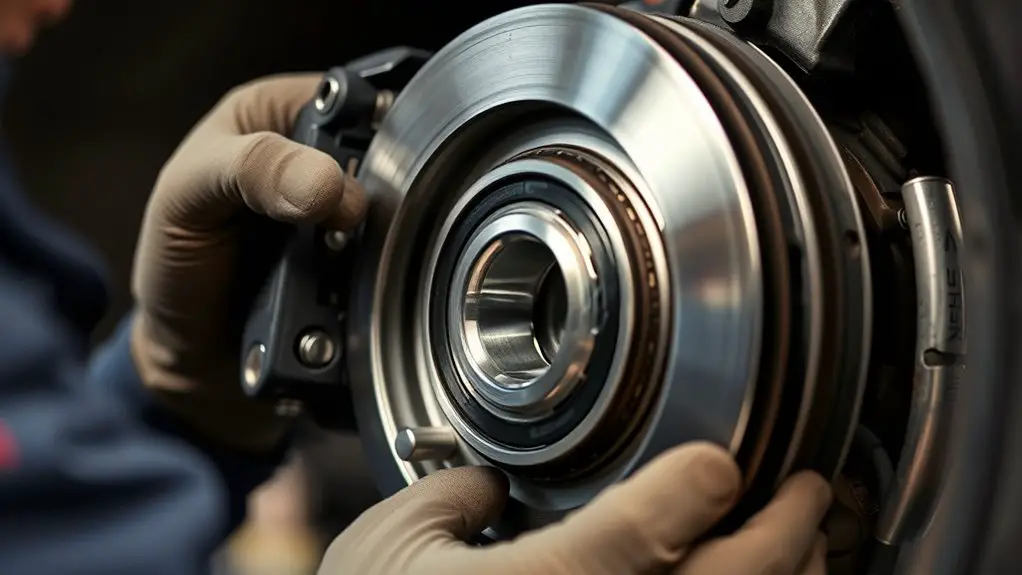
Uneven or unusual noises from a wheel, such as grinding, clicking, or humming, are the most common early signs that a wheel bearing may need attention. You’ll notice changes in how the vehicle sounds and feels during drive, with potential vibration transmitted through the steering wheel at certain speeds. Conduct a structured assessment: confirm noises persist with directional changes, determine if the sound worsens with load, and isolate by wheel. Inspect for play in the wheel by a safe, controlled test; excessive looseness or rough rotation points to bearing wear. Corroborate symptoms with a visual check for leaks or heat from the hub area after a test drive. Document observations to compare against bearing types and their failure modes. Note that maintenance tips emphasize consistent inspection intervals, clean mounting surfaces, and proper torque. If symptoms remain, schedule professional testing to prevent further damage and maintain freedom of movement.
How Preventive Service Starts With a Checkup
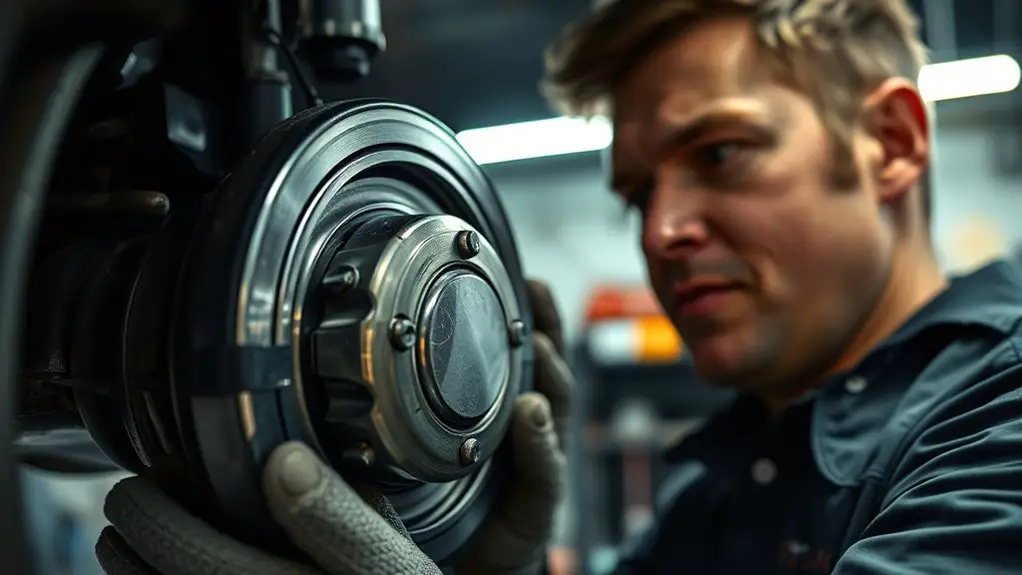
You start preventive service with an Initial Vehicle Check to establish a baseline for where your wheel bearings stand. Look for Early Warning Signals like unusual noise, roughness, or movement that indicates potential issues. This check guides your maintenance plan and helps you catch problems before they escalate.
Initial Vehicle Check
Before you begin preventive service, start with a focused initial vehicle check to establish a baseline. You’ll perform an initial vehicle inspection that captures current conditions, noting sounds, vibrations, and responses from steering and braking. Document tire condition, fluid levels, and sensor indicators, then verify battery health and fuse status. Move to a wheel alignment check to confirm tracking accuracy and steering wheel center. Inspect suspension components for play, wear, and preload, listing any irregularities that could skew results. Record brake rotor and pad wear patterns, then test drive at safe speeds to compare handling against expected behavior. This baseline guides all subsequent diagnostics, ensuring you recognize true changes rather than routine variability. Maintain a concise, objective log to support future preventive decisions.
Early Warning Signals
Early warning signals begin with a careful checkup that flags deviations from baseline values. You’ll look for subtle changes in noise, vibration, and steering feel, then compare them to established norms. This isn’t guesswork; it’s data-driven, repeatable, and purposeful. You assess wheel bearing play, axle alignment, and rotor interaction as baseline indicators, noting any drift or stickiness that precedes failure. Early detection hinges on consistent measurements, documented observations, and timely response. Pay attention to warning indicators such as unusual hums, grinding, or hotter-than-normal hubs after a drive. If a symptom appears, isolate its source with controlled tests before assuming blame. By recognizing these early cues, you preserve uptime, safety, and freedom to navigate—the essence of preventive care through disciplined checkups.
The Link Between Bearings and Warning Lights
You’ll see how warning lights can signal bearing issues, and you’ll learn the diagnostic steps to confirm the cause. When lights appear, you’ll correlate them with bearing noise, temperature, and wheel feel to distinguish faults. This links preventive maintenance to reliable diagnostics, guiding you toward timely service and issue prevention.
Warning Light Signals
Warning lights on a vehicle’s dashboard can signal bearing-related issues long before they fail outright; when a wheel bearing senses excessive play, heat, or noise, the system may illuminate to prompt inspection. You’ll notice warning light types vary, but common patterns point to wheel or ABS circuits rather than engine faults. Dashboard indicators may flash, dim, or stay steady, and they often require corroborating symptoms like vibration or steering drift. Treat these signals as diagnostic prompts: don’t ignore subtle changes, verify wheel hub integrity, and assess bearing preload, seals, and lubrication. In practice, confirm fault codes with appropriate tools, cross-check with vehicle behavior, and schedule a controlled inspection. Timely attention preserves safety, reliability, and performance without unnecessary parts swapping.
Bearings and Diagnostics
Bringing the focus from warning lights, it’s time to connect those signals directly to bearings and what they reveal. You’ll interpret vibration, sound, and temperature data as a coherent picture of bearing health. Bore you with buzzwords? Not here. You’ll perform bearing diagnostics by correlating axle position, load, and rotational speed to symptom patterns, distinguishing misalignment from wear, looseness from contamination. Measure play, check runout, listen for grinding or humming, and log spike trends over time. Precision matters because early signs foretell failure modes and performance loss. You’ll evaluate bearing performance against factory tolerances, then decide if maintenance, replacement, or lubrication is warranted. Clear criteria guide decisions, reducing guesswork and downtime. This approach keeps your system honest, efficient, and aligned with your freedom to move confidently.
Preventive Maintenance Link
Operationally, warning lights are the first alert you’ll use to flag bearing issues, but the true diagnostic value emerges when you link those signals to actual bearing behavior. You’re not chasing symptoms in isolation—you’re testing cause and effect. The preventive maintenance link rests on disciplined observation, data capture, and timely action. When lights glow, compare vibration, heat, noise, and play against a maintained baseline. Build a concise maintenance checklist that pairs each indicator with a traceable action, record outcomes, and reassess regularly. Implement preventive measures like scheduled lubrication, seal inspection, and torque verification, then verify results with post-checks. This approach keeps you ahead, reduces surprise failures, and preserves control over the vehicle’s reliability and performance.
Routine Lubrication: Why It Matters
Routine lubrication reduces friction and wear between wheel bearing components, helping them run smoothly and extending service life. You approach lubrication with a methodical mindset: assess bearing type, identify lubrication point, choose appropriate lubricant, apply precisely, and verify performance. lubrication techniques vary by bearing types, so you match grease viscosity, base oil, and additives to the design and operating temperature. For sealed units, routine lubrication isn’t user-serviceable; you confirm seals remain intact and there’s no contamination. For serviceable housings, you clean the cavity, remove old lubricant, inspect for metal debris, then re-lubricate to the specified fill level. You avoid overpacking, which raises heat and pressure, and under-lubing, which invites wear. Documentation matters: note lubricant type, quantity, and service interval. By adhering to consistent procedures, you reduce the chance of misdiagnosis from noisy or uneven rotation, keeping warning lights quiet and wheels dependable.
Torque and Fit: Ensuring Proper Bearing Function
You’ll verify the bearing fit is within spec and free of play, since improper fit can cause uneven load and premature wear. Apply the correct torque and confirm it remains within tolerance after installation, as overtightening or under-tightening shifts bearing geometry. Start with precise measurements and document any mismatch between the shaft, hub, and bearing to guide proper corrective action.
Proper Bearing Fit
Proper bearing fit is essential for reliable operation and long service life, so you must verify both torque and interference fits according to the manufacturer’s specs. You approach this with a methodical mindset, confirming that each component seats squarely and aligns as intended. Bearing installation and bearing alignment are your focal points; any misfit invites uneven load, heat, and premature failure. Use calibrated tools and consult the spec sheet to confirm correct interference and torque values. Proceed in clear steps: prepare the hub, install the bearing to the correct depth, verify axial and radial alignment, then recheck torque after seating. Table below summarizes the checks you perform.
| Step | Action | Verification |
|---|---|---|
| 1 | Prepare hub | Clean, deburr, inspect |
| 2 | Install | Seat, align, observe |
| 3 | Torque | Confirm per spec |
Torque and Tolerance
To guarantee reliable operation, torque and tolerance must be verified against the manufacturer’s specifications, because even small deviations can shift load, create heat, and shorten bearing life. You approach this with a clear checklist: verify preload, clamping force, and fit class before you assemble. In bearing installation, confirm tools are calibrated and torque values are applied in specified sequences to avoid asymmetric load. Document the measured clearances, then compare them to tolerance bands for each component. Misfits alter load distribution, concentrating stress and accelerating wear. Check the race, seal, and hub interface for runout, and recheck after initial run-in. Precision here prevents heat buildup and uneven wear, maintaining predictable behavior under road vibrations and braking. Your disciplined procedure sustains performance, safety, and service intervals.
Common Symptoms: Grinding, Vibration, and Noise
Common symptoms of a failing wheel bearing include grinding, vibration, and noise that changes with speed or steering input. You assess onset timing: does sound intensify under load or when turning? Next, quantify vibration—felt through the pedal, steering wheel, or seat—and note frequency and amplitude. Distinguish between wheel-end noise and drivetrain sounds to avoid misdiagnosis. Listen for a consistent grinding cadence that persists after warm-up; intermittent clunks point to loose components or bearing play. Inspect for bearing types wear patterns: uneven tire wear, preloaded play, or lateral movement signals a failing core. Correlate noise with speed: higher RPMs amplify bearing noise; deceleration may dampen it. Implement a basic diagnostic: road test with a known smooth surface, monitor with audio cues, and compare with incident-free baseline. Prioritize noise reduction through controlled diagnosis rather than guesswork. If symptoms persist, plan a professional inspection to confirm bearing integrity and prevent further damage.
Absence of Warning Lights Isn’t a Free Pass
Even without warning lights, a failing wheel bearing can quietly progress; visual cues aren’t the only diagnostic clues to heed. You must treat absence of light as absence of certainty, not safety. Listen for subtle shifts in handling, feel for uneven drag, and check play during routine checks. The goal is deliberate verification, not assumption. Bearing myths say “no lights, no problem,” which is false. Maintenance misconceptions push you toward reactive fixes; stay proactive with systematic inspection, torque checks, and lubrication audits. Document symptoms, timelines, and service intervals to track progression. A disciplined approach reduces surprise failures and preserves freedom of movement.
| Scenario | Potential Indicator | Action |
|---|---|---|
| Quiet steering feel | Hidden play develops | Measure with a dial gauge |
| Slight wander at speed | Uneven load response | Perform calibrated checks |
| Ambient noise rise | Subtle bearing wear | Verify with professional inspection |
Diagnosing Issues: When to Inspect vs. Replace
When should you inspect and when is replacement unavoidable? In this section, you approach diagnosis with a clear, stepwise mindset. You use diagnostic tools to quantify wear, compare to manufacturer specs, and separate noise from nuisance. Start with noninvasive checks: wheel play, rotor runout, and hub feel, noting changes across inspection intervals. If you detect persistent grinding, rough steering feedback, or uneven tire wear, consider further testing. Next, isolate symptoms by wheel location and drive condition, recording iron/metallic tones or vibration frequency. Use scans or data-logging tools to correlate signals with road speed and load. Replacement becomes unavoidable when measurements exceed spec, when play is beyond tolerance, or when symptoms recur after remediation. Maintain a diagnostic log to pattern-recognize anomalies over time. The aim is proactive maintenance, not reactive guesswork. By adhering to disciplined inspection intervals and precise testing, you prevent cascading failures and preserve driving freedom.
Safe Driving Impacts of Worn Bearings
Worn wheel bearings affect safe driving in measurable ways: they can loosen steering feel, create uneven braking responses, and increase track drift at highway speeds. You’ll notice subtle shifts in weight transfer and a creeping sense of instability during lane changes. As the bearing wears, wheel rotation may introduce variable friction, making your steering inputs feel inconsistent. Braking, already a critical safety function, can respond asymmetrically, producing pull or nose-diving tendencies under load. At highway velocities, slight yaw or drift becomes more pronounced, challenging your control in gusts or crosswinds. You should track any abnormal vibration or humming that shifts with speed, as these cues correlate to bearing condition rather than road surface alone. Prioritize safe driving by treating these signs as reliability flags, not quirks. Addressing worn bearings promptly preserves predictable handling, maintains tire contact, and reduces the likelihood of a sudden, critical failure on the road.
Practical Maintenance Schedule You Can Follow
A practical maintenance schedule keeps wheel bearings reliable and predictable, so you should establish a routine that aligns with your driving and vehicle type. You’ll pair timing with mileage, not guesswork, and track each step in a maintenance checklist. Start with a wheel bearing inspection at every oil change or every 5,000–7,500 miles for light use; increase frequency for heavy hauling or rough roads. Schedule proactive checks for play, noise, heat, and leaks, and document findings. Use the maintenance checklist to separate routine tasks from diagnostics, ensuring no warning light is ignored. Align parts inspection with hub cleanliness, torque specs, and lubricant condition, replacing seals when necessary. Adhere to a disciplined cadence, then adapt as conditions demand. Below is a visual plan to help you maintain consistency.
| Interval | Check Focus | Expected Outcome |
|---|---|---|
| Every 5k–7.5k miles | Wheel bearing inspection | No play, no unusual noise |
| 6–12 months | Lubricant/seal assessment | Seals intact, grease clean |
| After major road impacts | Visual and heat check | Absence of heat, proper torque |
| Seasonal | System review | No warning lights, proper fit |
| Annual | Full diagnostic | Clear maintenance checklist |
Frequently Asked Questions
Can Wheel Bearings Fail Without Any Warning Lights On?
Yes, wheel bearings can fail without warning lights. You might notice subtle bearing symptoms first—growling, uneven tire wear, or vibrations—before any dash alert appears. Diagnostics reveal gradual noise changes and play in the hub, while failure causes include contamination, overloading, or improper lubrication. You should inspect regularly, listen for changes, and address minor symptoms promptly to prevent sudden breakdowns. Don’t ignore evolving noises; proactive care keeps you safe and prevents costly, unexpected failures.
Do All Warning Lights Relate to Wheel Bearings?
Not every warning light is about wheel bearings. You’ll see some lights for engine, brake, or stability system, and those aren’t bearing-specific. But warning light indicators can hint at bearing issues when your dashboard illuminates alongside bearing failure signs like noise, heat, or uneven tire wear. You should treat any warning seriously, inspect for bearing problems, and verify other systems first. Stay methodical, diagnose carefully, and don’t ignore clues that point toward bearing wear.
How Often Should Bearings Be Inspected Beyond Routine Service?
Bearing inspection frequency hinges on usage, environment, and vehicle type, but you should inspect bearings more often than routine service if you notice noise, looseness, or vibration. Check every 5,000–10,000 miles under severe conditions, and at least annually otherwise. Follow preventative maintenance tips like rotor/axle checks, grease condition, and torque specs. You’ll keep systems responsive and avoid failures, insisting on consistent diagnostics rather than waiting for a warning light to guide you.
Can Misalignment Affect Bearing Life and Lights?
Misalignment can affect bearing life and indicators. When misalignment occurs, misalignment effects accelerate wear, raise heat, and stress seals, potentially triggering warning lights sooner. You’ll notice uneven tire wear and subtle vibrations, signaling reduced bearing longevity. Regular checks catch these shifts early, allowing you to correct tracks and preserve durability. By addressing misalignment promptly, you protect bearings’ lifespan and keep warning systems honest, giving you clearer, safer driving choices with less guesswork.
Is DIY Bearing Maintenance Safe for New Drivers?
Yes, DIY bearing maintenance isn’t recommended for new drivers. You should leave bearing maintenance to pros, but you can learn the basics. Follow bearing maintenance tips only as a learning exercise, not as a replacement for professional service. Prioritize new driver safety by recognizing warning signs and scheduling inspections. Stay precise, methodical, and calm, and don’t rush. If you’re unsure, seek a technician.

