How to Prepare Your Car and Tools Before Tackling Inaccurate Sensor Readings
To tackle inaccurate sensor readings, start by verifying fault signals and mapping them to symptoms, then establish baselines with repeatable tests. Organize a lean toolbox—multimeter, scan tool, adapters—and keep cables in good condition. Create a clean, safe workspace, label tools, and secure the vehicle. Prepare the car by checking battery health, fluid levels, and safety gear. Document all observations with time, sensor, and readings, and calibrate sensors as needed; more steps await to sharpen your diagnosis.
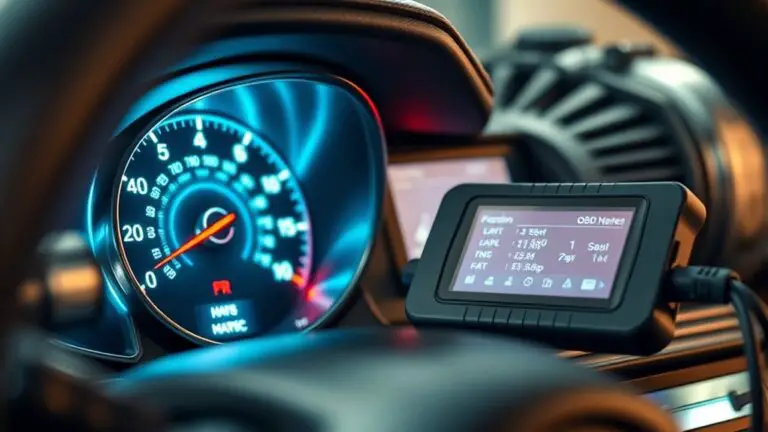
Verifying Fault Signals Before Diagnosis
Before diving into diagnostics, start by confirming the fault signals you’ve recorded. You’ll map these signals to the symptoms you’ve observed, then separate transient glitches from persistent indicators. Conduct fault signal analysis by tracing the origin of each alert, noting time stamps, control modules involved, and any related driving events. Keep a clean log so you aren’t guessing later. If a signal repeats, test consistency: vary conditions like speed, load, and temperature within safe limits, and document responses. Before touching sensors, perform sensor calibration where practical, using known references or manufacturer procedures to establish baseline readings. Verify wiring integrity, connectors, and ground paths as part of signal validation, since degraded connections can masquerade as sensor faults. Your goal is to confirm that the fault signals reflect real issues, not noise. With clear, verified signals, you’ll proceed to targeted diagnostics with confidence and logical focus.
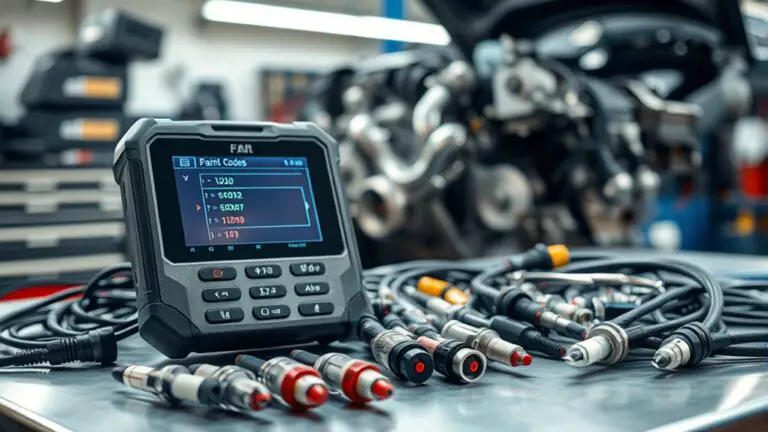
Organizing Essential Diagnostic Tools
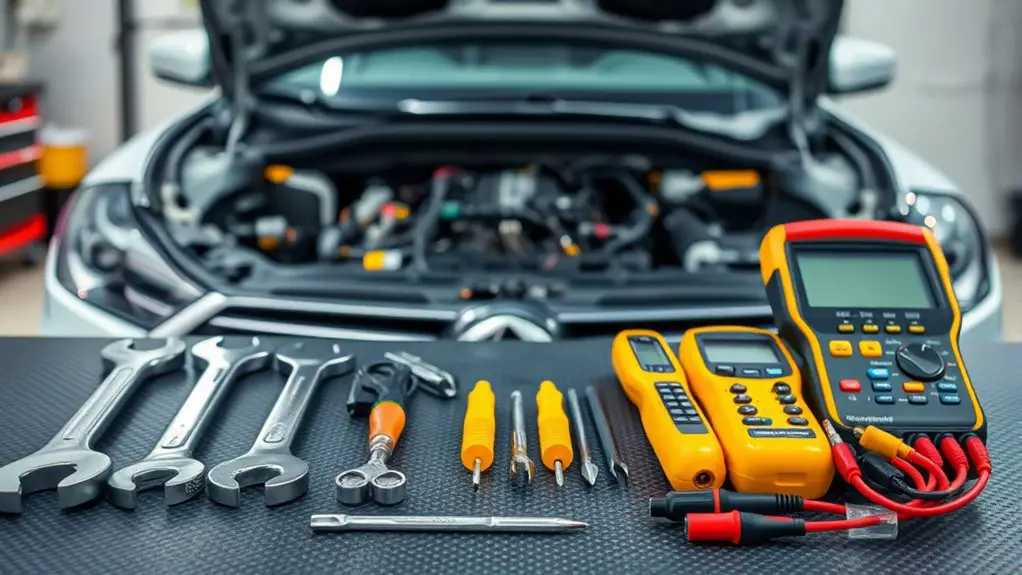
Gather a compact, logically organized toolkit and keep it accessible at all times: multi-meter, scan tool or OBD-II adapter, a reliable power supply, a set of diagnostic adapters, insulated tools, and a flashlight. You’ll build a focused diagnostic equipment kit that reduces guesswork and saves time. Prioritize a clear layout: label every tool, assign a dedicated pouch or drawer, and maintain a simple, repeatable setup routine. Your goal is a lean tool inventory that covers common faults without redundancy, so you can respond quickly under pressure and stay mobile. Regularly inspect cables, replace brittle connectors, and test batteries before each session. Document what you use, note calibration dates, and track wear patterns to anticipate substitutions. This disciplined approach keeps you ready for precise readings, updates your confidence, and supports steady decision making when sensor readings diverge. Consistency here is your freedom and leverage in diagnostic work.
Creating a Clean and Safe Workspace
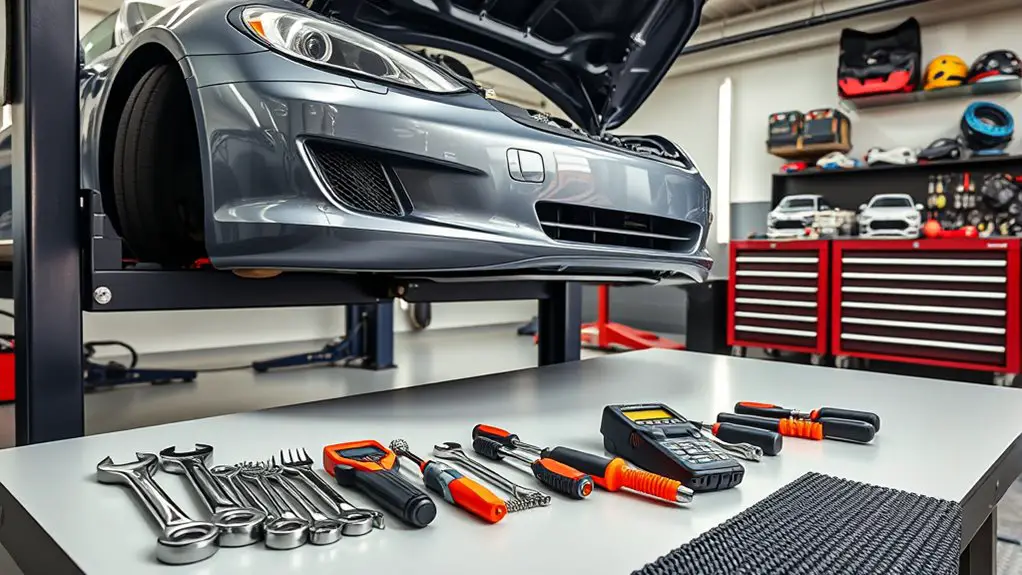
Set up a clean, well-lit workspace and clear the area of clutter to minimize distractions. Gather and organize your workspace materials—tools, mats, wipes, and labels—so everything has a designated spot. Make certain the environment is safe by removing trip hazards, securing power cords, and ventilating the area as needed.
Organize Workspace Materials
To organize your workspace materials, start by clearing the area and outlining a dedicated zone for tools, parts, and safety gear. You’ll set a clear workflow: one side for frequent-use items, another for spare parts, and a small bin for fasteners. Establish a simple labeling system to keep tools promptly identifiable, reducing rummage time. Focus on a practical workspace layout that minimizes reach and movement, preserving steady balance during work. Group similar items together to support efficient tool categorization, and store rarely used parts out of the primary zone. Keep a small, accessible waste and wipe-down station to maintain cleanliness between tasks. This approach favors freedom by boosting confidence, speed, and organization without sacrificing safety or clarity.
Ensure Safe Environment
Maintaining a clean, safe workspace is the foundation that supports reliable sensor work. You’ll set a stable, organized area free of clutter, spills, and distractions, so critical tasks stay focused. Begin by clearing surfaces, securing tools, and labeling parts to prevent mix-ups during inspection. Guarantee proper ventilation and lighting, reducing eye strain and fatigue while you work. Keep a tidy floor to prevent trips; use a cart or mat to separate components from the work zone. Store chemicals and fluids in labeled containers, away from ignition sources. Be mindful of environmental hazards—avoid wiring across damp surfaces and guard against static discharge. Always wear safety gear, and establish a quick exit path in case of emergency. Preparation minimizes risk, enhances accuracy, and preserves your freedom to work confidently.
Establishing a Baseline With Reliable Tests
Establishing a baseline with reliable tests is your first step to diagnosing sensor issues. You’ll create a reference point you can trust when readings drift. Begin by identifying the key sensors you’ll test, and define the normal operating range for each. Use simple, repeatable procedures so results are comparable over time. Record conditions: ambient temperature, engine state, and system activity, since these factors influence measurements. Conduct baseline testing with consistent equipment and settings, avoiding subjective judgments. Capture multiple data points to expose variability rather than single, brittle results. Compare current outputs to your baseline, noting deviations that exceed predefined thresholds. Document any anomalies and correlate them with recent changes or diagnostics already performed. Focus on reliable measurements, not assumptions; if a reading seems off, re-test before drawing conclusions. By establishing this baseline, you empower precise tracking, quicker fault isolation, and ongoing confidence as you move into deeper diagnostics.
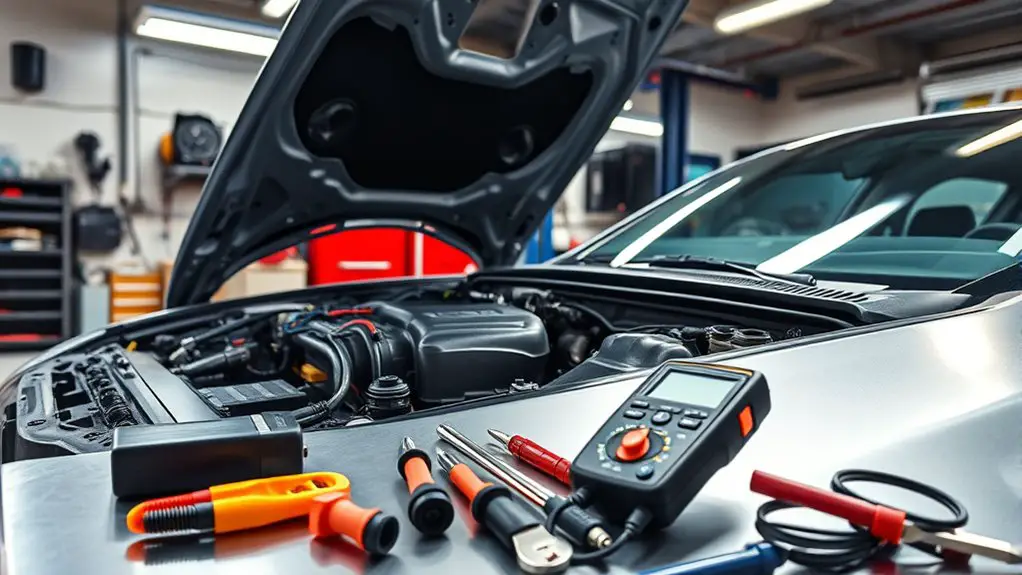
Preparing the Vehicle for Diagnostics
Before you start diagnostics, confirm the battery and cables are clean and secure, since a loose or corroded connection can mimic sensor faults. Check fluids and levels, topping or replacing as needed to prevent false readings during testing. Gather safety gear and tools, verify you have a multimeter, wrenches, and gloves ready, so you can work safely and efficiently.
Battery and Cables Check
A solid battery and clean cables are the foundation for reliable diagnostics, so start with a careful check of the battery terminals and all connecting wires for corrosion, looseness, or damage. You’ll inspect terminal clamps, bus bars, and the eyelets for signs of oxidation, fraying, or looseness, then tighten or clean as needed. Perform a quick voltage check to confirm adequate charge and note any visible wear that could affect sensor readings. Table below guides your cable inspection and battery maintenance steps.
| Area | Action | Result |
|---|---|---|
| Terminals | Clean corrosion; reseat clamps | Better contact |
| Cables | Inspect insulation; replace if damaged | Prevents leakage |
| Terminals | Tighten to spec | Secure circuit |
| Battery | Check voltage; charge if low | Stable power |
Fluids and Levels Verify
Fluids and Levels Verify: start by checking all fluid reservoirs and dipsticks for proper levels and signs of contamination. You’ll perform a steady, methodical level assessment across engine oil, coolant, brake fluid, power steering, transmission, and windshield washer. Look for clear, correct colors and absence of grit, shimmer, or unusual textures. Note any leaks or steady drips that could skew results. Wipe dipsticks clean, reinsert, then read with the engine cold or as specified by the manual, recording precise measurements. If a level is low, top up with the correct specification, not just any fluid. Document findings, then proceed to a fluid inspection as part of diagnostic prep, ensuring nothing skews sensor readings and the system remains balanced.
Safety and Tools Ready
Ensuring a safe work environment starts with a clear plan and the right tools. You’ll prep the area, disconnect the battery, and lock the hood. Wear eye protection and gloves, and keep a fire extinguisher nearby. Safety precautions are your first ally; no rushing, no shortcuts. Next, inspect your tools for wear, corrosion, or loose parts, and tag damaged items for replacement. Maintain a tidy workspace to prevent trips and mix-ups. Follow tool maintenance routines: oil hinges, clean contacts, and store extensions properly. The goal is steady progress, not speed.
| Role | Action | Outcome |
|---|---|---|
| You | Verify safety gear | Reduced risk |
| You | Inspect tools | Reliable hardware |
| You | Secure vehicle | Stable diagnostics |
| You | Clean and store | Ready for next use |
Documenting Observations and Data
Observations and data should be recorded promptly and clearly to build a reliable picture of sensor issues as they arise. You’ll document what you see, when it happens, and under what conditions, so patterns aren’t missed. Use observational notes to capture visuals, sounds, and responses from the system, noting any error codes, dashboard warnings, or ignored commands. Keep a consistent log format: timestamp, location, sensor name, symptom, and suspected cause. For data collection, record measurements with units and reference values, and note ambient factors like temperature or mileage when relevant. Capture both normal baselines and anomalies, even if they seem minor. Photograph displays, sensor modules, and wiring when possible, labeling items for later review. Store entries in a centralized file or notebook, and back them up. Review logs periodically to identify repeating issues, and ascertain entries remain objective without interpretation or speculation. Consistency and accuracy build trust in your troubleshooting.
Next Steps for Accurate Sensor Troubleshooting
Building on the documented observations and data, the next steps focus on turning that information into a dependable troubleshooting plan. You’ll translate findings into targeted actions, verify assumptions, and document outcomes for repeatability. Start with sensor calibration to confirm baseline readings and identify drift. Then, tackle signal interpretation, distinguishing noise from meaningful patterns to avoid false alarms. Use controlled tests, repeatable conditions, and clear pass/fail criteria.
| Step | Action | Result |
|---|---|---|
| 1 | Recheck baseline values | Confirm stable reference |
| 2 | Calibrate sensors | Align outputs with standards |
| 3 | Run signal tests | Reveal interpretation issues |
| 4 | Compare with specs | Validate tolerance ranges |
| 5 | Record outcomes | Build a troubleshooting log |
Keep the process purposeful and self-reliant. Treat calibration and interpretation as intertwined tasks: precise tuning informs correct interpretation, and clear interpretation guides calibration targets. You’ll gain freedom in diagnosing, not guessing.
Frequently Asked Questions
How Do I Prevent Sensor Readings From Being Affected by External EMI?
To prevent sensor readings from being affected by external EMI, you should implement meticulous EMI control: use electromagnetic shielding around sensitive components and guarantee robust signal grounding throughout the system. Keep sensor wiring short and twisted, route cables away from high-noise sources, and verify shield continuity. Regularly inspect connections, seal enclosures, and document gains. This practical approach preserves accuracy while maintaining your sense of freedom in engineering decisions.
What Quick Checks Confirm a Sensor Is Truly Faulty?
A quick check to confirm a sensor is truly faulty: start by observing consistent reading errors across multiple tests, then compare with a known-good reference. Check for obvious wiring issues, loose connectors, and corrosion. Use diagnostic scan tools to pull fault codes, inspect sensor outputs against spec, and verify with a controlled input. If readings drift or stay out of range even after resets, you’re in sensor diagnostics territory—the sign of a probable fault, not EMI.
Which PPE Is Essential When Handling High-Voltage Sensors?
You should wear high voltage gloves and use insulated tools. To stay safe, de-energize the system and verify isolation before any work. Inspect gloves for cuts or cracks and test them per compliance guidelines. Keep your body grounded, work with dry surfaces, and avoid touching energized components. Follow your procedure, document steps, and stay focused. This equipment minimizes shock risk while you diagnose high-voltage sensors, helping you perform precise, controlled checks with confidence.
How Can I Safely Bench-Test a Sensor Outside the Vehicle?
To bench test a sensor outside the vehicle, you should build a controlled bench test setup with stable power, known load, and proper grounding. Connect reference inputs, monitor outputs with a reliable multimeter or oscilloscope, and log readings. Calibrate the sensor first, then test across its operating range. Document results, adjust as needed, and repeat. This bench test setup guarantees your measurements are repeatable, while sensor calibration confirms accuracy and reliability for real-world use.
What Common Mistakes Invalidate Baseline Test Results?
Baseline errors commonly invalidate your results. You’ll trip up when you neglect calibration, skip repeat trials, or misalign sensors, letting data contamination creep in. Here’s a tip: treat the test like a sport season—document every step, isolate variables, and reproduce conditions. Remember, even a single misread can ruin the baseline. Stay disciplined, verify with controls, and don’t overlook environmental factors, or your conclusions will wobble and drift.