Safety Checks After Major DIY Seat Heaters Projects
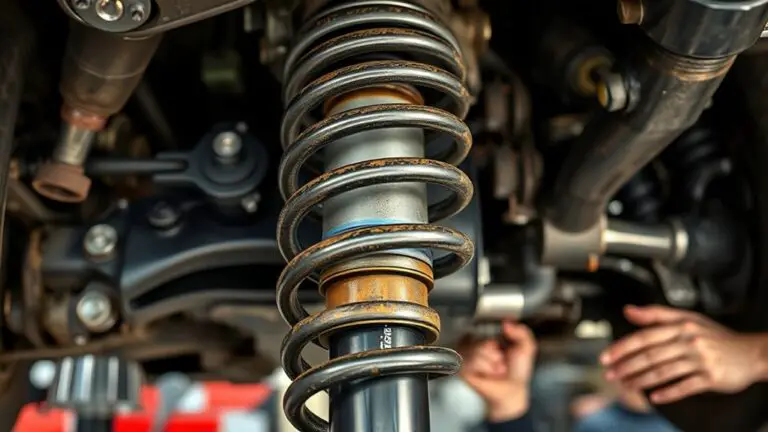
After a major DIY seat heater install, perform a structured safety review: verify electrical connections are secure, corrosion-free, properly rated, and fused with clear margins; confirm solid grounding and chassis bonding, plus EMI shielding and protected routing away from heat and moving parts. Validate even heat distribution with calibrated thermometers, guarantee insulation integrity and moisture barriers, and monitor for abnormal temperatures during initial use. Document findings, logs, and any deviations; consider professional consultation if concerns persist, and anticipate further safety checks ahead.
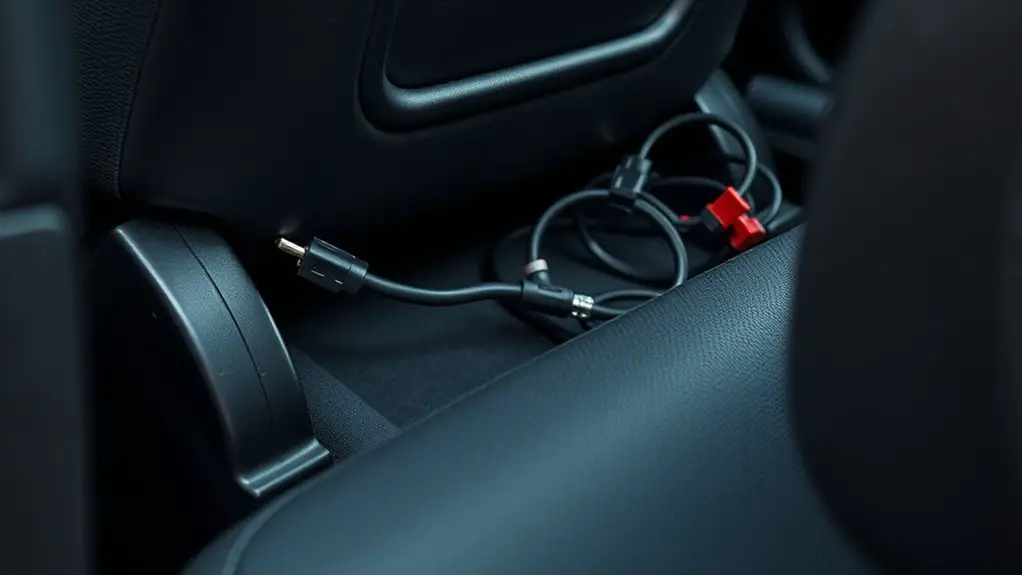
Electrical Connections and Fuse Protection
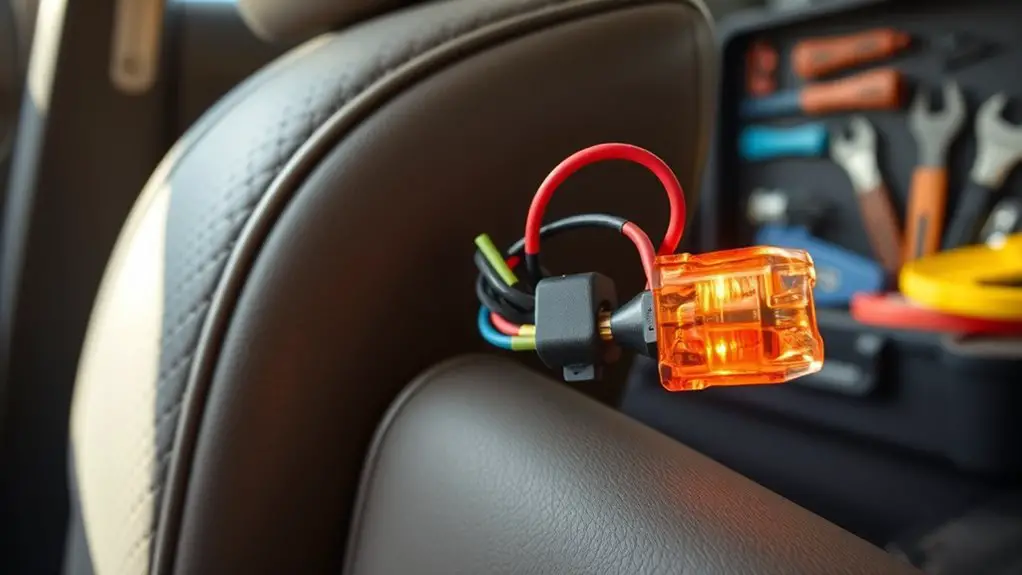
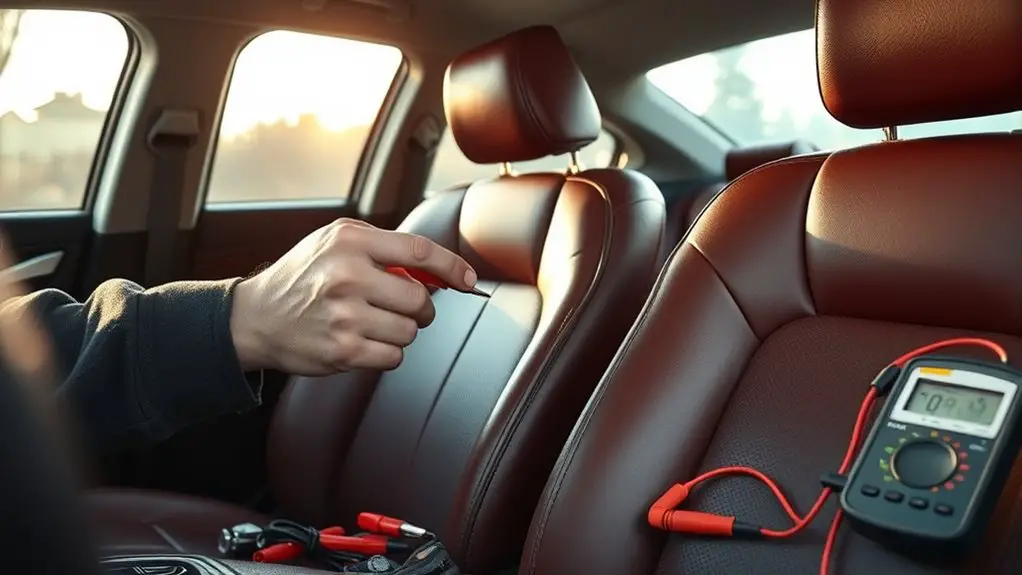
Electrical connections for DIY seat heaters must be secure, clean, and correctly rated. You’ll confirm contact integrity at each connector, checking for corrosion, burn marks, and loose pins. Use insulated, rating-matched terminals to minimize resistance—high-resistance joints cause heat buildup and failure. Plan wiring paths to avoid sharp edges, abrasion, and pinching; route away from moving seats and heat sources. When selecting wire gauge, you’ll balance current draw with flexibility; thicker gauge reduces voltage drop and heat, but keep within harness limits. Document intended current and wire gauge in your setup, so you can justify protection choices later. For fuse protection, install appropriately rated fuses or circuit breakers in the power supply line, sized for continuous operation and startup surges. Maintain a clear safety margin between actual load and protection rating, and guarantee easy accessibility for quick removal. Finally, test with a multimeter to verify continuity, insulation resistance, and absence of short circuits before energizing the system.
Grounding, Shielding, and Wire Routing
Grounding, shielding, and wire routing are the next steps to confirm the DIY seat heater remains safe and reliable. You establish a solid ground reference by bonding the heater circuit to the vehicle chassis where the stock system grounds, using appropriately sized conductors and clean connections. Verify continuity to metal panels and the battery negative, checking for impedance that could affect fault detection. When shielding, opt for shielding materials rated for automotive use to minimize EMI and radio interference; route shielded conductors away from high-heat zones and moving parts, terminating shields at grounded points. Keep harnesses neat and protected with nonabrasive sleeves and grommets, confirming no abrasion or pinching occurs during seat adjustment. Implement proper wire routing: avoid crossovers with hot exhaust paths, ensure slack avoids tension, and use cable ties sparingly to prevent chafing. Document grounding techniques and shielding materials chosen, and routinely inspect for cracks or corrosion before road testing.
Heat Distribution and Temperature Validation
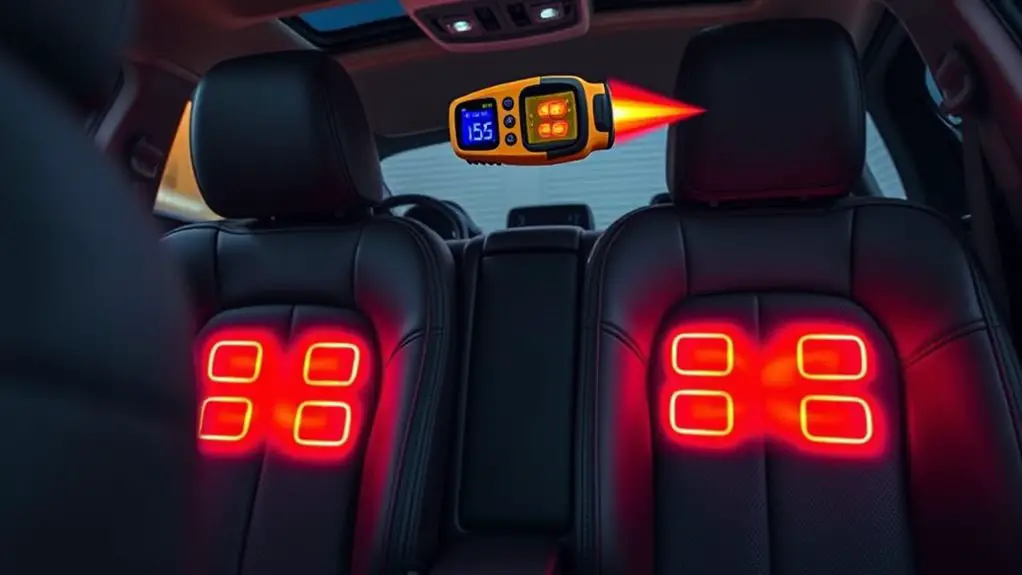
You should identify any temperature hot spots and compare them against target ranges to guarantee even heat distribution. Use systematic measurements across the seat surface to confirm uniform heat delivery and document any deviations. For validation, apply established methods and clearly report reproducibility and limitations.
Temperature Hot Spots
Temperature hot spots can arise when heater elements concentrate current or when insulation unevenly distributes heat, making it essential to validate heat distribution across the seat. You’ll map temperatures at multiple points, compare against a safe target range, and adjust wiring or insulation to balance load. Record ambient and surface temps, note spike areas, and verify that heat retention remains within design specs. Use a controlled heating cycle and allow cooldown to room temperature between checks. Table below summarizes measurement strategy and targets.
| Point | Measured Temp (°C) | Target Range (°C) |
|---|---|---|
| Front-Left | 52 | 40-45 |
| Front-Right | 51 | 40-45 |
| Rear-Left | 48 | 40-46 |
| Rear-Right | 50 | 40-46 |
Uniform Heat Distribution
Uniform heat distribution is essential to guarantee consistent comfort and prevent hot spots. You’ll assess distribution by mapping surface temperatures across multiple zones, noting any deviations beyond a small tolerance. Use a calibrated thermometer or high-resolution thermal camera, recording readings at fixed intervals and under steady-state conditions. Compare patterns to expected heat patterns from your original design, identifying drift due to aging, wiring, or fabric compression. Document findings with precise measurements, then translate them into a comfort evaluation that links temperature uniformity to perceived warmth. If hotspots or cold zones appear, adjust wiring, pad placement, or controller gains accordingly, re-testing until the pattern remains stable under typical loads. Maintain objective records to support ongoing safety and reliability.
Validation Methods Used
To validate heat distribution and temperature performance, we use objective measurement methods that quantify spatial uniformity and steady-state values under defined loads. You’ll follow standardized testing protocols to capture surface temperature maps and time-to-steady-state metrics, ensuring repeatability across samples. Data are analyzed against verification standards that specify acceptable deviations and maximum gradients, so you can quantify both local hotspots and overall uniformity. You’ll document sensor placement, calibration procedures, and environmental conditions to enable audits and replication. Emphasis remains on direct, verifiable evidence rather than anecdote. If results fail criteria, you evaluate contributing factors—material properties, insulation, and wiring safety—and adjust designs accordingly. The aim is transparent, data-driven validation that supports safe operation while preserving the freedom to iterate responsibly.
Insulation Integrity and Moisture Prevention
Maintaining insulation integrity and preventing moisture ingress are essential for safe DIY seat heater installation. You’ll verify that chosen insulation materials resist compression, heat cycling, and chemical exposure typical of automotive interiors. Assess thickness and uniformity, guaranteeing no gaps that could concentrate heat or create cold bridges. Document the installation path to confirm that insulation remains stationary under seat movement and upholstery changes. Prioritize moisture barriers over raw insulation where exposure risk is moderate to high, and ascertain barriers are continuous, overlapped, and sealed at seams. Use membranes with automotive-grade compatibility and low permeability to automotive fluids and humidity. Evaluate fastener impact on barrier integrity; any penetrations should be sealed with compatible sealant or gasket material. Regularly inspect for signs of moisture accumulation, such as damp fabric or corrosion indicators around terminals. Keep records of material specs, dates, and any remediation actions to support traceability and ongoing safety.
Initial Use Monitoring and Warning Signs
You should monitor for initial use indicators like even heat distribution and steady current draw to confirm proper installation. Early warning signals include unusual heat spots, smell of burning, or intermittent operation, which warrant immediate shutdown and inspection. Ongoing monitoring and alerts should be established, such as simple temperature checks and a clear plan to pause use if any anomalous behavior appears.
Initial Use Indicators
Initial use indicators for seat heaters focus on early performance and safety signals. You’ll track consistency, warmth onset, and any abnormal sensations during initial testing, then seek honest usage feedback to guide adjustments. Use a methodical checklist to avoid guesswork and guarantee reliable operation.
- Monitor warm-up time and steady temperature, noting deviations.
- Confirm uniform heating across the seat surface without hotspots.
- Listen for unusual electrical smells, buzzing, or inconsistent power draw.
- Record any intermittent heating or abrupt shutdowns and compare with baseline expectations.
Document results promptly, compare against manufacturer guidelines, and adjust wiring or insulation only if you have verified steps. This process supports safe, principled use and empowers you to refine performance with confidence.
Early Warning Signals
Early warning signals are your first line of defense during initial use, and they should be recognized and acted on promptly. You’ll look for early detection of abnormal heat, unexpected hot spots, or uneven warmth across the seat surface. Notice if the console or fuse box feels warmer than normal, or if the wiring harness shows loose connections, damage, or chafing during the first hours of use. Warning indicators include sudden temperature spikes, intermittent heating, or a loss of power to the seat heater. Document any deviations and test consistency after short cooldowns. If anything seems off, power down safely and inspect connections, insulation, and controller settings. Rely on measured observations and protective steps rather than assumptions.
Monitoring and Alerts
During the first hours of use, establish a routine check for consistent warmth and watch for any deviations from baseline performance, such as hot spots, temperature spikes, or uneven seating heat. You’ll rely on monitoring systems and alert notifications to stay ahead of issues.
- Log steady readings from the seat thermometer and compare to baseline charts daily.
- Confirm alert notifications trigger promptly for any abnormal rise, drop, or localized overheating.
- Inspect wiring and connectors for looseness or chafing after every extended session.
- Document anomalies with time, seat zone, and operating conditions to guide corrective action.
If any alert or pattern repeats, pause use and reassess installation integrity, power supply, and insulation. Commit to proactive, evidence-based checks for continued safety.
Documentation, Compliance, and When to Consult a Pro
Documentation, compliance, and knowing when to consult a pro are essential for safe DIY seat heater work: start by verifying manufacturer guidelines and local regulations, then assess whether the project requires professional inspection or electrical permits. You’ll map constraints from the vehicle’s electrical system, fuse ratings, and heat-sink provisions, recording each decision point. Next, confirm applicable safety regulations and electrical codes, noting any deviations that could affect warranty or insurance. When in doubt, seek professional advice before continuing; use this as a learning step, not a shortcut. Keep records of all components, test results, and inspections to demonstrate due diligence. If a potential risk emerges—unusual heat, smells, or intermittent behavior—pause work and consult a licensed electrician or automotive technician. Documentation supports compliance, minimizes liability, and guides future projects. Rely on professional advice to maintain a safe, freedom-enabled approach to DIY, without compromising safety.
Frequently Asked Questions
How Long Should I Test Batteries After Installation for Safety?
You should test batteries for at least 15 minutes after installation, then monitor for 24 hours for any voltage drift or heat. During battery testing, check for consistent voltage, proper insulation, and no unusual smells. Confirm you document results, and if anything deviates, pause use and recheck connections. The installation duration matters: longer initial testing can catch hidden faults. If everything remains stable, you can proceed with cautious use, keeping an eye on performance and safety indicators.
Can Seat Heater Use Void Vehicle Warranty or Insurance?
Yes, seat heater mods can affect warranty implications and insurance coverage. If you install or modify components, manufacturers may limit warranty scope or void it for related failures. Insurance may require disclosure and could adjust premiums or deny claims tied to aftermarket upgrades. You should document parts, keep receipts, and follow installation guidelines to minimize risk. Before you proceed, verify your dealer’s policy and your insurer’s terms, so you stay compliant while preserving protections.
What Signs Indicate Insulation Damage Before Smoldering?
Insulation wear can manifest as frayed fibers, melted appearance, or cracking seals along wiring, and you should treat these as critical overheating indicators. If you notice warmth unrelated to use, unusual smells, or intermittent power, stop and inspect. Look for exposed conductors, damaged insulation, or insulation damage before smoldering signs. You should disconnect power, document findings, and seek professional testing to confirm safety before continuing any DIY work.
Are Aftermarket Kits Safer Than DIY Wiring Without Schematics?
You weigh safety: aftermarket kits can offer structured wiring and tested components, but you’re still taking wiring risks if schematics aren’t followed. You’ll want clear schematics, proper insulation, and fused power feeds. If you DIY without schematics, you face hidden dangers like shorts and fire. You’ll benefit from documented testing, stepwise checks, and quality connectors. In short, aftermarket benefits exist, but wiring risks remain unless you rigorously verify every connection and guideline.
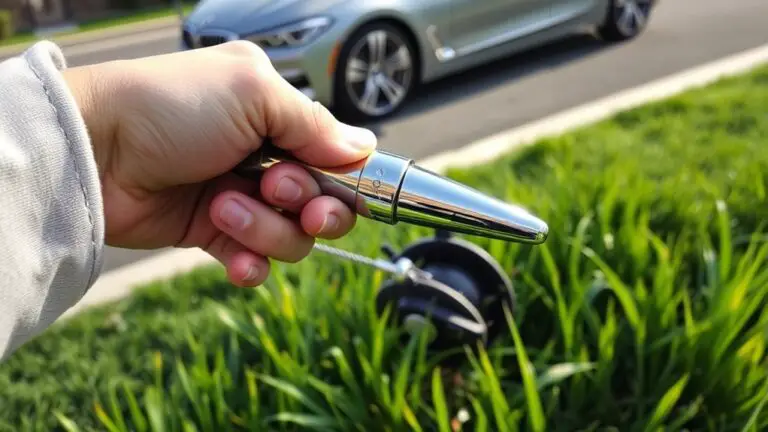
Is هناك Specialized Tool Needed for Seat Heater Current Checks?
Yes, you do need specialized tools for seat heater current checks. You should use a clamp meter or a high-precision multimeter to perform current measurement safely. Tool types vary, but clamp meters let you measure current without breaking circuits, while digital multimeters confirm voltage and resistance. Rely on these measurements to verify proper operation and avoid overheating. Follow manufacturer specs and double-check connections; inaccurate readings can mislead you and compromise safety.