
Step-By-Step: Upgrade Guide for Cold Air Intake and Troubleshooting Common Infotainment Retrofit Nonfunctional
To upgrade your cold air intake, first confirm compatibility with your engine, measure piping diameter and intake length, and match throttle body size for accurate air metering. Choose between short ram or cold air, select a filtration material that balances filtration with flow, and prep with labeled fasteners and a clean bench. For infotainment retrofit, plan wiring routes, map power and grounding, isolate fused feeds, and secure solid grounds. If you keep following along, you’ll uncover practical steps and fixes.
Choosing the Right Cold Air Intake for Your Vehicle

When choosing a cold air intake, start by identifying your vehicle’s engine and intake setup, since compatibility hinges on factors like throttle body size, mounting location, and space constraints. You’ll assess fitment by measuring piping diameter, intake tract length, and the available clearance behind the bumper or engine bay. Prioritize a system that matches your throttle body to preserve air metering accuracy and avoid triggering ECU recalibration errors. Consider mounting options—short ram versus cold air—and how heat-soak potential alters performance. Evaluate filter materials for filtration efficiency versus airflow, noting that higher density media can reduce flow if poorly designed. Review documented gains from similar vehicle platforms and seek verifiable dyno data rather than anecdotal claims. Choose a kit with proven performance benefits, solid hardware, and clear installation instructions. Ascertain compatibility with other modifications and emissions regulations, and select a reputable бренд for ongoing support and warranty.
Tools, Prep, and Installation Basics
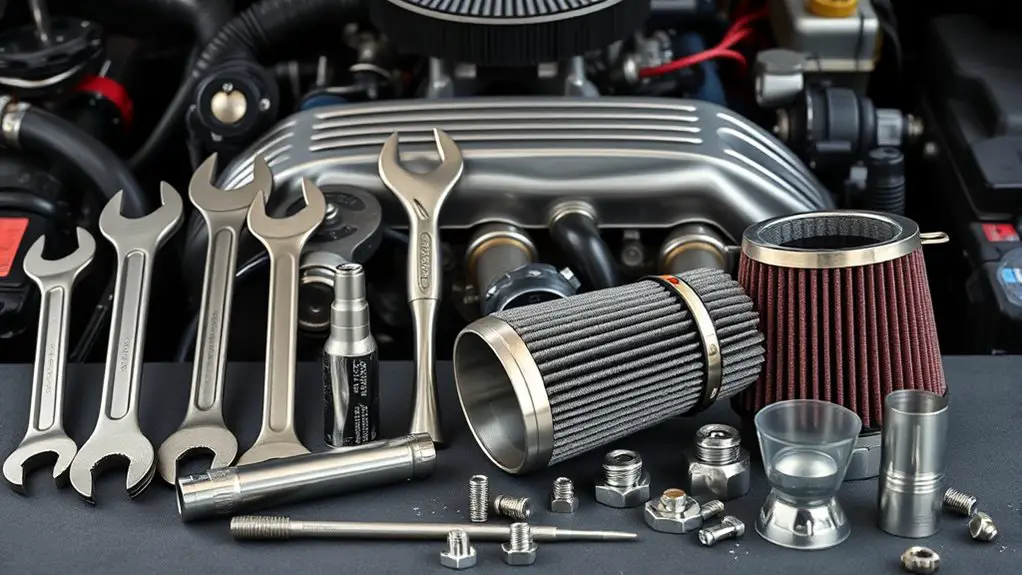
Getting the job done right starts with the right tools and a clean, organized workspace. In this section, you’ll focus on installation essentials and safety precautions that keep you efficient and protected as you prep and mount the cold air intake.
Getting the right tools and a clean workspace sets up safe, precise cold air intake installation.
- Select basic hand tools and the manufacturer’s torque specs
- Prepare a clean bench area and labeled fasteners
- Inspect gaskets, ducts, and clamps before reassembly
- Verify surface cleanliness and correct sensor/valve locations
- Follow sunken-in steps without rushing to avoid misalignment
You’ll work methodically, documenting any deviations from the guide and using evidence-based checks. Gather OEM seals, compatible hoses, and a clean disposable rag for spills. Align the intake carefully, snug fasteners to spec, and test for leaks with controlled airflow. Remember safety precautions: disconnect the battery, wear eye protection, and keep children and pets clear. This disciplined approach minimizes rework and supports reliable performance after installation.
Wiring and Integration for the Retrofit Infotainment System
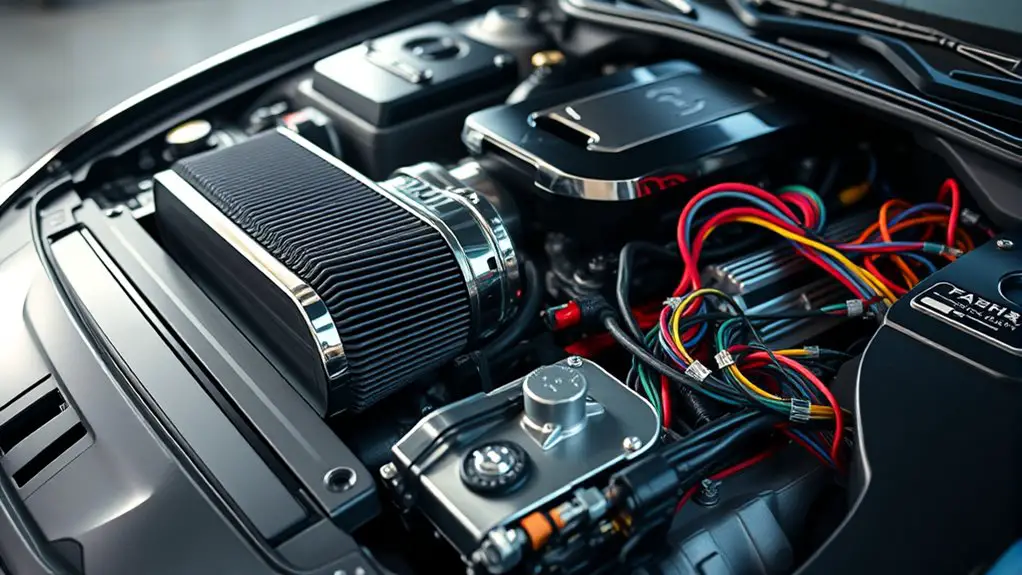
Wiring and integration for a retrofit infotainment system requires a methodical approach: plan routes, map power and grounding points, and reference the vehicle’s schematics to avoid interference with existing systems. You’ll document wiring diagrams that show harness connectors, color codes, and pinouts, then confirm each connection with a multimeter before power is applied. Start by isolating the ignition and constant power circuits, ensuring fused feeds and automotive-grade shielding are used to minimize noise. For grounding, pick a solid chassis point near the module and avoid paint or corrosion, securing a low-impedance path. Integration methods should emphasize modularity: test the head unit separately, then integrate steering wheel control adapters and OEM-retained features in stages. Maintain clean loom management, label every splice, and preserve serviceability. Finally, verify data lines (CAN, LIN) for correct baud rates and fault-free messaging, documenting any deviations for future troubleshooting.
Calibration, Tuning, and Performance Verification
With the groundwork for wiring, grounding, and integration in place, you’ll approach Calibration, Tuning, and Performance Verification as a structured, data-driven process. You’ll quantify baseline metrics, apply precise tuning adjustments, and confirm repeatable results through repeatable tests. Document every change and compare against objective targets to guarantee measurable performance enhancements without introducing instability.
- Establish baseline fuel trims, knock thresholds, and throttle response at multiple RPM bands
- Implement conservative tuning adjustments, recheck sensor feedback, and log deviations
- Run controlled road and dyno-style tests to verify power, intake air temp, and AFR stability
- Validate thermal integrity under prolonged operation and heat soak conditions
- Conclude with a clear pass/fail criteria and a maintenance cadence for future calibrations
Approach each step with curiosity and rigor; your freedom comes from predictable, reproducible outcomes, not guesswork. Prioritize data, minimize risk, and preserve driving confidence through disciplined verification.
Troubleshooting Common Infotainment Retrofit Nonfunctional Symptoms
If your infotainment retrofit isn’t functioning, start with a systematic assessment to isolate the issue and prevent guesswork. Begin by confirming power, ground, and fuse integrity, then verify the head unit’s input/output connections and grounding scheme. Document symptom onset, noting whether issues are intermittent or constant, and reproduce them with minimal variables. Next, test software states: check for latest firmware, confirm compatibility with vehicle CAN signals, and review any recent changes to wiring or adapters. Prioritize infotainment compatibility issues by comparing supported protocols, display resolution, and steering-wheel control interfaces against your installed unit. If symptoms persist, inspect wiring harnesses for corrosion, pin damage, or loose grounds, and ascertain antenna and GPS connections are solid. For software update failures, attempt a clean reflash following official instructions, verify battery stability during update, and guard against interrupted power. Conclude with a concise fault log to guide repair or replacement decisions.
Frequently Asked Questions
Can a Cold Air Intake Affect Fuel Economy Long-Term?
Yes, a cold air intake can affect fuel economy in the long term, but results vary. You’ll likely see modest fuel efficiency improvements when driven conservatively, while aggressive driving emphasizes performance gains and can negate efficiency. Evidence suggests gains come from cooler, denser air improving combustion efficiency. Over time, the difference depends on vehicle design and driving style; some owners report small gains, others see negligible changes, so measure your own data to validate real fuel efficiency and performance impacts.
Is OEM Warranty Voided by Aftermarket Intakes or Retrofits?
You’ll find that OEM warranties aren’t automatically voided by aftermarket modifications. In general, manufacturers warranty only the specific component you damaged or the system you altered, unless the aftermarket part caused the failure. So yes, warranty implications exist, but they’re not universally automatic. Keep records, choose reputable brands, and don’t claim blanket coverage. You’ll protect your rights, stay evidence-based, and preserve freedom to upgrade—while still ensuring you meet coverage terms and dealer discretion.
How Often Should Retrofit Firmware Be Updated After Install?
Firmware updates should be performed as part of your ongoing maintenance, ideally every 6 to 12 months, or whenever the manufacturer releases a critical fix. After installation, track performance and stability, documenting any anomalies. Your decision on installation frequency should balance security, feature improvements, and risk of interference with existing systems. If you notice glitches, apply updates promptly; otherwise, set a predictable schedule and verify compatibility before each installation.
Do You Need Professional Alignment After Thermostat or Sensor Changes?
Yes, you don’t always need a professional alignment after thermostat changes or sensor replacements. You should, however, verify wheel alignment if you’ve touched suspension or steering, and re-check tire pressure and ride feel. Weigh factors like steering pull, uneven wear, and drivability. After changes, test in safe conditions, and consult specs. If anything feels off, seek a technician. This approach is evidence-based and empowers you to decide.
Can Aftermarket Head Units Support Wireless Apple Carplay/Android Auto?
Yes, many aftermarket head units support wireless Apple CarPlay and Android Auto, but it depends on head unit compatibility and your vehicle’s audio system. You’ll want to verify wireless features, Bluetooth/Wi‑Fi setup, and any required apps or firmware. Confirm your dash fits the unit, uses proper adapters, and that power/antenna connections are solid. Test screen responsiveness, voice control, and metadata delivery before finalizing. If in doubt, consult the manual or a pro.