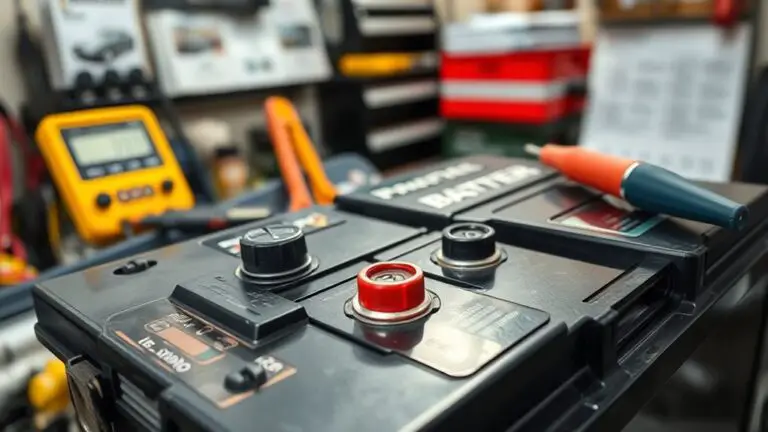
Why the AC Compressor Causes AC Not Cold and How to Fix It
If your AC isn’t cold, the compressor may not be delivering stable, high‑pressure gas. Start by checking power at the switch, disconnect, and breaker, then verify signals to the compressor and relay health. Measure voltage and current under load and inspect for refrigerant leaks or improper charge. Listen for abnormal compressor noises and note pressure readings. If you find electrical issues, leaks, or under/overcharged refrigerant, the fix isn’t DIY—sit-tight until you explore professional steps that follow.
Diagnosing a Failing AC Compressor
Diagnosing a failing AC compressor starts with recognizing common symptoms and confirming them with measurements. You’ll approach this with a clear, data-driven mindset, focusing on efficiency and reliability. Begin by verifying electrical supply, capacitor health, and wiring integrity, because poor connections masquerade as mechanical faults. Assess compressor voltage and current draw against nameplate values to detect overloads or undervoltage conditions. Listen for abnormal noises, binding, or hot compressor cases, which suggest internal friction or seized rotation. Check refrigerant pressures with a manifold gauge to identify undercharge, overcharge, or gauge misreads caused by sensor fault. When measurements deviate, isolate the compressor from the system to test for mechanical binding versus external restrictions. Document findings for future compressor maintenance planning and reference compressor types to anticipate design-specific failure modes. Use this diagnostic discipline to inform maintenance intervals and component replacements, ensuring you select the right compressor types for continued performance and freedom from unwanted downtime.
Common Signs Your Compressor Is Failing
Common signs your compressor is failing start with behavior you can’t ignore and move toward verification. You’ll notice compressor noise shifting from a steady hum to grinding, rattling, or metallic sounds that coincide with cycling. That abnormal noise often signals internal wear, loose components, or bearing failure. Temperature fluctuation is another key cue: uneven cooling, hot spots, or air returning lukewarm despite fan operation. If you observe sudden changes in pressure readings or your system struggles to reach or sustain set temperatures, treat it as a fault unless proven otherwise. Electrical symptoms matter too: tripping breakers, blown fuses, or dimming lights when the compressor engages point to overload or winding issues. Repeated manually resetting the unit isn’t a fix; it masks underlying faults. You should verify with reliable diagnostics—pressure gauges, current draw checks, and capacitor inspection. If symptoms persist, plan a controlled evaluation or professional service to prevent complete system failure.
Understanding How the Compressor Affects Cooling
The compressor’s cooling role is to remove heat from the refrigerant as it cycles, enabling effective air chilling. When cooling is poor, causes may include restricted airflow, lubricant issues, or insufficient refrigerant, all of which raise discharge temperatures and reduce coil efficiency. Understanding these factors helps you diagnose whether the problem lies in the compressor’s performance or in related components.
Compressor’s Cooling Role
The compressor serves as the heart of the cooling cycle, and its cooling role begins with compressing low-pressure refrigerant vapor into a high-pressure gas that carries heat away from the evaporator. You’ll notice that performance hinges on steady compression and proper discharge pressure. In practical terms, compressor efficiency rises when the motor operates without excessive load and when combustion of lubrication is minimized by clean refrigerant paths. Compressor maintenance guarantees reliable seals, bearings, and valves, reducing internal losses that waste cooling capacity. A well-tuned compressor maintains consistent subcooling and condensate removal, preserving pressure differentials essential for heat transfer. When efficiency declines, cooling foul becomes apparent; addressing wear, lubrication, and refrigerant quality restores predictable, responsive cooling.
Causes of Poor Cooling
Poor cooling often traces back to how the compressor handles pressure, flow, and lubrication. You’ll assess system performance by tracking refrigerant pressure differentials, compressor suction and discharge dynamics, and lubrication adequacy. Insufficient insulation at ducts or evaporator enclosures increases heat gain, forcing the system to work harder and reducing apparent cooling. Airflow restrictions—caused by dirty filters, undersized ducting, or blocked evaporator coils—limit heat exchange and raise evaporator temperatures, destabilizing pressure balance. Proper refrigerant charge is essential; undercharge or overcharge disrupts phase change and piston/sliding-vane efficiency, lowering cooling delivery. Check for premature cycling, high discharge temperature, and compressor overheating, all signs of pressure mismanagement. Diagnose, then correct airflow paths and insulation, and confirm adequate lubrication to restore cooling capacity.
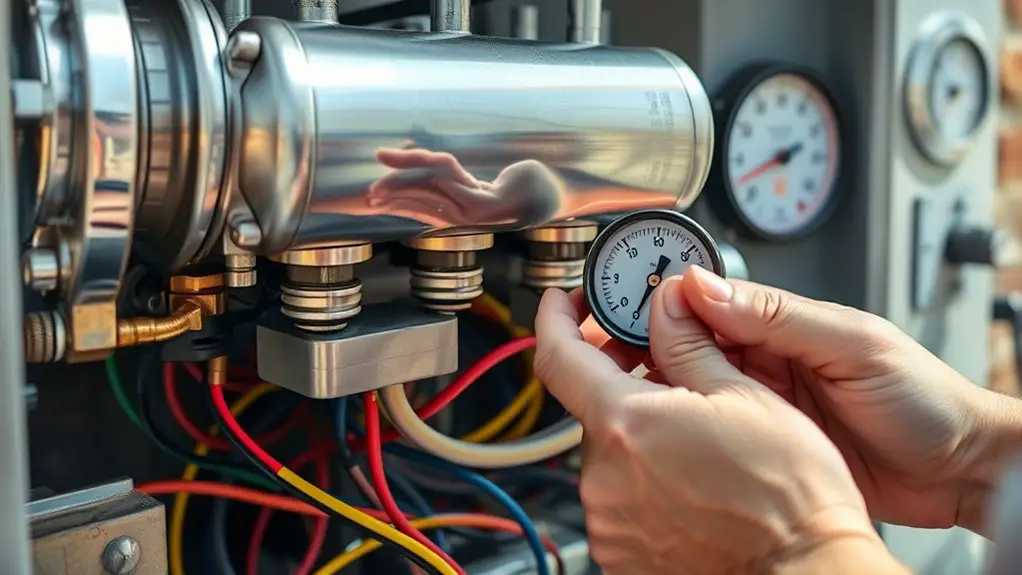
Checking Electrical Supply and Relay Issues
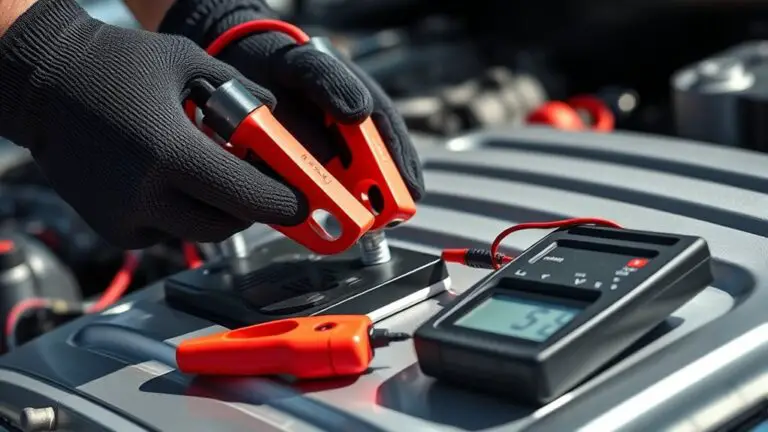
You’ll start by inspecting the power supply for the AC unit, verifying voltage at the disconnect and at the contactor to rule out under- or over-voltage conditions. Next, perform a Relay Integrity Test to confirm coil resistance, switch operation, and that the contacts aren’t pitted or sticking. This sets the foundation for diagnosing whether electrical supply or relay faults are triggering compressor issues.
Power Supply Checks
Power issues can prevent an AC compressor from starting or running reliably, so begin by verifying the supply at the switch, disconnect, and circuit breaker. You’ll check that the outlet provides the correct phase, amperage, and voltage without excessive drop. Inspect the cord and connection points for signs of wear, corrosion, or looseness, which can cause intermittent power delivery. Measure voltage under load if possible, noting any sag during startup. Ascertain the external power source remains steady long enough to engage the compressor relay. Look for tripped breakers or blown fuses, and reset or replace as needed, testing again after reset. Confirm voltage stability across your home’s circuits, and note any correlated flicker in lights when the system attempts to start. Maintain a stable, clean supply to protect performance.
Relay Integrity Test
Relay integrity is essential because a weak or faulty relay can mask upstream electrical issues while preventing the compressor from energizing. You’ll verify coil resistance against spec, inspect the contacts for pitting, and test for sticking or chatter under load. Use a multimeter to check for continuity when the control circuit is energized, and measure coil current to guarantee it aligns with the relay’s ratings. During relay testing, observe the relay’s response time and verify flyback suppression if included. Perform a controlled circuit analysis to confirm that the switch closes fully and provides a solid, low-impedance path to the compressor contactor. If anomalies appear, evaluate wiring integrity, assess control signals, and replace the relay as needed to restore reliable operation.
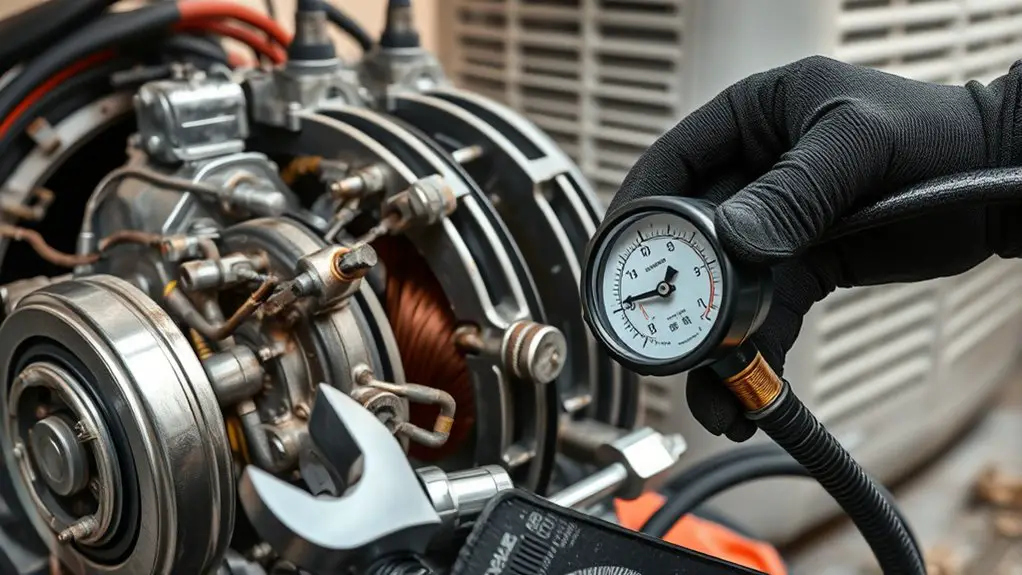
Inspecting for Refrigerant Leaks and Pressure Problems
Inspecting for refrigerant leaks and pressure problems begins with a systematic check of all service ports, connections, and components for signs of oil residue, hissing sounds, or frost buildup. You’ll verify both high- and low-pressure sides, guaranteeing gauges reference correct ambient temperatures and matching manufacturer specs. Inspect for loose fittings, damaged O-rings, or cracked housings that could permit slow leakage. For leak detection, start with visual inspection, then use a certified detector to locate evap coil, compressor shaft seals, and line set vulnerabilities. Note refrigerant types present to avoid cross-contamination when testing or evacuating. Record static pressure, target superheat, and subcool values to identify under‑ or overcharged conditions. If a leak is confirmed, isolate the affected area and plan a repair or recharge following safety guidelines. Ascertain you document service history, refrigerant type, and charge amounts so future diagnostics remain precise and actionable. You’re preserving system reliability and freedom through meticulous, data‑driven checks.
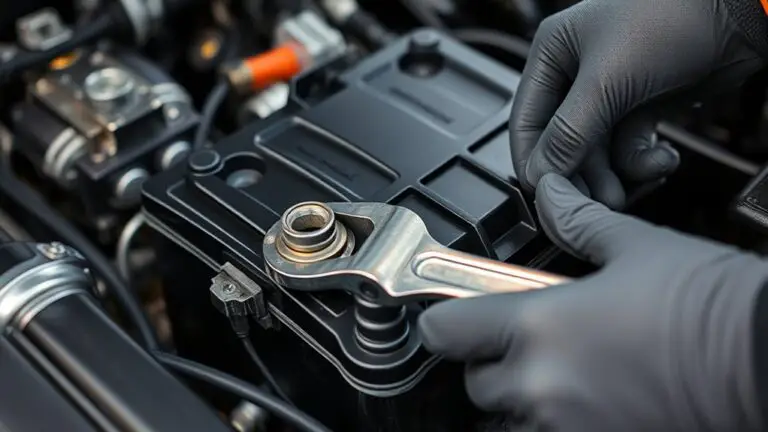
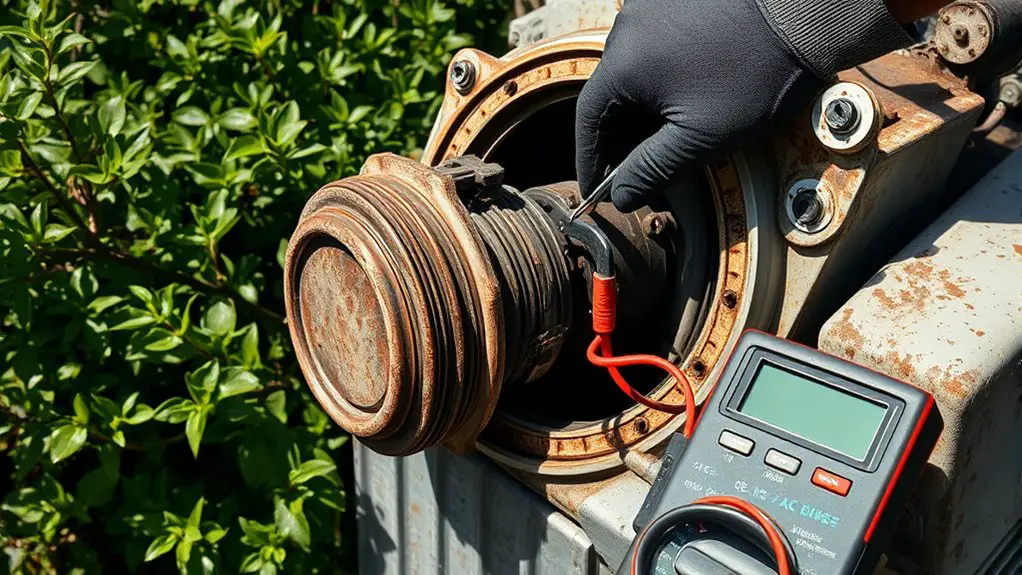
Assessing Internal Compressor Wear and Damage
After verifying the refrigerant status and system integrity, you’ll shift focus to the compressor’s internal condition. You assess signs of compressor wear by listening for abnormal clattering, knocking, or irregular pulley engagement, and by checking vibration patterns during operation. Inspect the electrical windings and connections for overheating or insulation breakdown, as these indicate potential internal damage. Measure current draw against manufacturer specs; excess draw suggests worn bearings, piston ring scuffing, or valve malfunctions. Examine the crankcase for oil contamination or foaming, which can reflect lubrication failure linked to wear. If accessible, scan for misalignment or scoring on rotors and pistons, a telltale sign of internal damage. Look for metallic debris in oil and filters, as metal shavings point to accelerated wear. Document observed wear levels, correlated with operating hours, to inform whether further assessment or replacement is warranted. Prioritize safety; avoid attempting internal repairs beyond your scope.
Troubleshooting Before Replacing the Compressor
Before deciding to replace the compressor, conduct a focused troubleshooting pass to rule out easier fixes and confirm the issue’s scope. Start with basic checks: verify power, fuses, and control signals, then confirm the outdoor unit is receiving proper voltage and grounding. Listen for abnormal noises, and inspect for electrical burnt smells. Move to refrigerant health—measure pressures with the system off and compare against manufacturer specs, watching for signs of undercharge or overcharge. Check for airflow restrictions across the condenser and evaporator, including dirty coils, clogged filters, and failed fans. Assess cycling behavior and defrost interactions that could mimic compressor faults. Use methodical troubleshooting techniques to isolate the compressor from the system during testing, ensuring you don’t misinterpret a component failure as a compressor issue. Document findings for future maintenance, because proactive care reduces future downtime. Incorporate compressor maintenance tips and troubleshooting techniques in your routine to preserve performance and uptime.
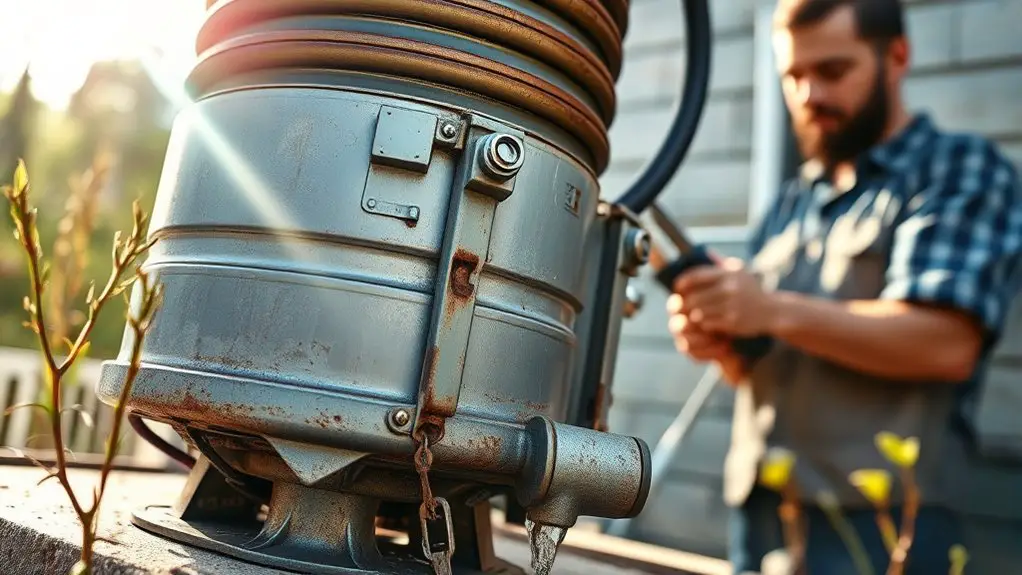
DIY Steps to Restore Cooling Performance Safely
If you’ve completed the initial troubleshooting and confirmed the issue isn’t easily fatal to the system, you can proceed with practical steps to restore cooling while staying safe. Begin with basic checks: verify the filter is clean, thermostat is set correctly, and outdoor unit is free of debris. Inspect for obvious refrigerant leaks or hissing sounds; do not kink lines or over-tighten fittings. For DIY repairs, reseating electrical connections at the contactor and low-voltage wiring can restore weak cooling when corrosion is present. Measure voltages with a multimeter only if you’re trained; otherwise, skip live tests to avoid shocks. Recharge attempts should be avoided unless you have proper gauges and refrigerant credentials. Implement Safety precautions: power down before handling components, wear gloves, and keep pets and children away. If cooling still lags after these steps, reassess complexity and consider professional help. Maintain documentation of findings for reference.
When to Call a Pro for Compressor Replacement
When should you call a pro for compressor replacement? If you’ve ruled out simple fixes and test results show persistent loss of cooling, professional replacement becomes practical. Start by evaluating compressor lifespan and system age; around the 10–15 year mark, failures rise, and a DIY patch is unlikely to deliver reliable results. Next, consider replacement costs in relation to overall system value—if you’re facing repeated compressor failures, a new unit or a high-mileage repair may be more economical long term. Signs you need a pro include abnormal noises, overheating, frequent tripping breakers, or oil leaks around the compressor; these indicate internal damage or refrigerant-handling risks you shouldn’t tackle alone. Verify proper refrigerant charge, electrical compatibility, and system true-up are performed by a licensed tech. A pro can weigh retrofit options, confirm warranty implications, and optimize efficiency, balancing compressor lifespan expectations with total repair or replacement costs.
Frequently Asked Questions
Can Low Refrigerant Cause the Compressor to Stop Cooling?
Yes, low refrigerant can cause the compressor to stop cooling. You’ll see reduced pressure, longer cycle times, and possible freezing of coils, but the system may still run. In this contrast, refrigerant levels directly influence compressor efficiency; when they’re low, the compressor works harder or stalls. You’re facing a trade-off: performance vs. risk of damage. Check refrigerant, seal leaks, and restore proper levels to reclaim cooling effectiveness and protect the compressor.
Does the Condenser Fan Affect Compressor Cooling Performance?
Yes, the condenser fan affects compressor cooling performance. If the condenser fan isn’t moving air efficiently, the condenser won’t reject heat effectively, increasing discharge pressure and reducing cooling efficiency. You’ll see lower AC output and potential compressor stress. Focus on condenser fan efficiency and monitor fan speed impact; faster speeds generally improve heat rejection up to design limits. Verify proper wiring, blades clean, and motor healthy to maintain peak condenser performance.
Can a Failed Start Relay Mimic a Bad Compressor?
Yes, a failed start relay can mimic a bad compressor. When the start relay sticks or fails, the compressor never initiates, so your system acts cold until it’s too late. You’ll notice intermittent uptime, strange clicks, or no start at all. If symptoms point to start relay and compressor issues, test or replace the relay first, verify current draw, and check wiring. You’ll regain control, restore flow, and reclaim your cooling freedom.
Will Replacing Filters Improve Compressor Effectiveness?
Replacing filters can improve compressor effectiveness. You’ll reduce airflow restriction and prevent extra strain on the system, which helps maintain steady pressure and cooler output. Prioritize proper filter maintenance, using the right MERV rating for your unit. If airflow is unrestricted, your compressor runs more efficiently and longer. Remember to inspect seals and ducts for leaks, and replace dirty filters promptly to sustain performance and energy efficiency.
How Long Does a Typical Compressor Last Under Normal Use?
A typical compressor lasts about 10 to 15 years with normal use and proper maintenance. Your maintenance tips matter: keep refrigerant levels steady, guarantee clean coils, and check electrical connections regularly. Avoid short cycling, schedule professional inspections, and replace worn components promptly. While climate and usage affect lifespan, preventive care extends it. Track the compressor lifespan via service records, and you’ll know when to plan upgrades. Stay proactive, and your system stays reliable.